
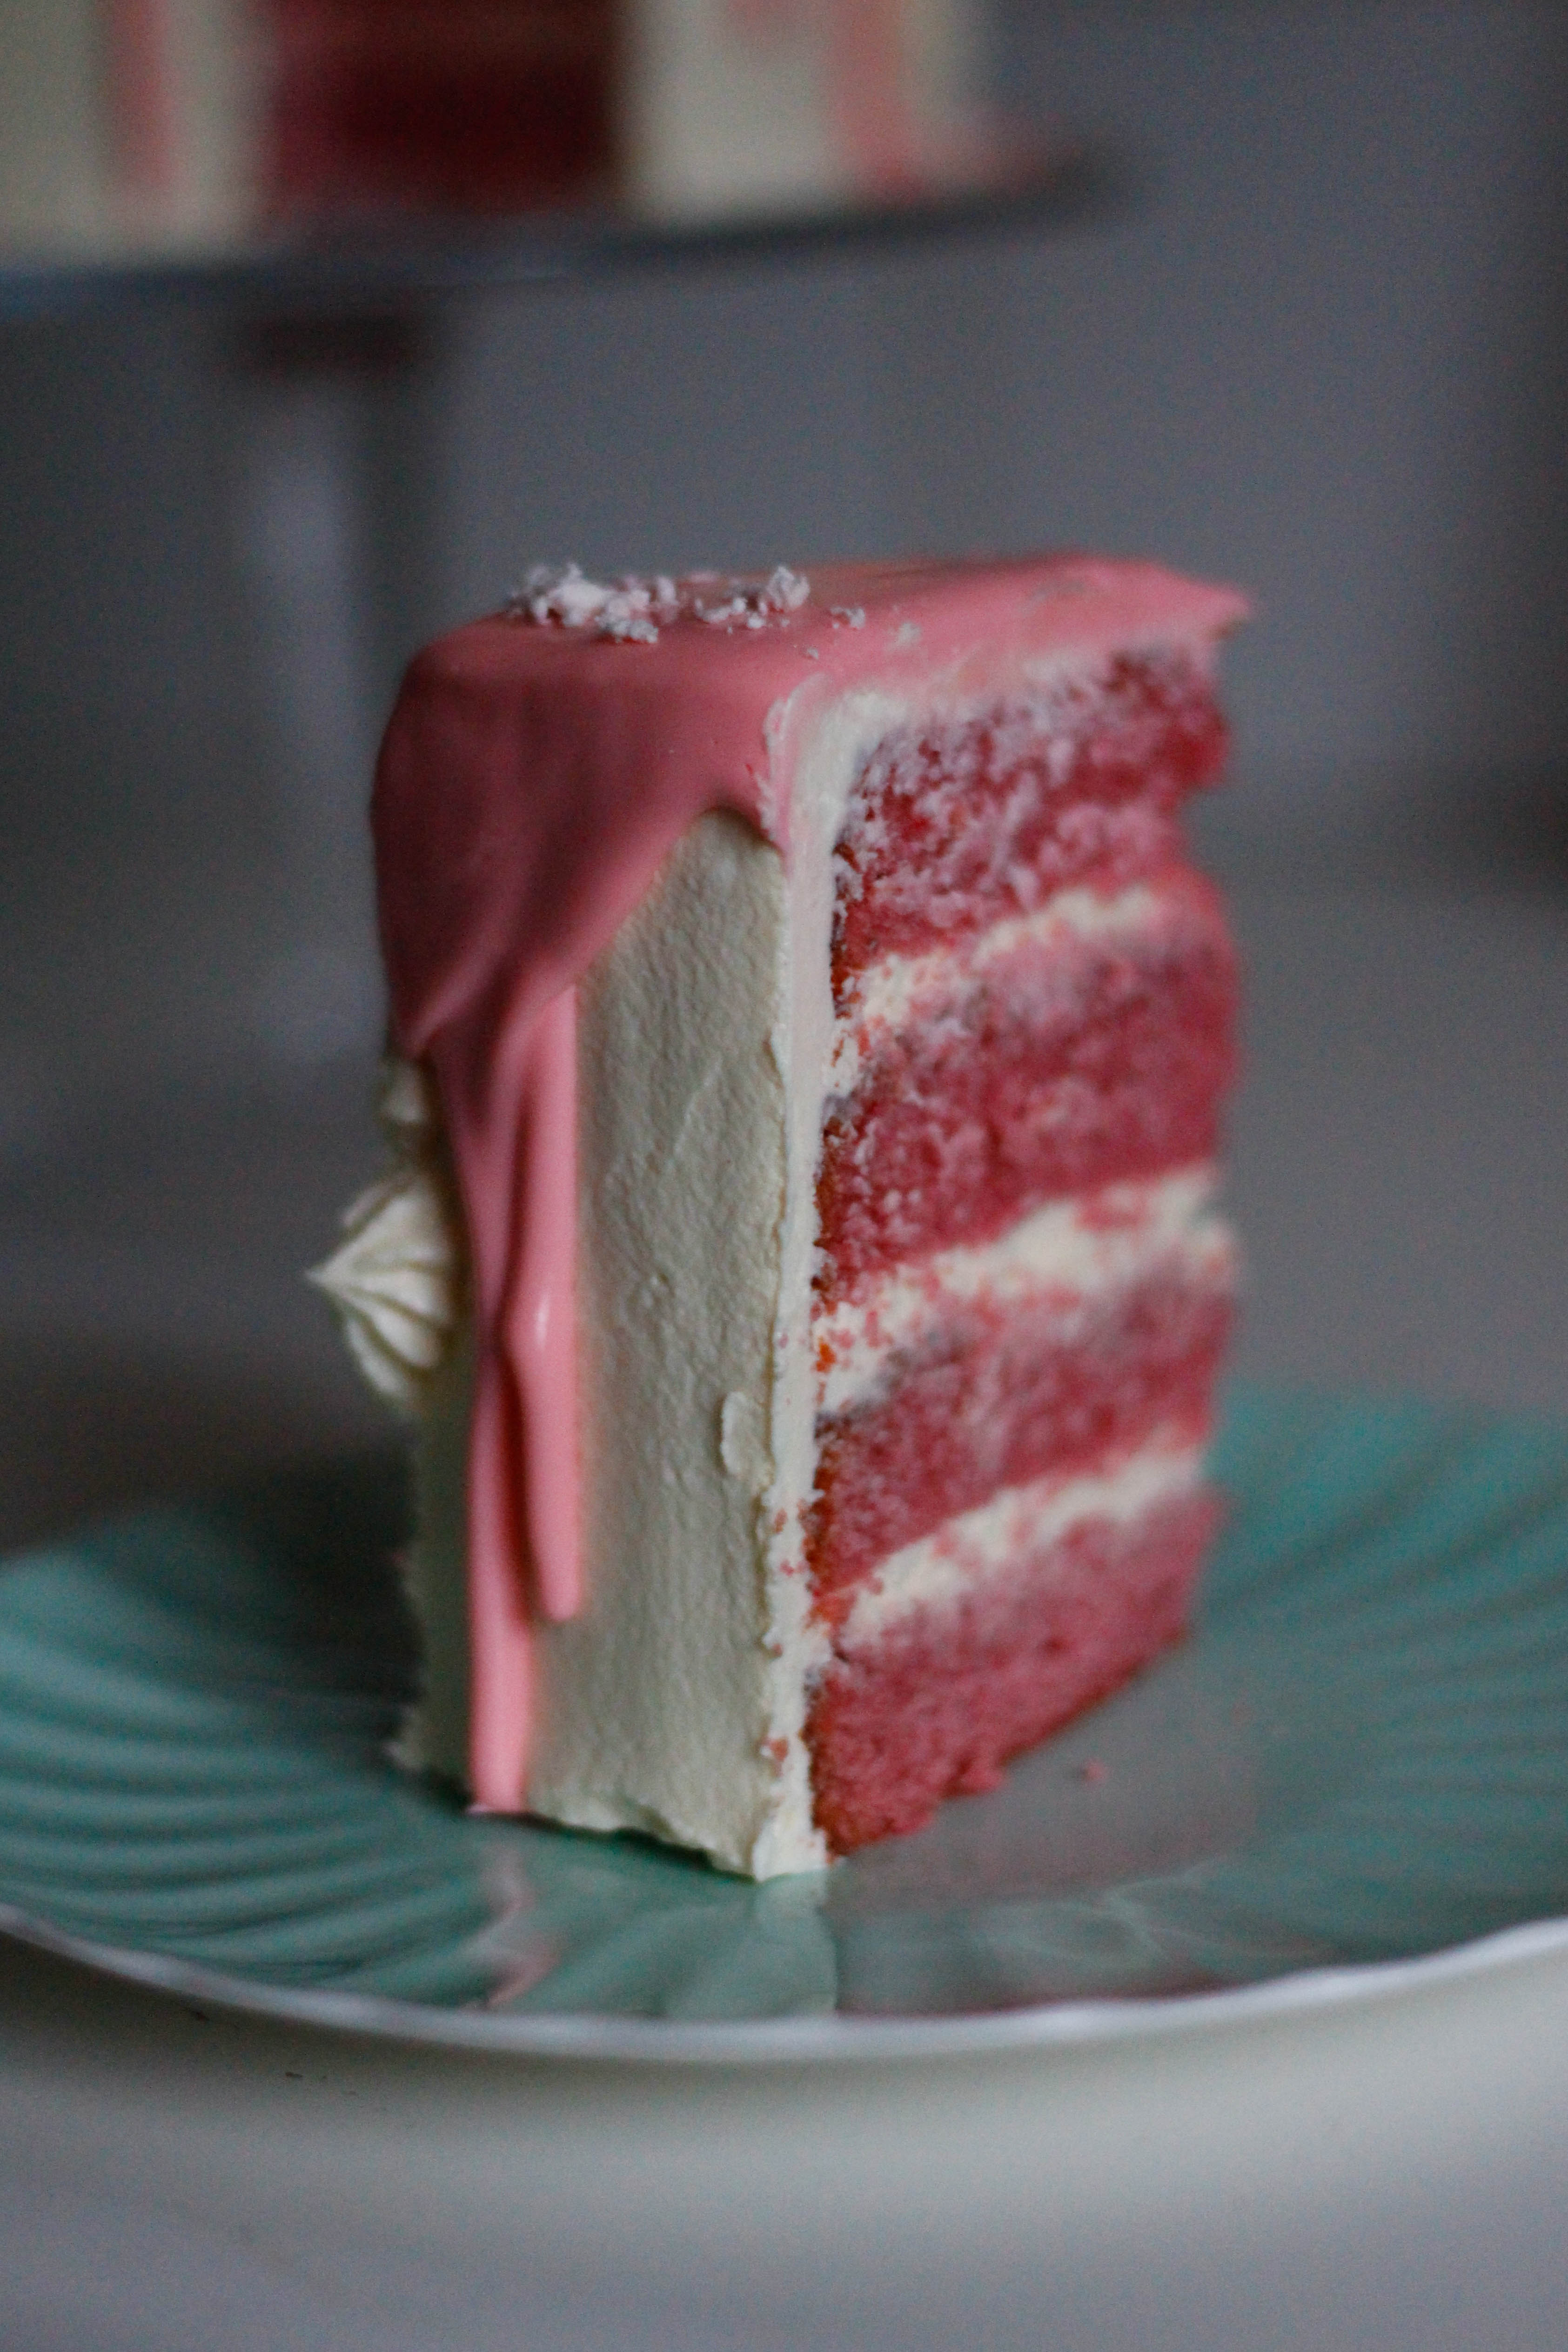
Strawberry Cream Cake

I have been sitting on this recipe for a while, and was reminded by the giant box of ruby red strawberries ripening in my kitchen that now is the perfect time to share it.
So if you too have a giant box of strawberries starting to ferment in the heat, now’s your chance to try this one.

This strawberry cream cake uses homemade jam to achieve a subtle fruity sweetness, reminiscent of the strawberry shakes of my youth. But don’t fret if you find yourself lacking in the strawberry department, just switch out the homemade jam for some good quality shop bought.
My favourites for this bake…


Click the image to shop the product.
Strawberry Cream Cake
Yield: 4 layer 6″ cake
Ingredients
Strawberry Jam
300g strawberries
200g sugar
1 lemon (juice only)
Strawberry Cake
360g plain flour
18g baking powder
200g butter
2 eggs
2 egg yolks
300g sugar
120ml milk
70g greek yoghurt
240g strawberry jam
Pink food colouring (optional)
Cream Filling
250ml double cream
75g icing sugar
60g cream cheese
Cream Frosting
40g flour
240ml milk
200g sugar
50g white chocolate
250g butter
120g cream cheese
150g icing sugar
Pink Chocolate Ganache
165g white chocolate
75g double cream
25g butter
25g liquid glucose
Pink and white food colourings (AmeriColor is my preferred)
Method
Strawberry Jam
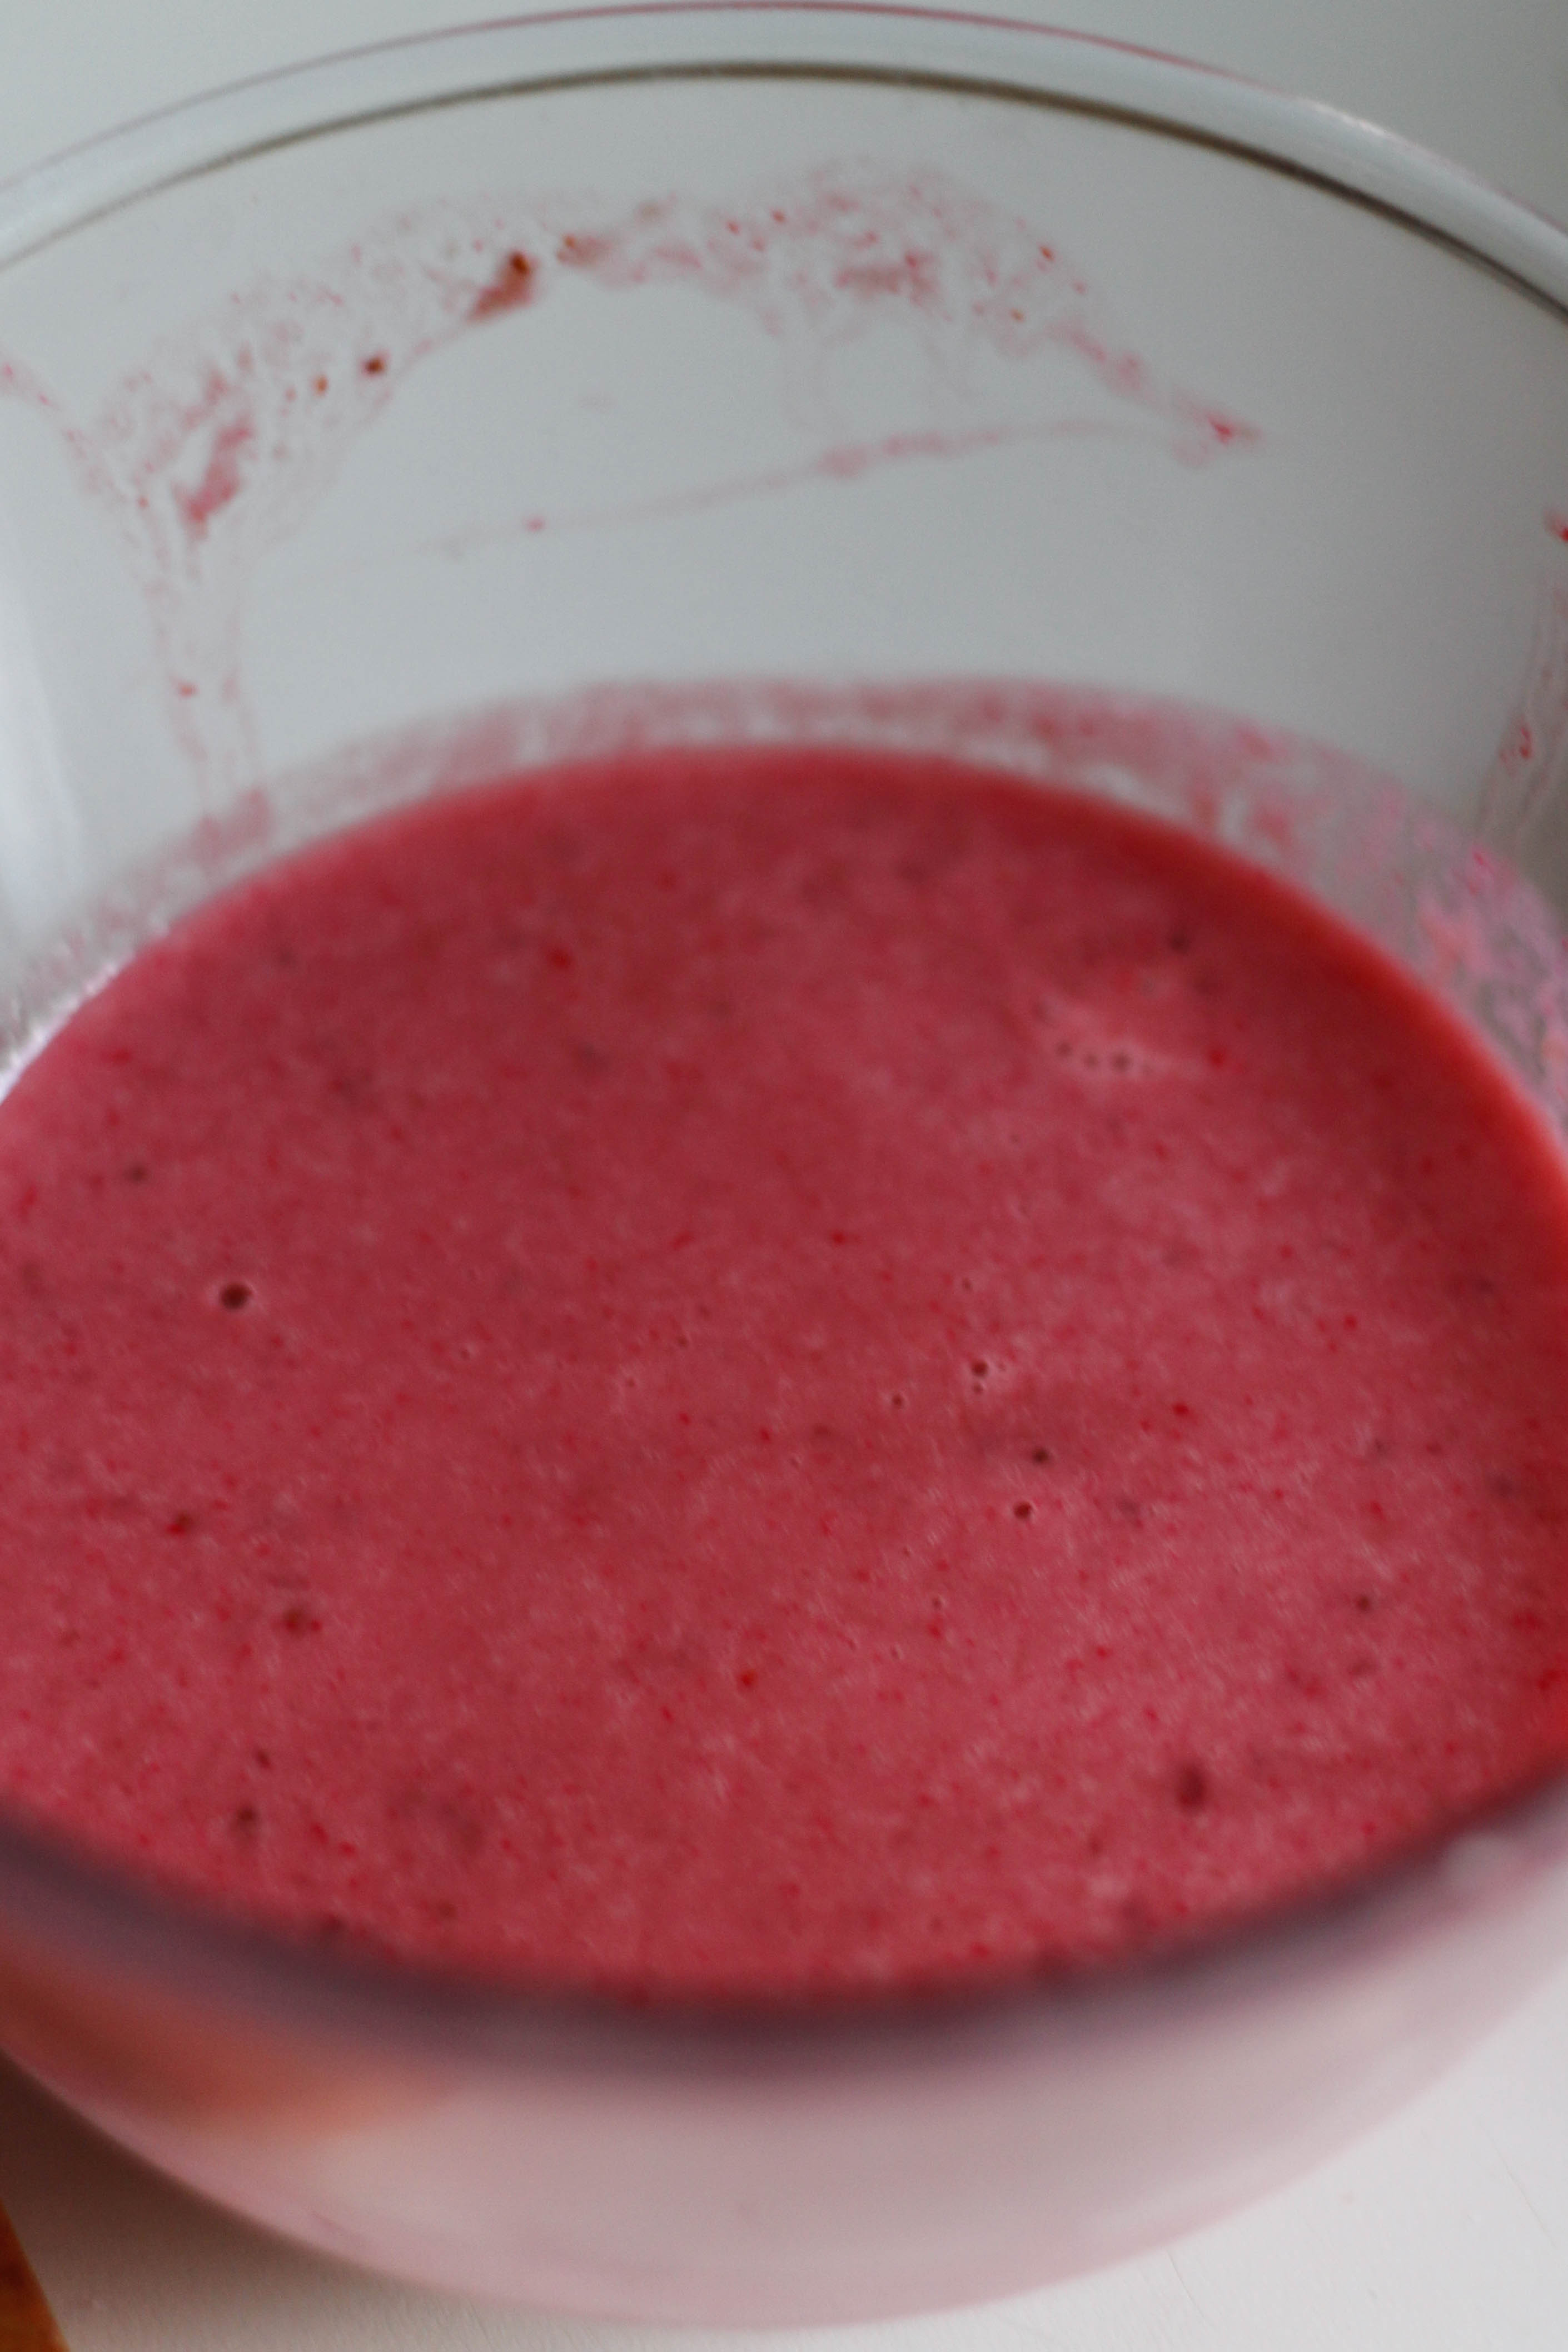
Place strawberries, sugar and lemon juice into a saucepan and gently bring to a boil, adding water as you go if the mixture starts to dry out before the strawberries have broken down.
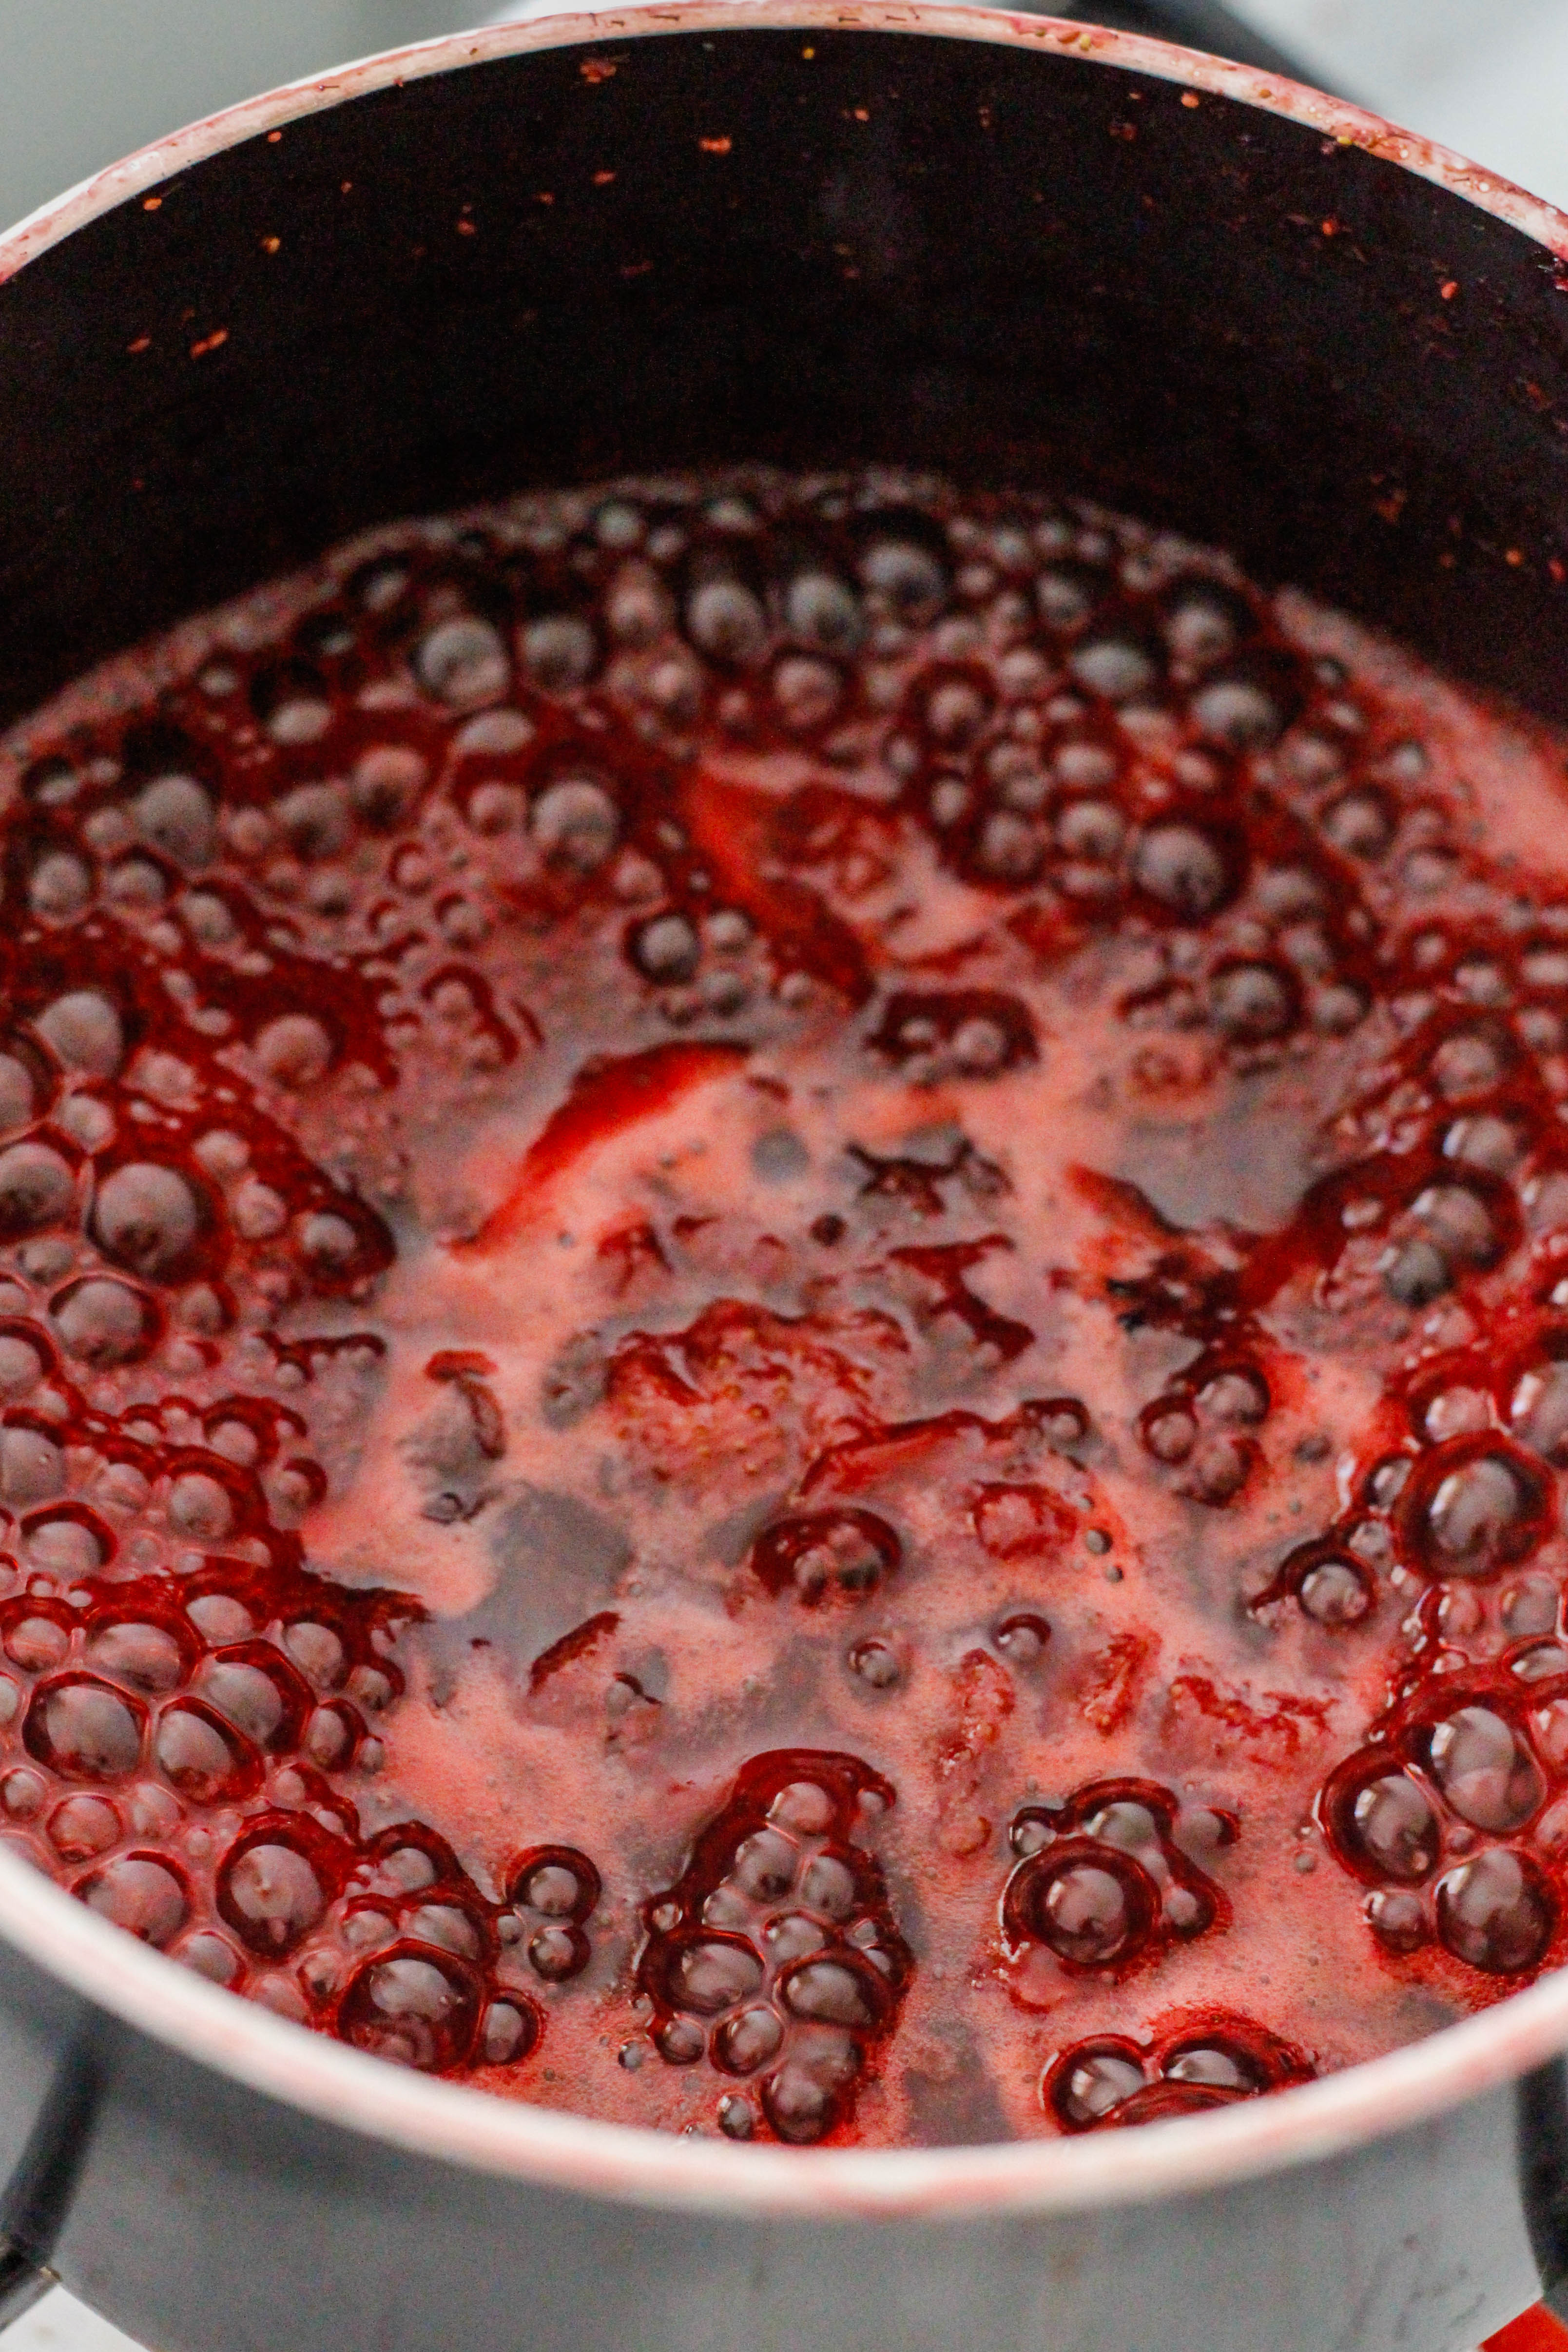
Once the mixture is smooth allow the extra liquid to boil off and the jam to thicken, then remove from heat and set aside to cool completely.
Strawberry Cake
Preheat oven to 180°C/170°C fan forced, and line a 6″ (15cm) springform cake tin with baking paper.
Sift together the plain flour, baking powder and sugar, then add in the butter and beat together until you have a fine crumb.


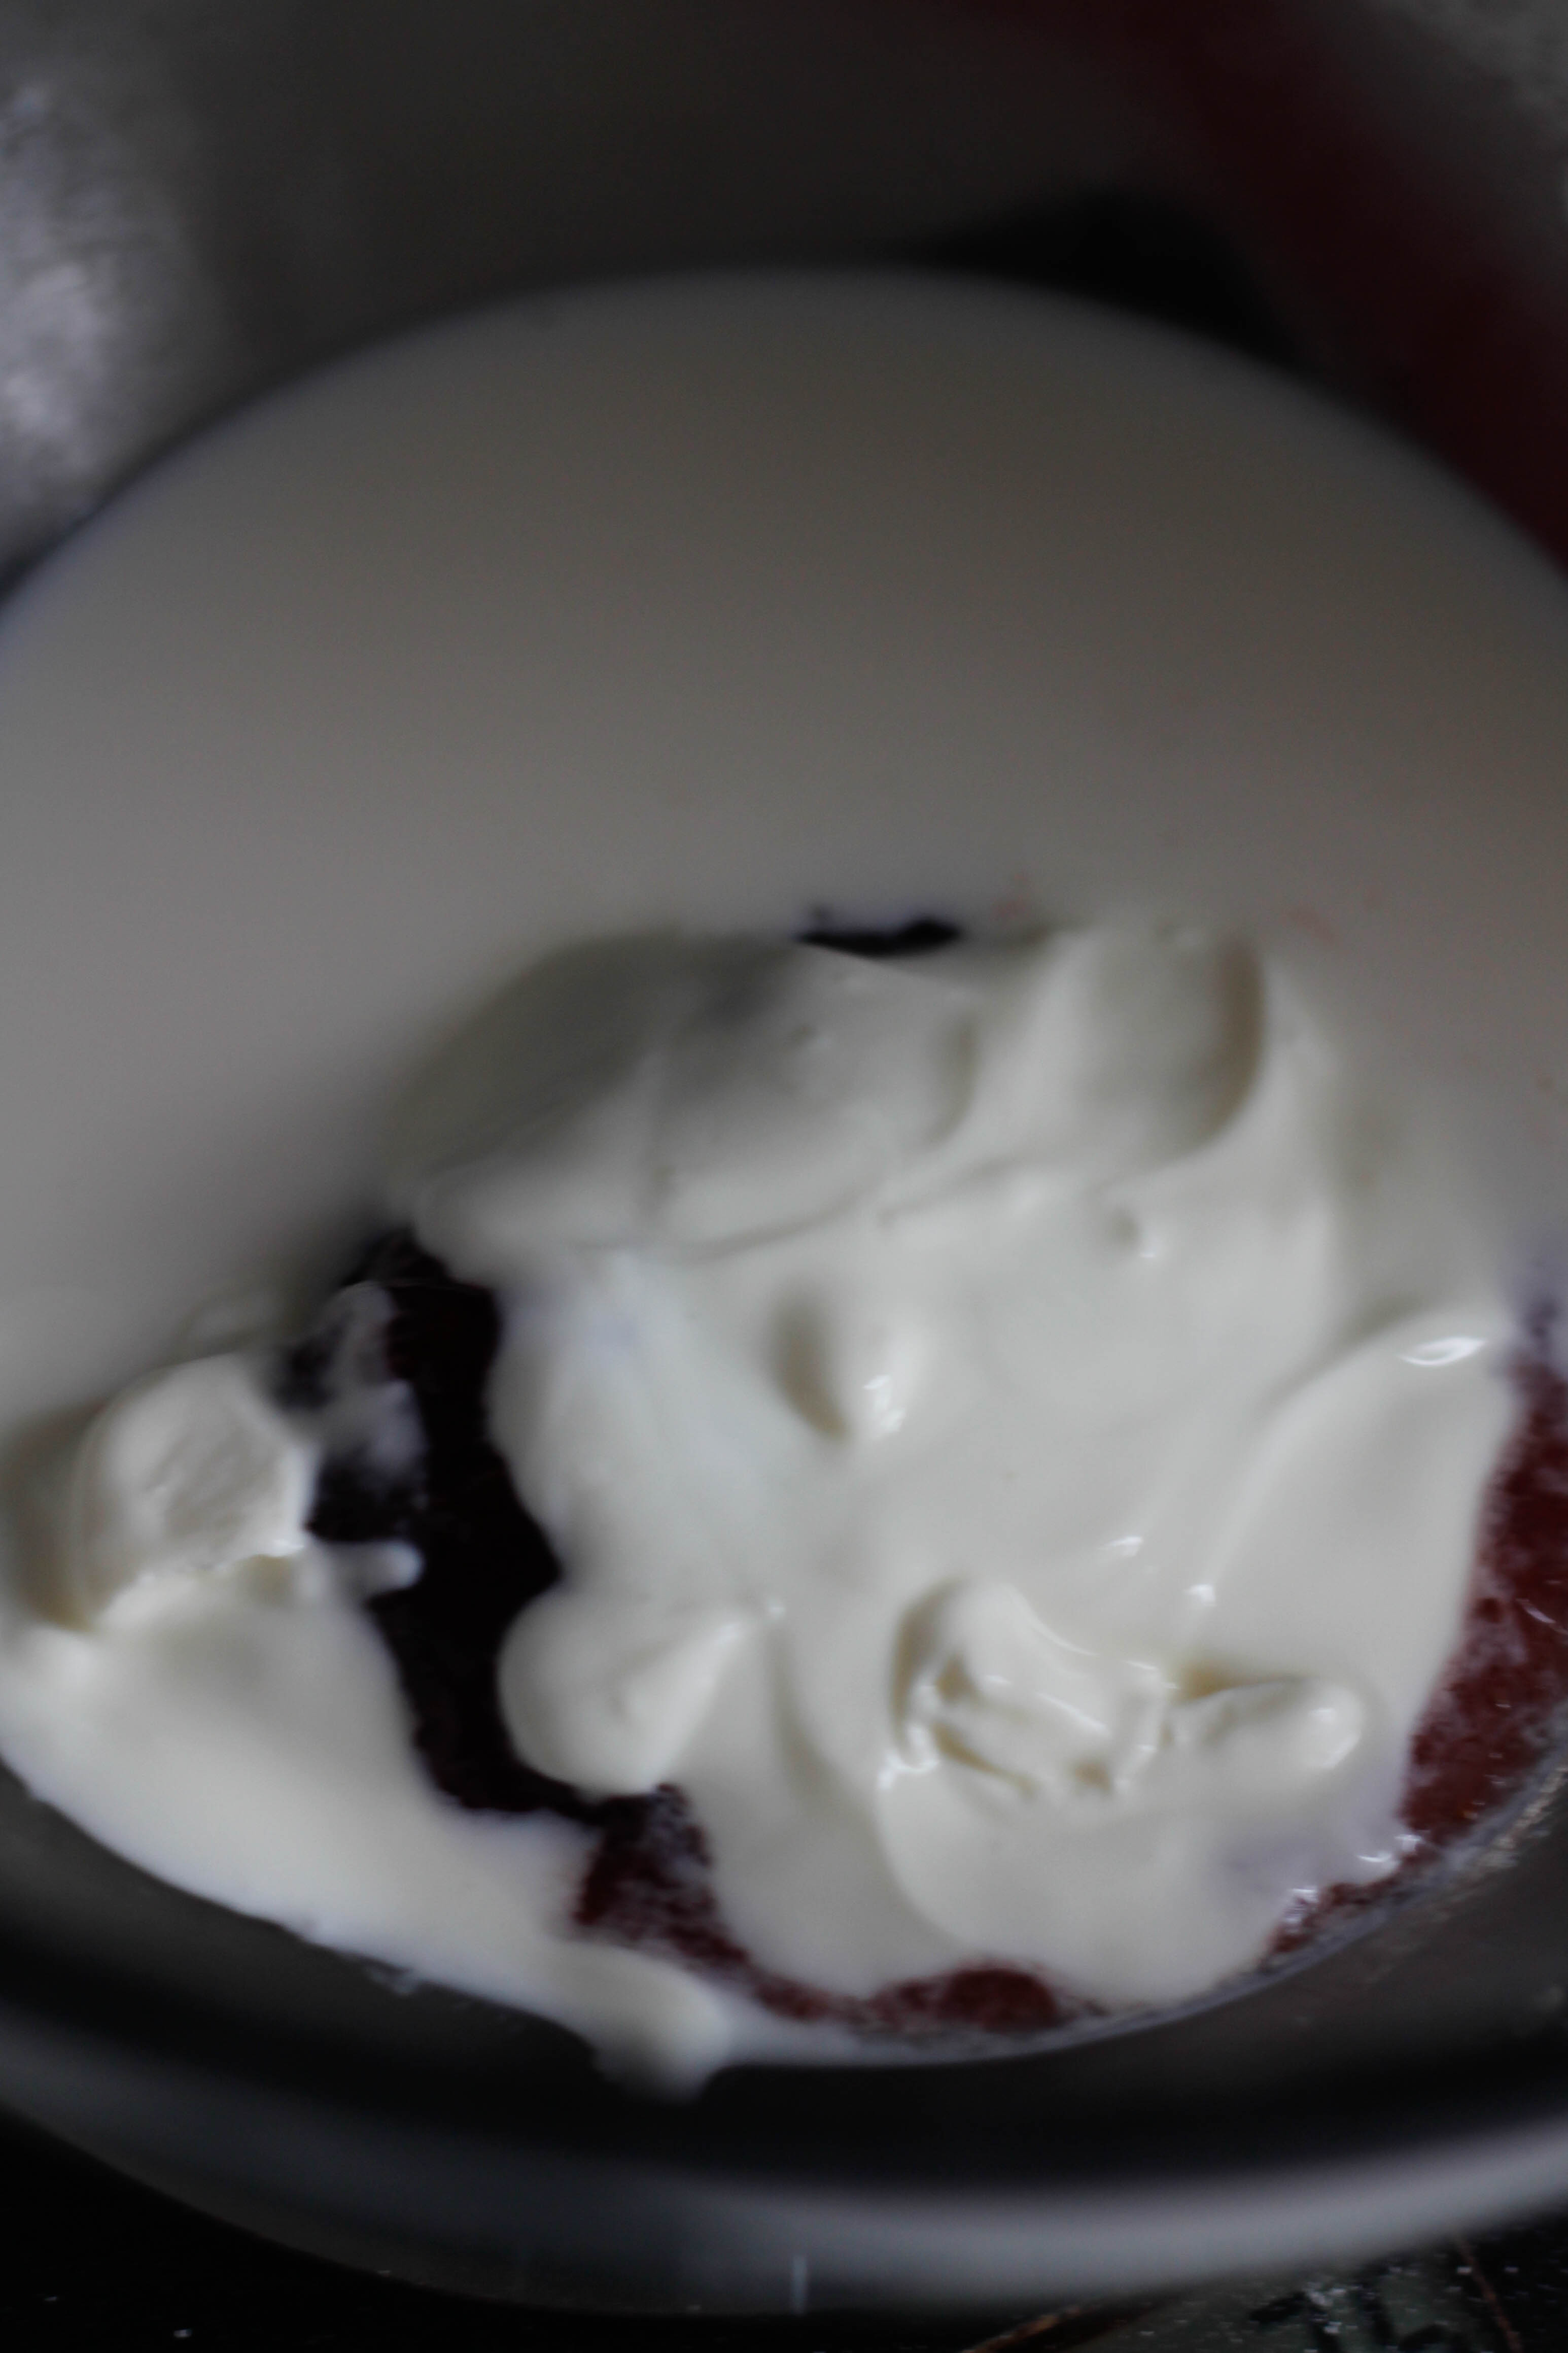
In a separate bowl whisk together the yoghurt, jam and milk, then add in the eggs.
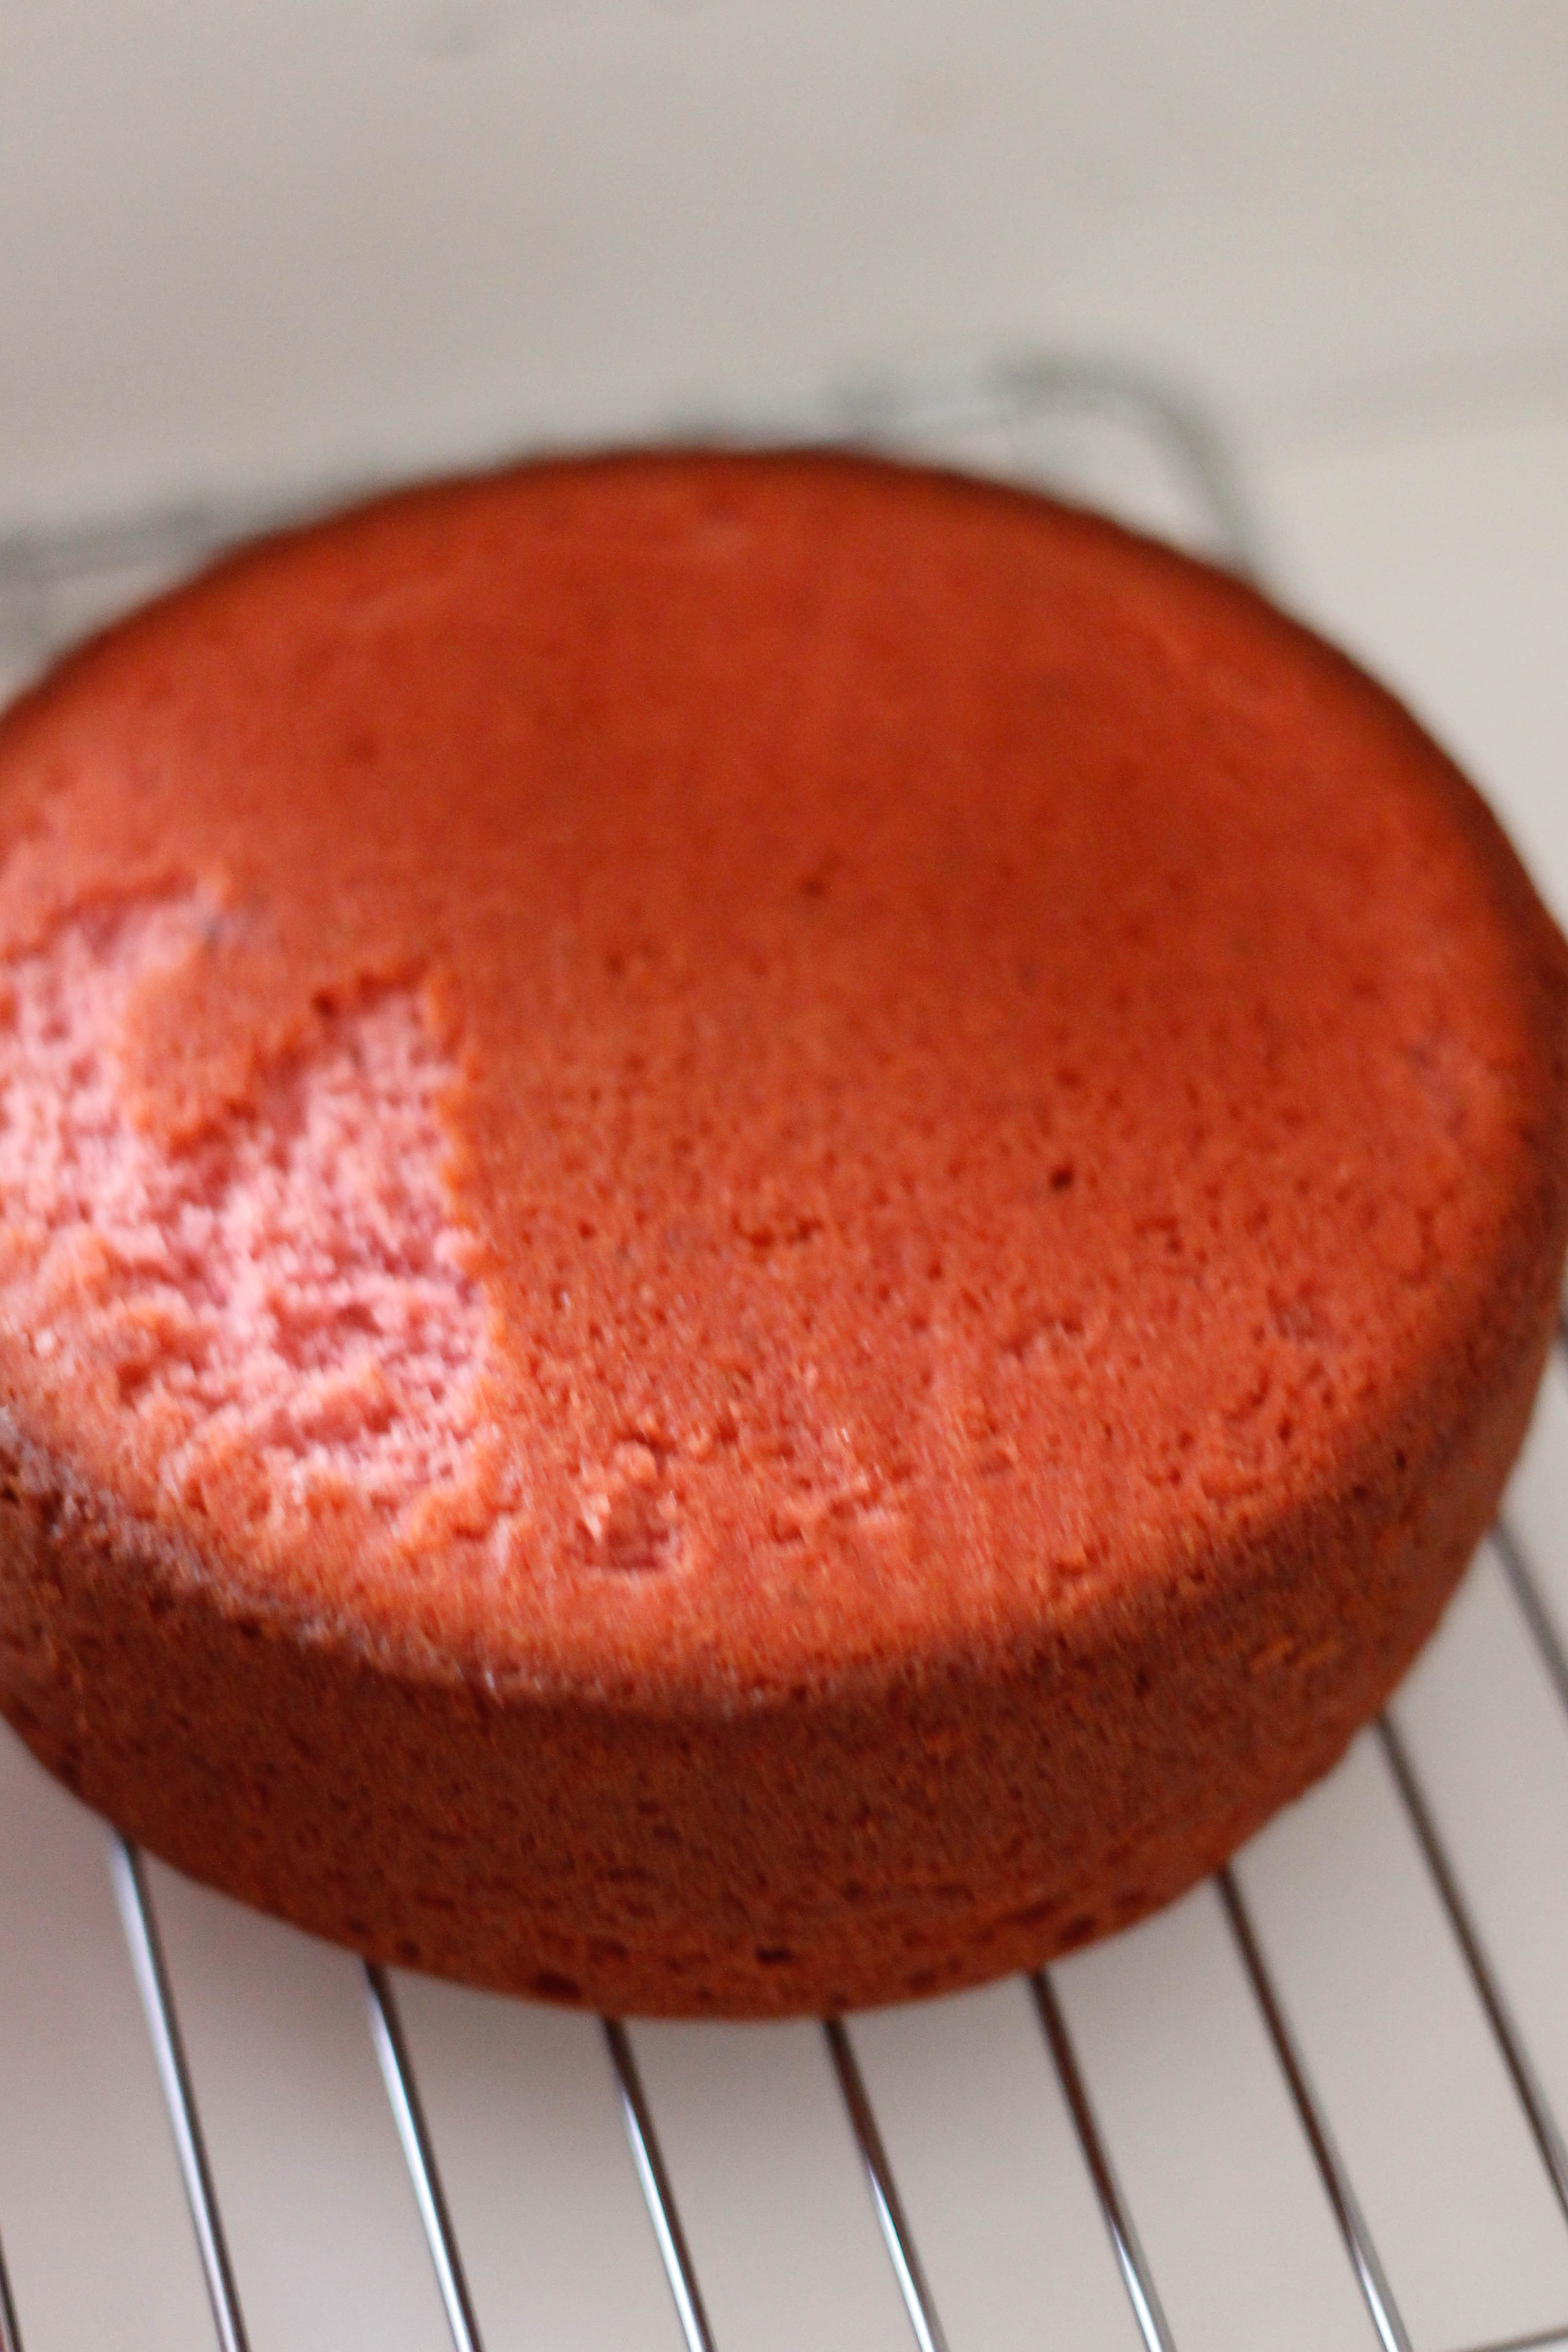
Pour the jam mixture into the flour mixture and beat until just combined. If using pink food colouring, add a few drops as you beat together until you achieve your desired colour.


Divide into two parts and bake each cake for 35 minutes, or just until cake skewer comes out clean. Leave to cool in the tin for a few minutes, then turn out onto a cooling rack.
Cream Filling
Whisk the cream cheese until smooth and set aside.
In a separate bowl start whisking the cream, adding the icing sugar as you go. Just before the cream has thickened to peaks, add in the cream cheese and whisk together until just combined and the mixture is smooth and thick.
Cream Frosting
Whisk together the flour, sugar and milk until combined, then pour through a sieve and into a saucepan. Add in the white chocolate and set over a low heat, stirring constantly until the mixture has thickened. Remove from the heat, cover with cling film and set aside to cool.
Beat the butter and icing sugar together until smooth, then add the cooled flour mixture and continue to beat until the mixture has paled to a creamy white.
In a separate bowl, whisk the cream cheese until smooth, then add this to the frosting and beat until just combined.

Assembling the cake
Once completely cool, cut the two cakes in half so that you have 4 even layers. I use a cake cutting wire to ensure my layers are even.
Tip: refrigerate cakes for at least an hour before cutting for an easier, cleaner cut. I bake my cakes the day before and refrigerate overnight before assembling.

Place the first cake layer on your cake stand, then cover with a layer of the cream filling. Place the next cake layer on top and repeat until you reach the fourth layer.
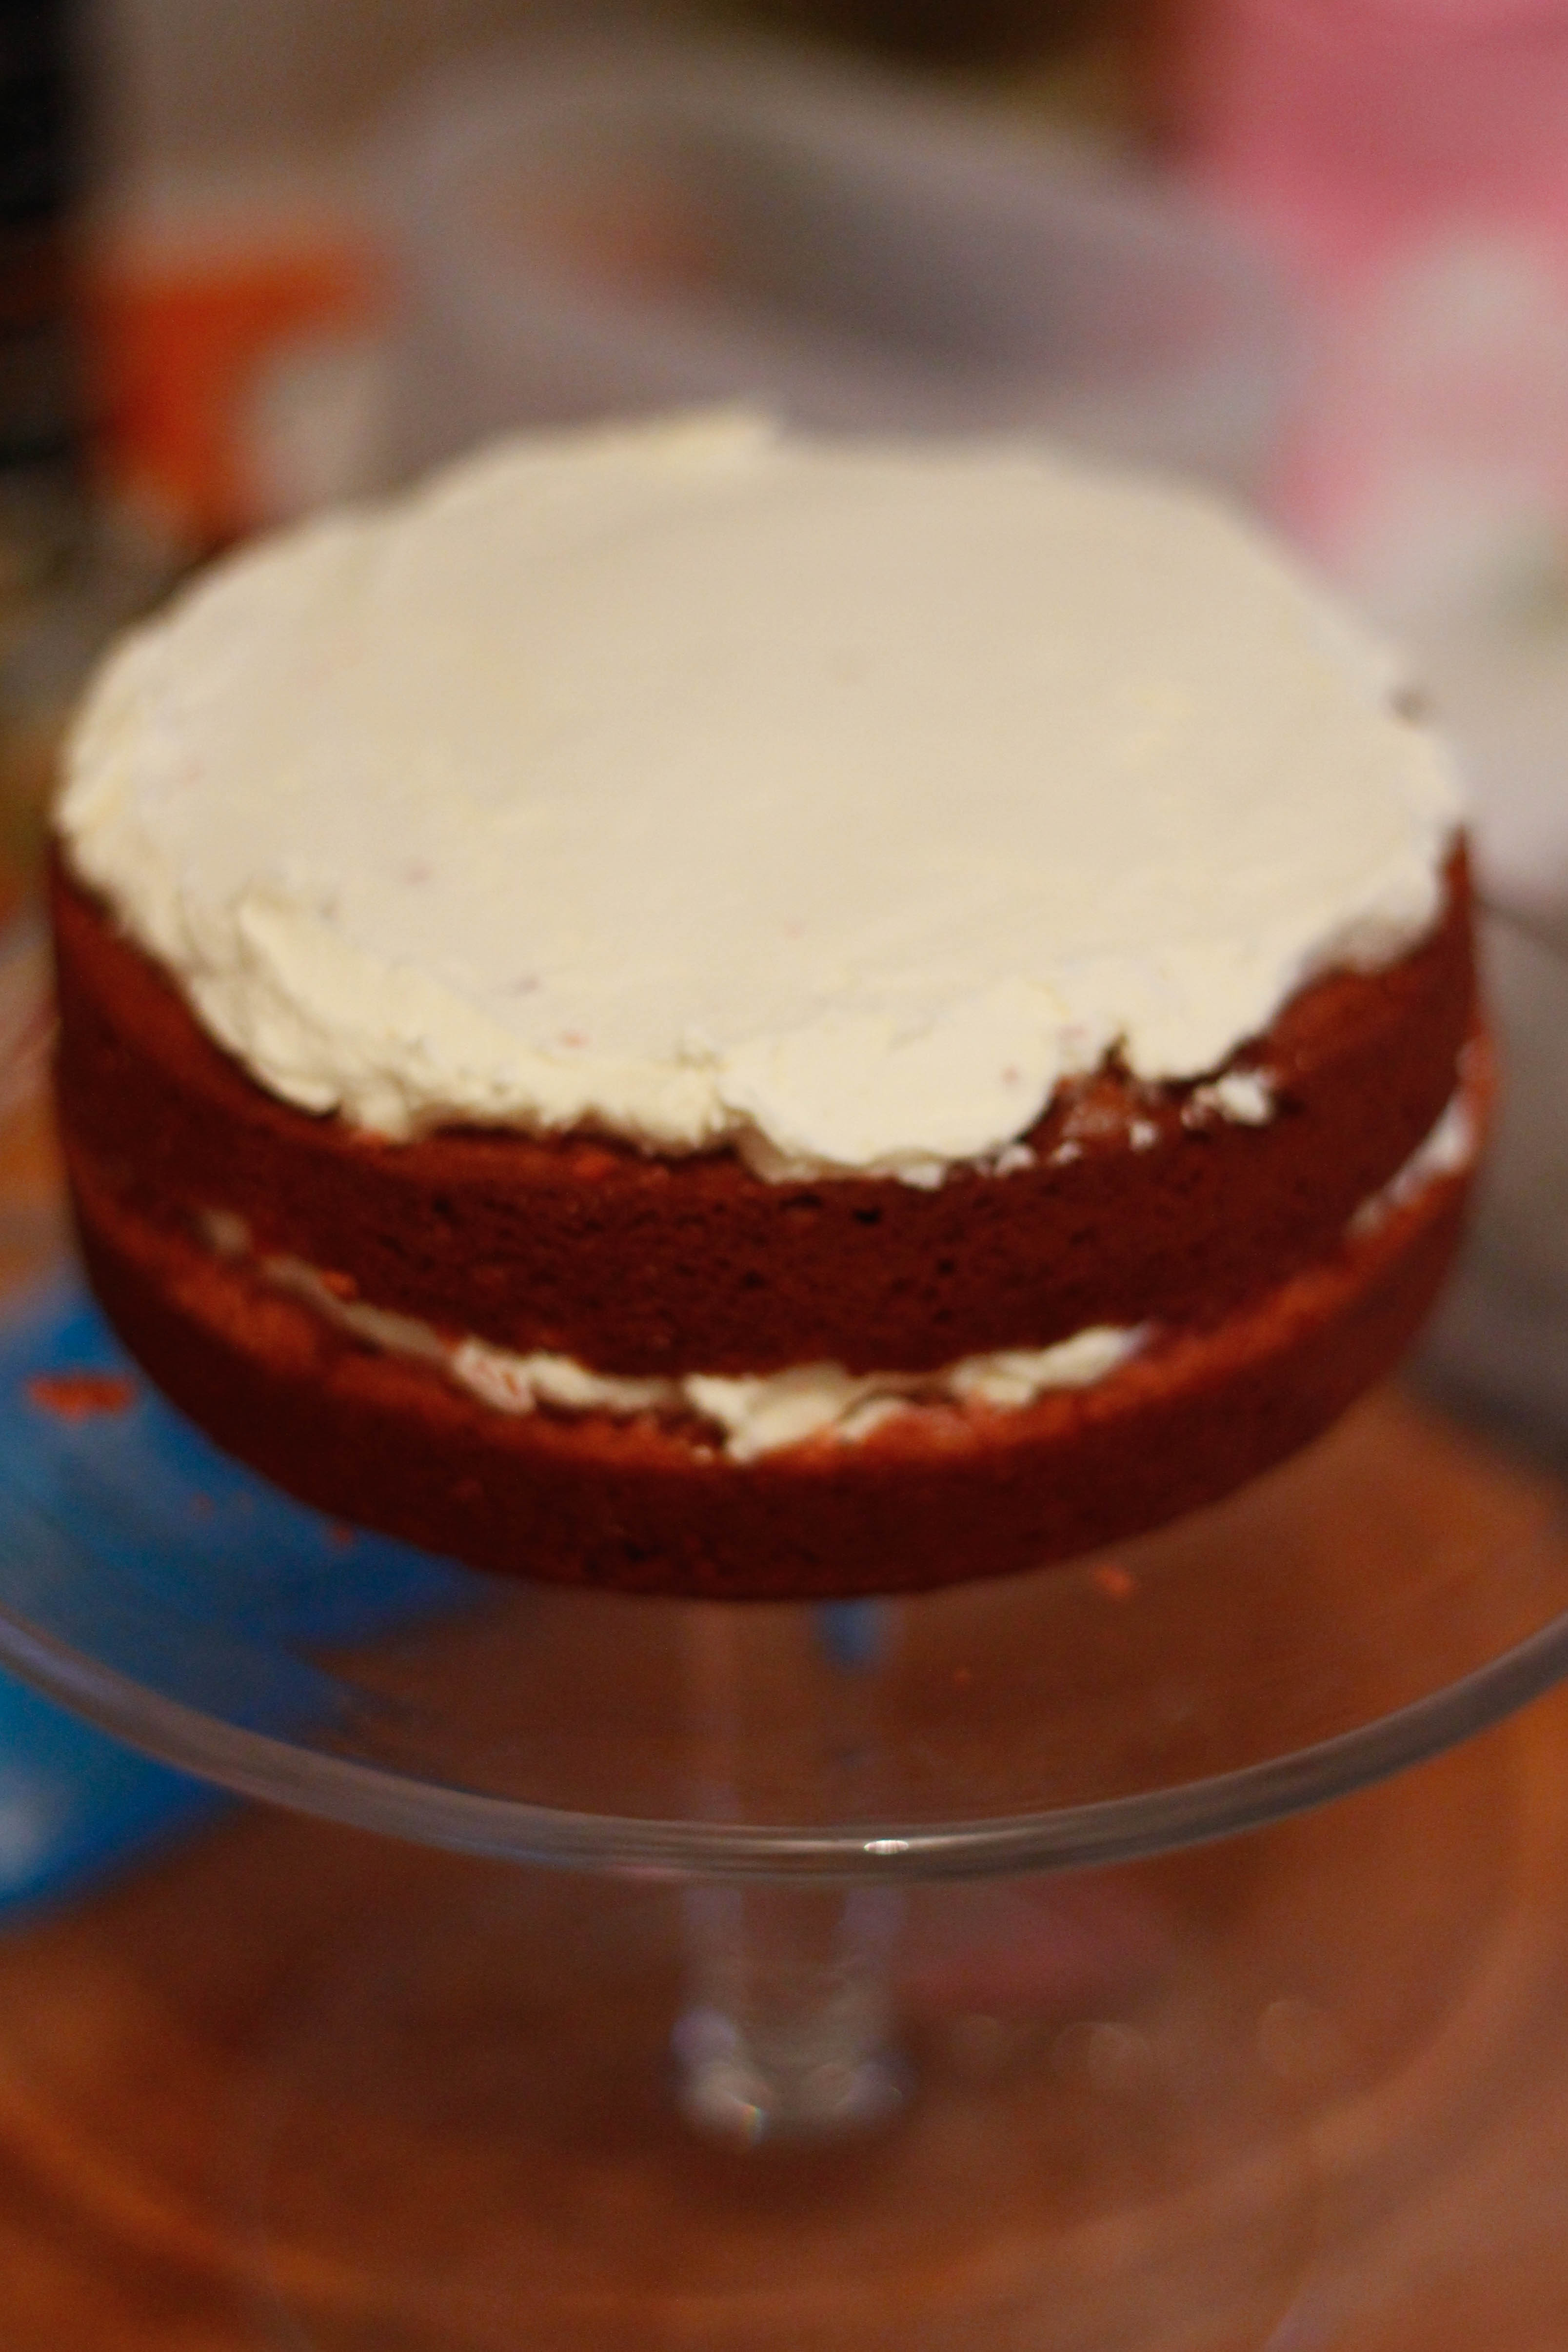
Using a palette knife, crumb coat the cake with a thin layer of frosting, then place in the refrigerator to set for about 30 minutes.
Take the cake from the refrigerator and coat in another, thicker layer of buttercream, smoothing the top and sides with the palette knife until you have a clean finish. Refrigerate again for about 30 minutes, or until icing is firm, before pouring your ganache drizzle.
Pink Chocolate Ganache
Break the chocolate into a bowl and set aside, then place the cream, butter and liquid glucose into a saucepan and heat gently until it just starts to bubble, stirring as you go.
Remove the cream mixture from the heat and pour over the chocolate pieces, then leave to rest for a few minutes. Stir the mixture intermittently until the ganache is smooth and the chocolate is completely melted.

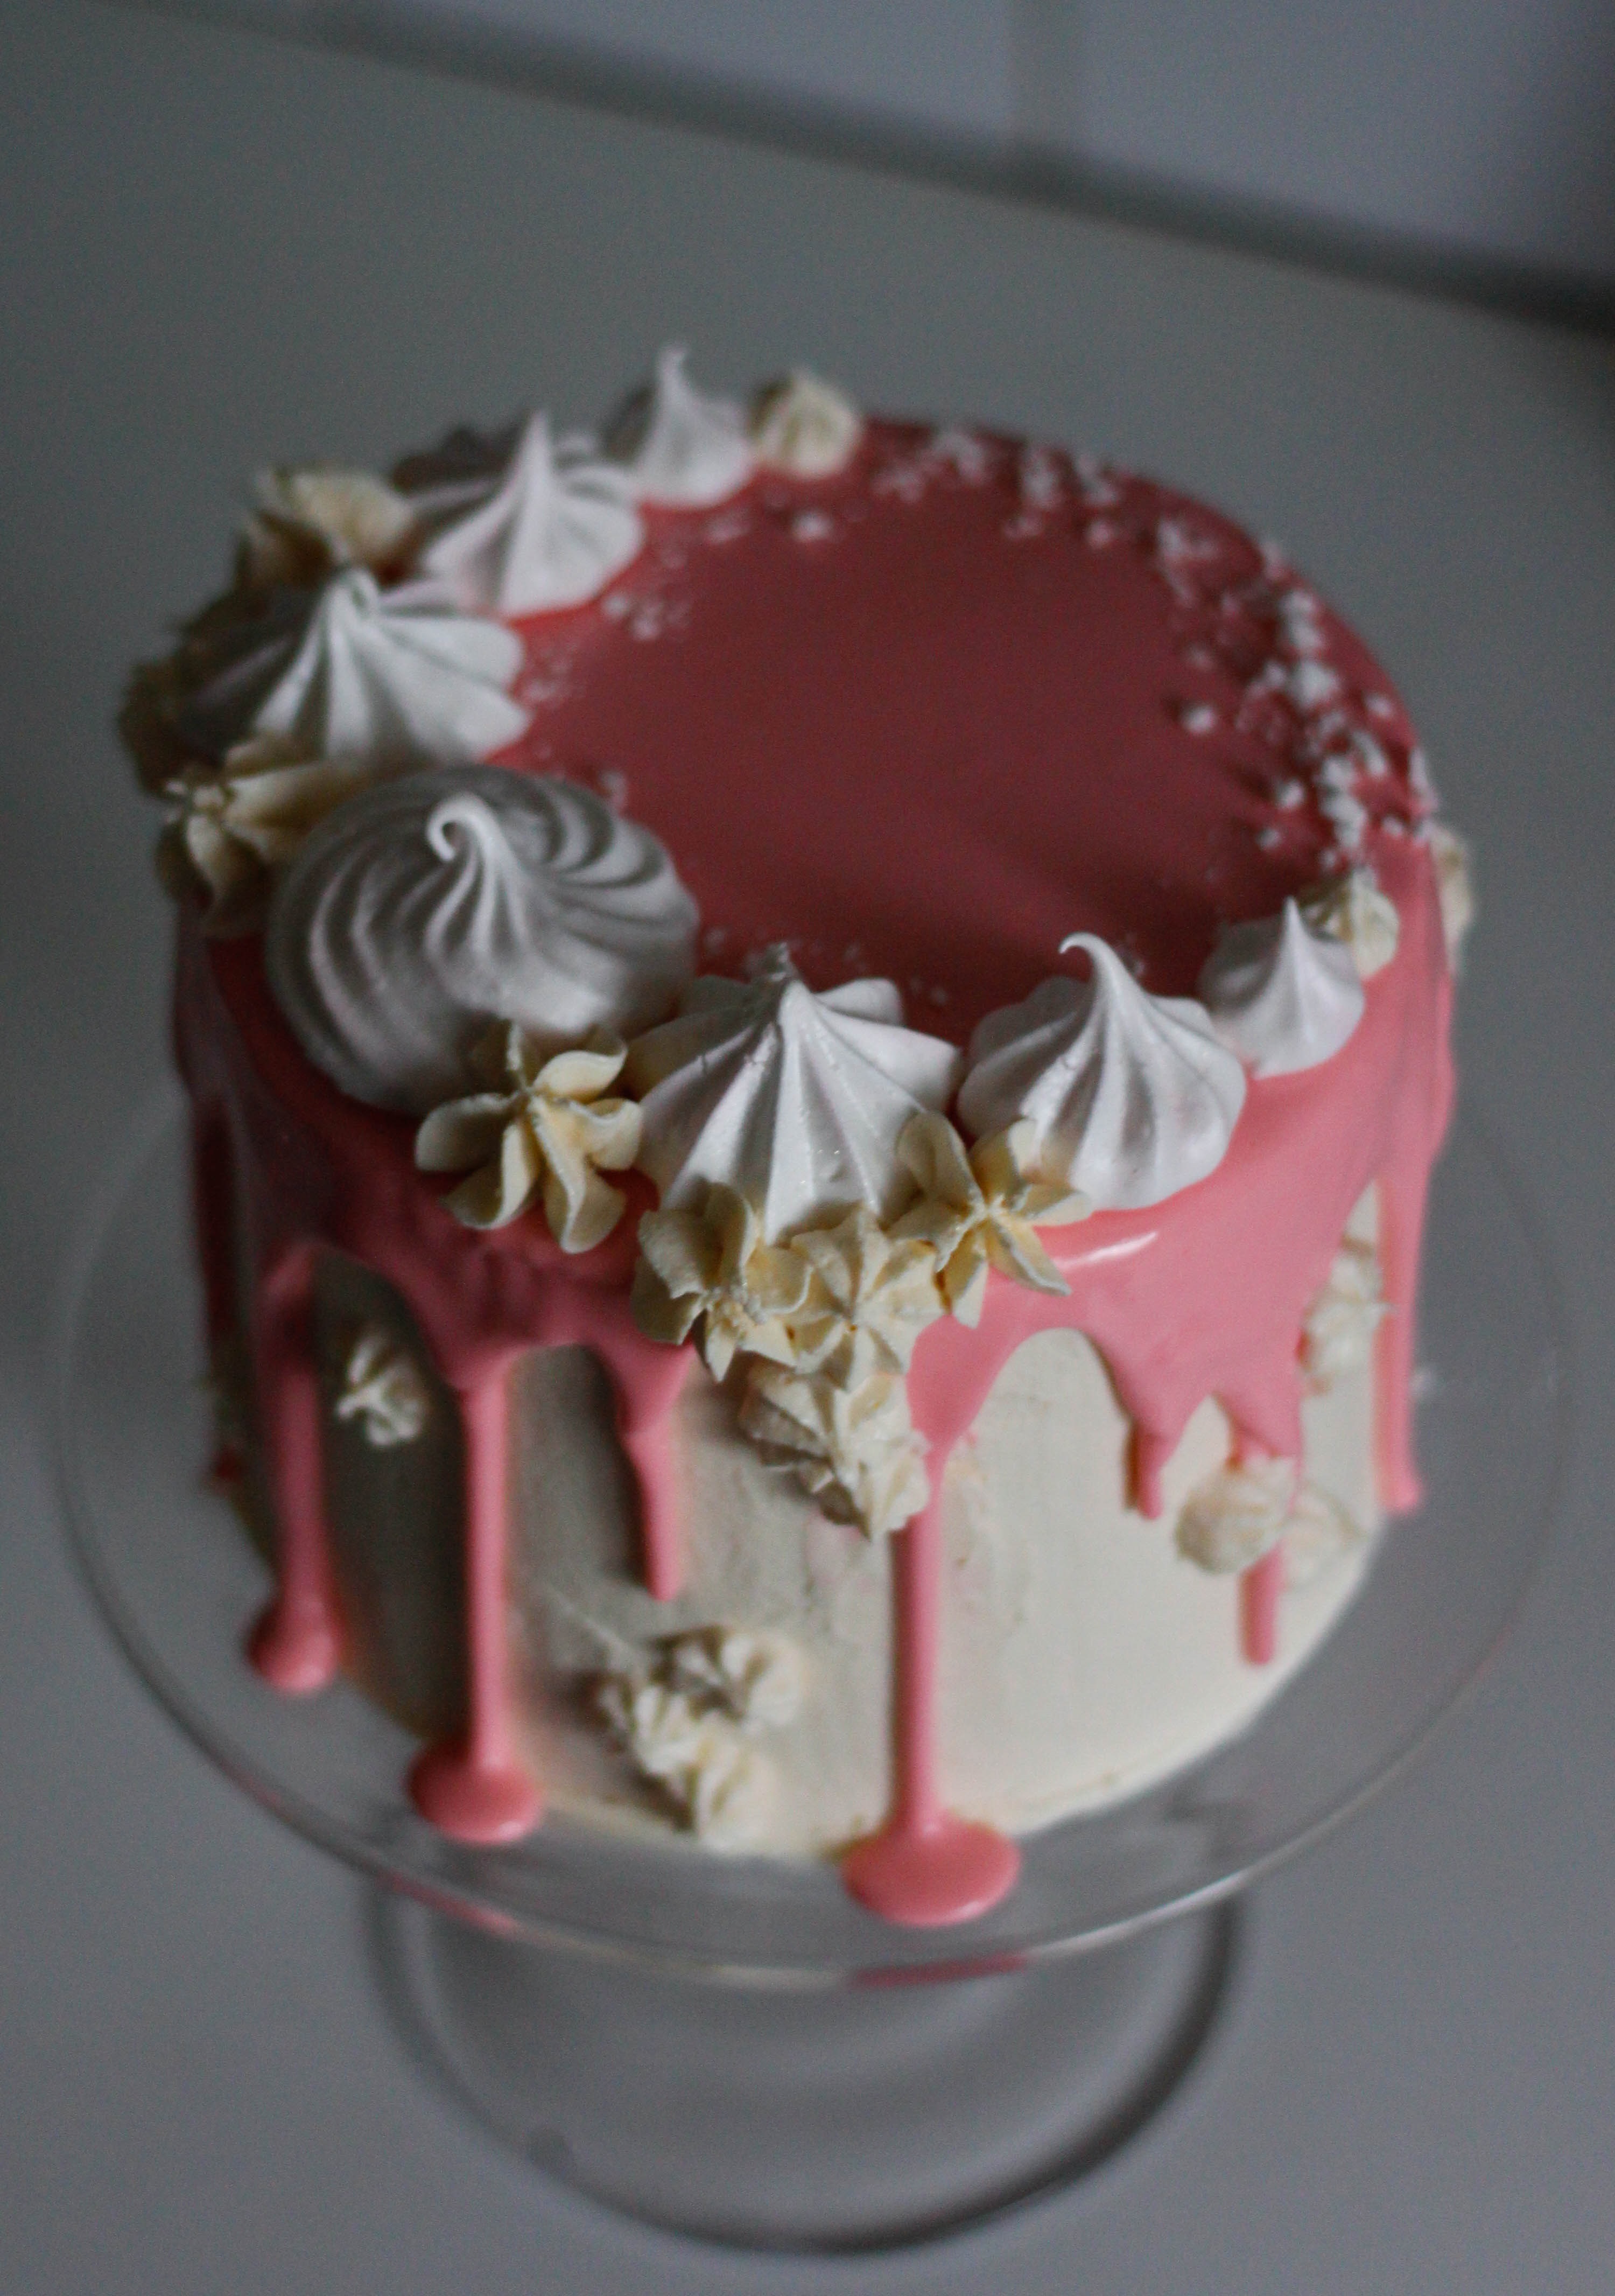
Add the pink food colouring and stir to combine. I also used some white food colouring to achieve the pastel pink colour pictured.
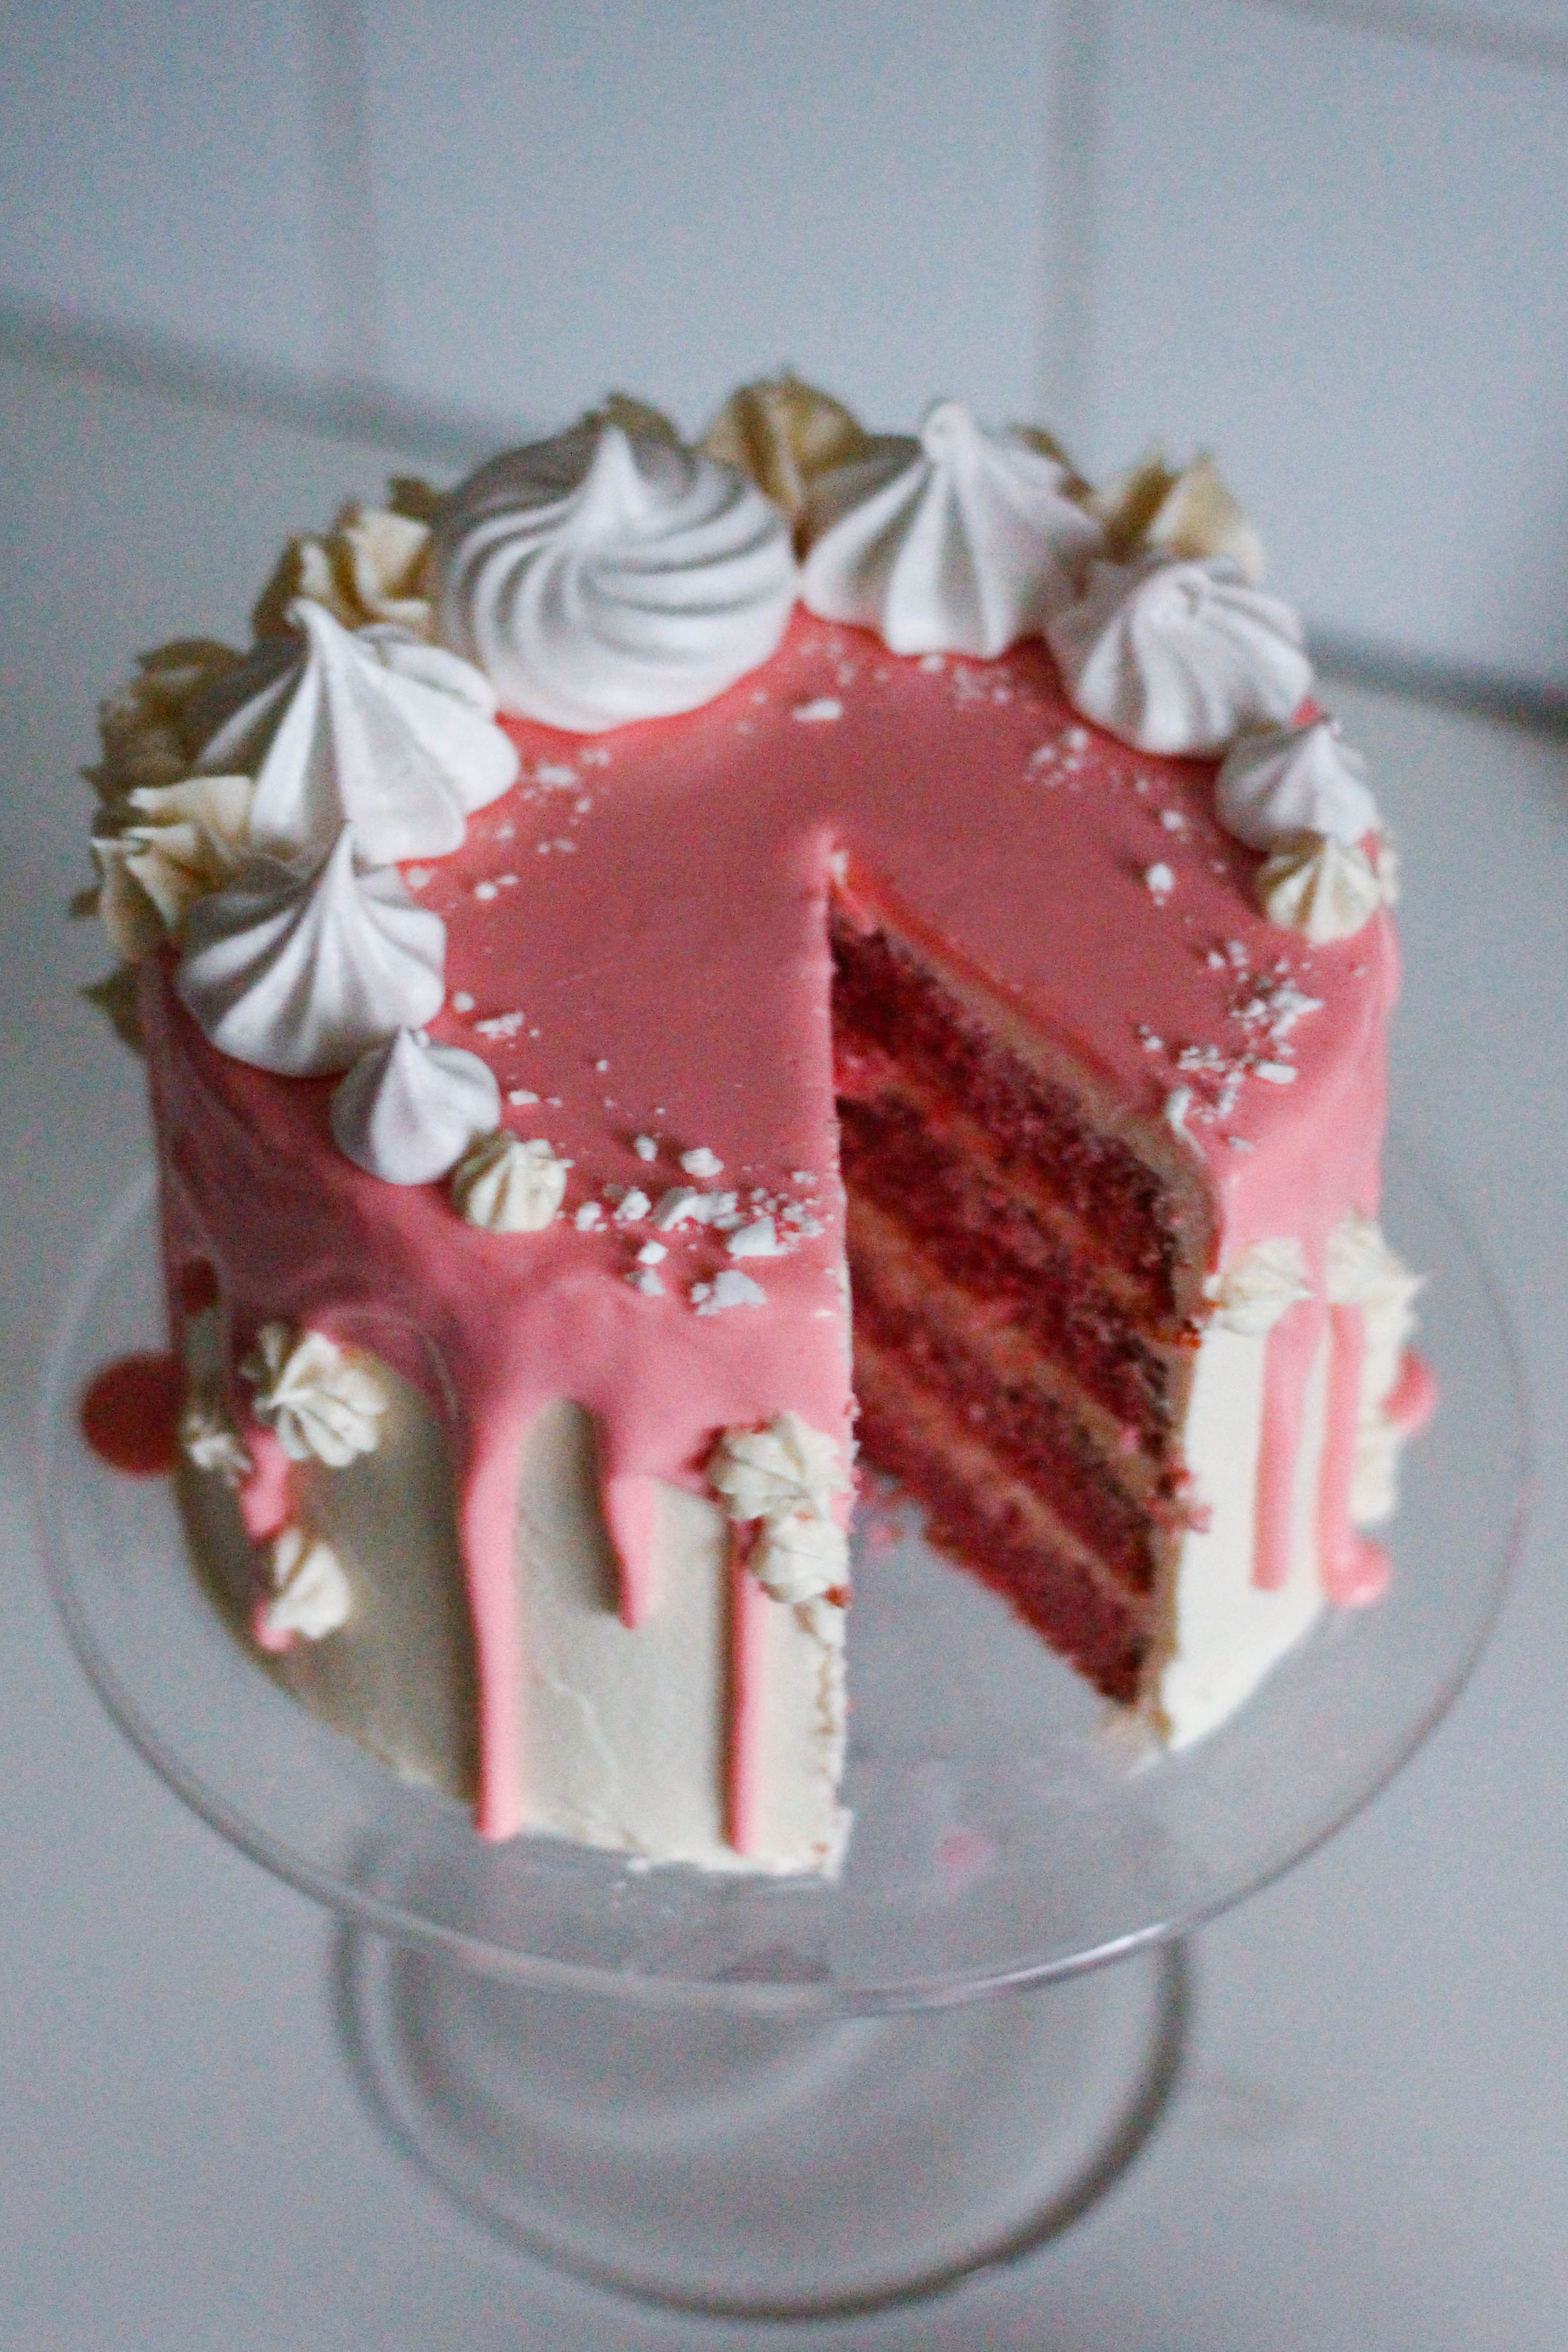
Allow to cool to room temperature, then slowly pour over your cold cake, allowing a gentle drip to run down the sides of the cake. Do this slowly, as you will not need all of the ganache.
Place in the refrigerator to allow the drips to set, then decorate as you please! I used left over frosting and some meringue kisses to top my cake.
Enjoy… x
