
You can build your cake on a plate, or what ever you would like to display it on, but be warned – it can get messy! If you are adding detailing around the base of your cake, remember to clean the edges of your plate first. A revolving cake stand, some baking paper and a cake board is by far the better way!
What you will need:
A wire cake cutter or cake levelling (large serrated) knife
Cake stand
Cake board the same size as your cake
Baking paper
Palette knife
Palette knives come in a number of different sizes, with straight blades and angled blades, all designed to make your frosting job that little bit easier. I use to use a regular butter knife. I now have a straight edge palette knife. It’s amazing. My butter knife worked fine, but my palette knife works better, and I’m sure I will say the same thing when I invest in an angled palette knife. All the same, you can get the job done with whatever you have, you will just get a better finish with the proper equipment.
To Level
For obvious reasons, you will need to make sure your cake layers are level before you stack them up. You can do this with a serrated knife, and just work the knife around the cake, turning it continually until you reach the centre. If you have a wire cutter with notches, even better. If you have a very pronounced dome shaped cake then don’t worry too much about the edges, just try to get the cake level to within an inch of the edges – you can fill the gaps with frosting later.
To Fill
If you are using a cake board, place a sheet of baking paper between the cake stand, or plate, and your cake board, then place the first layer of your cake on top. If, like myself in this example, you don’t have a cake board and are using a plate, just place the first layer of your cake directly onto the centre of your plate!
To fill your cake, place a couple of spoons of frosting in the centre and work it around to the outside with a palette knife. Try to get the surface even for your next layers. You can also use a piping bag for this, starting at the edges and making circles until you reach the centre, you can then smooth this out with your palette knife. Place the next layer of your cake on top, taking care that it is centred and level, and repeat.

To Crumb Coat
After you’ve stacked your cake layers, but before you frost your cake, you will need to do a crumb coating. A crumb coat, for all intents and purposes, is something like a primer. A base that will give your frosting a lovely smooth finish, without those nasty little crumbs floating around. The first thing to do is to fill any gaps in the edges of your cake layers, just grab a dollop of frosting with your palette knife and slap it onto the side of the cake, working it into the gaps. Once your cake is happily gap free, place a spoon of frosting on the top of your cake and work this out and around the cake so that it provides a fine, glue-like coating over the entirety of your cake. If your frosting is very thick and rolling over the cake without sticking, take a dollop aside and add a little water or milk to thin it out for your crumb coat. Do not put your dirty crumb filled palette knife back into your fluffy clean frosting – this will completely defeat the purpose of your crumb coat!
Put your crumb coated cake in the fridge for 20 minutes before frosting.

To Frost
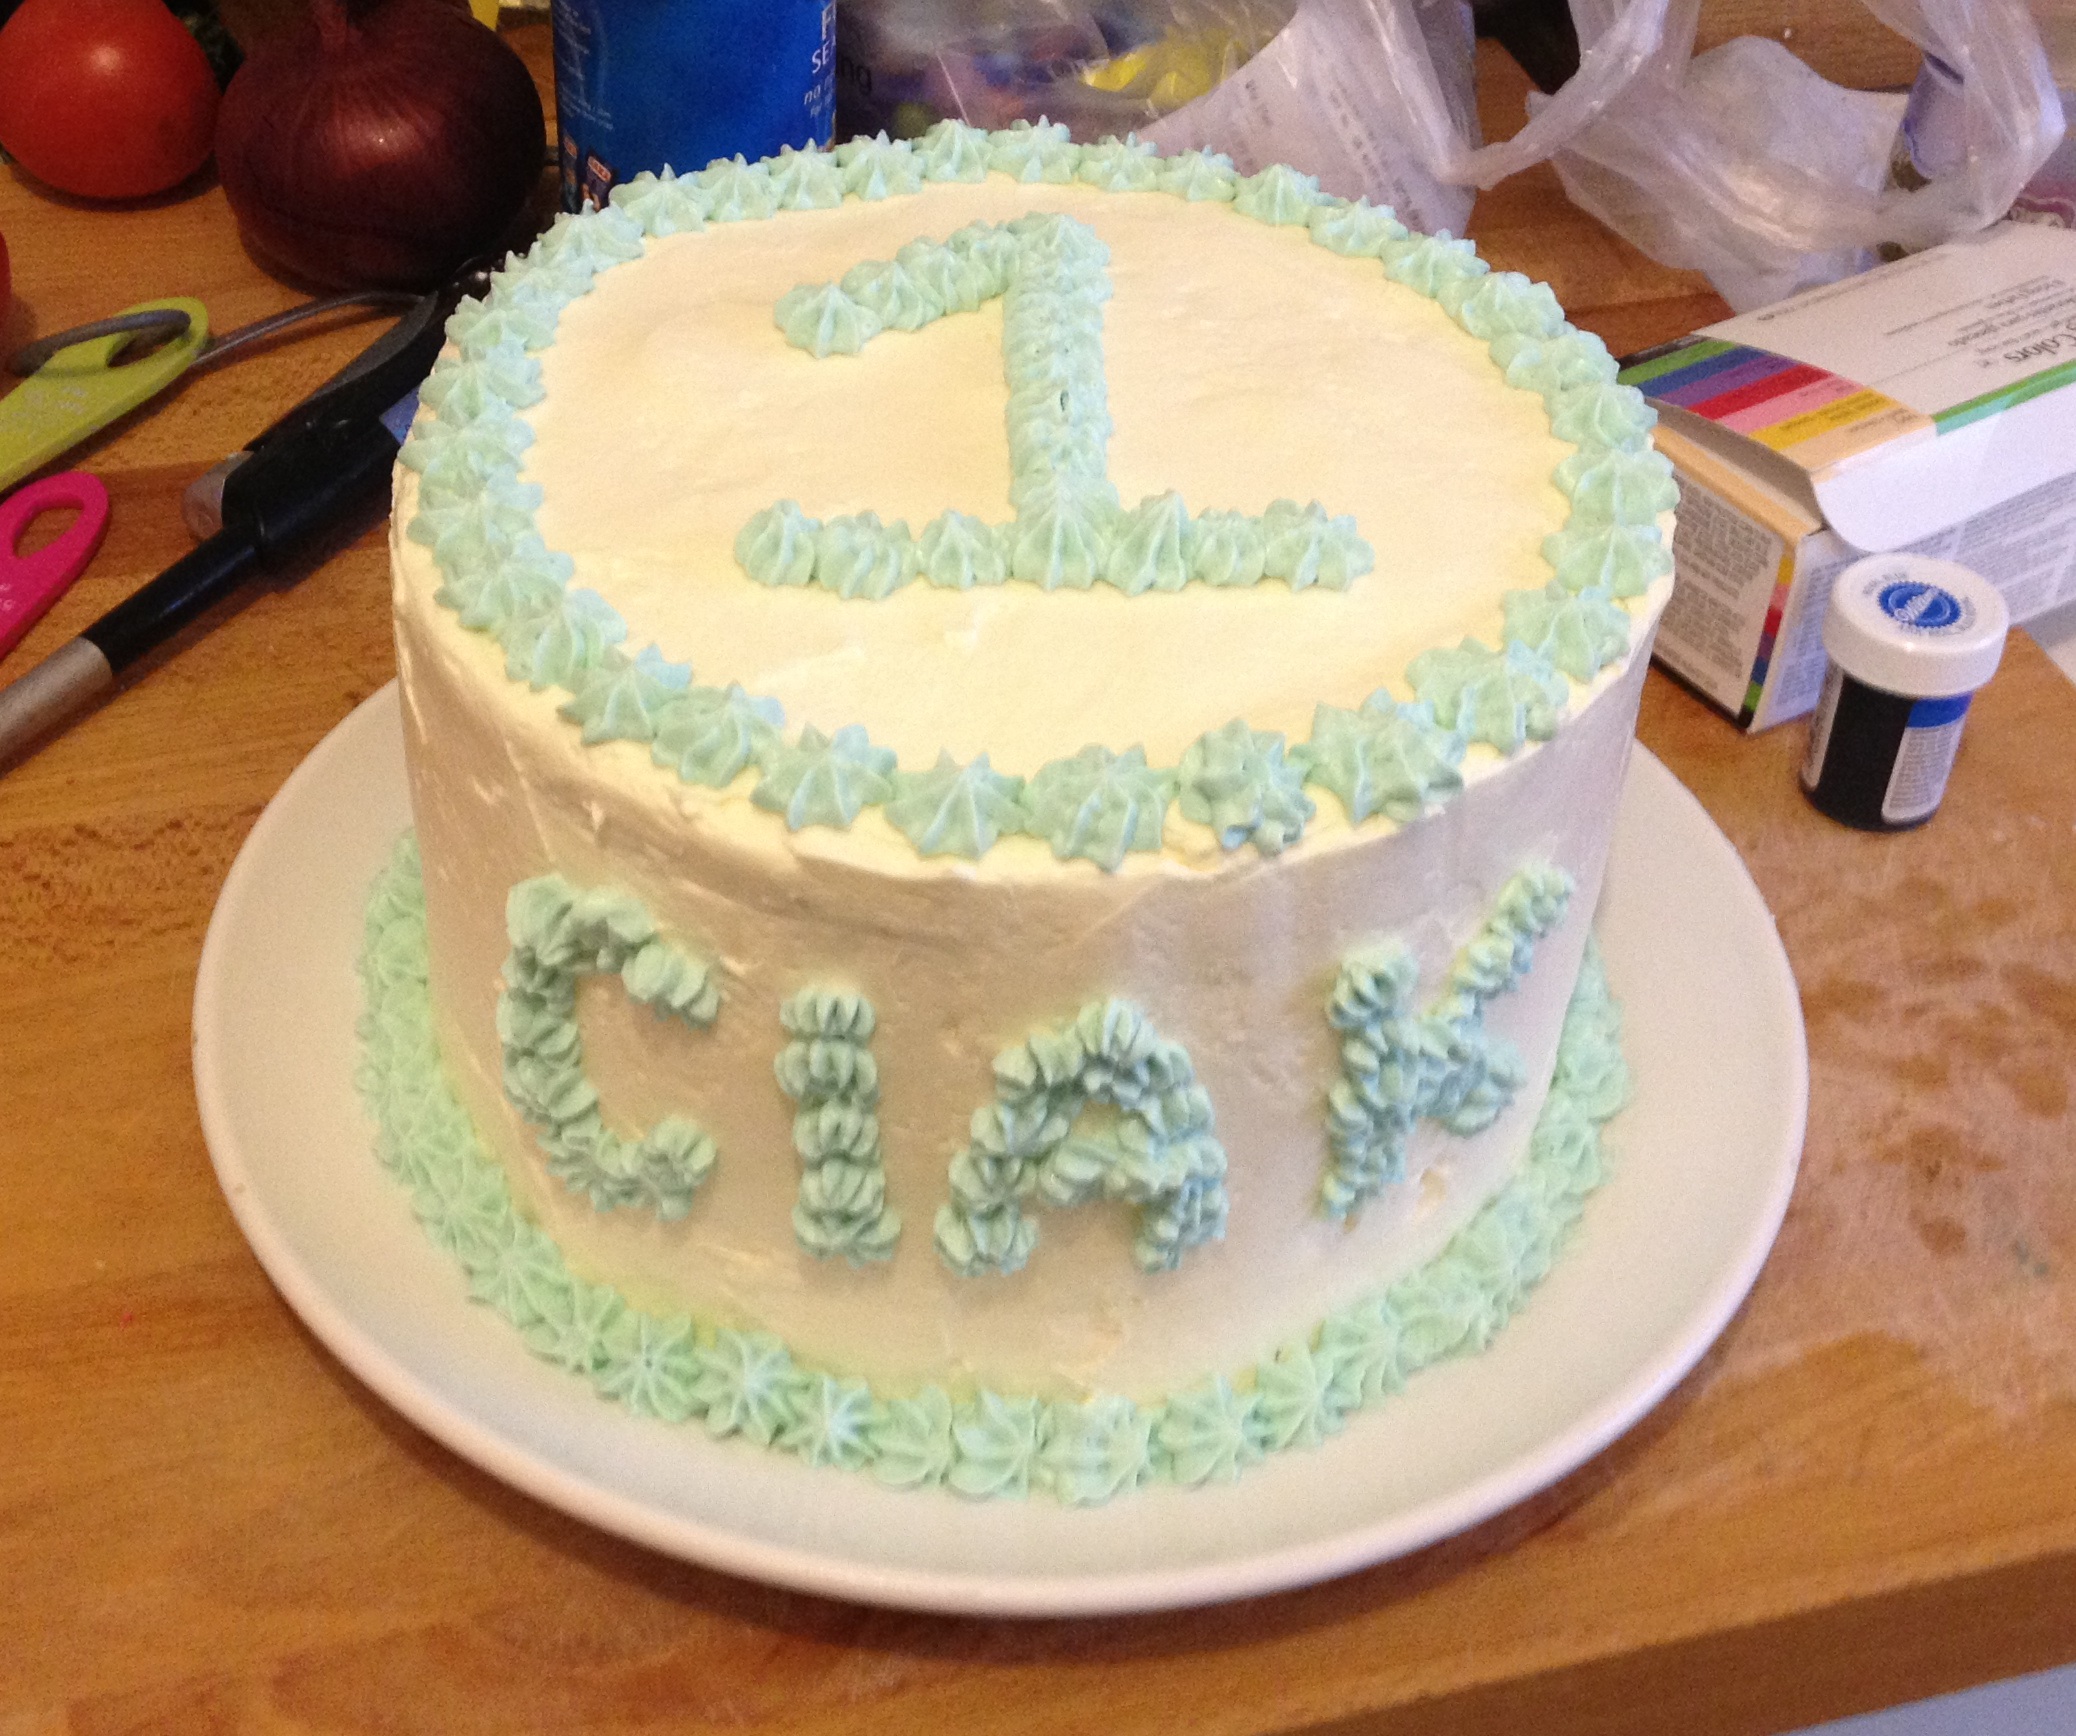
And the rest is simple! Just place another larger dollop of frosting on top of your cake, working it out into a thick, even layer and continue to do this until your cake is covered. Getting a smooth finish will just be a matter of time, smoothing out the surface with your palette knife. Before adding piping details to the base of your cake, remove the sheet of baking paper from under your cake, or, if using a plate, clean around the edges with a damp cloth.
Enjoy… x

Great information! Now if I can just do it!
LikeLike
It’s easier than it looks, try it and you will see! Good luck!
LikeLike
It’s simple and sweet! The cake looks delicious!
Meanwhile I have been figuring out the kinds of icing that gets involved when it comes to baking and decorating.. Do have a look! 🙂
http://bakistryblog.wordpress.com/2013/06/04/different-types-of-icing/
LikeLike