
A simple cake recipe for even the most novice bakers to try!

A friend of mine recently commissioned a cake for her mother’s birthday.
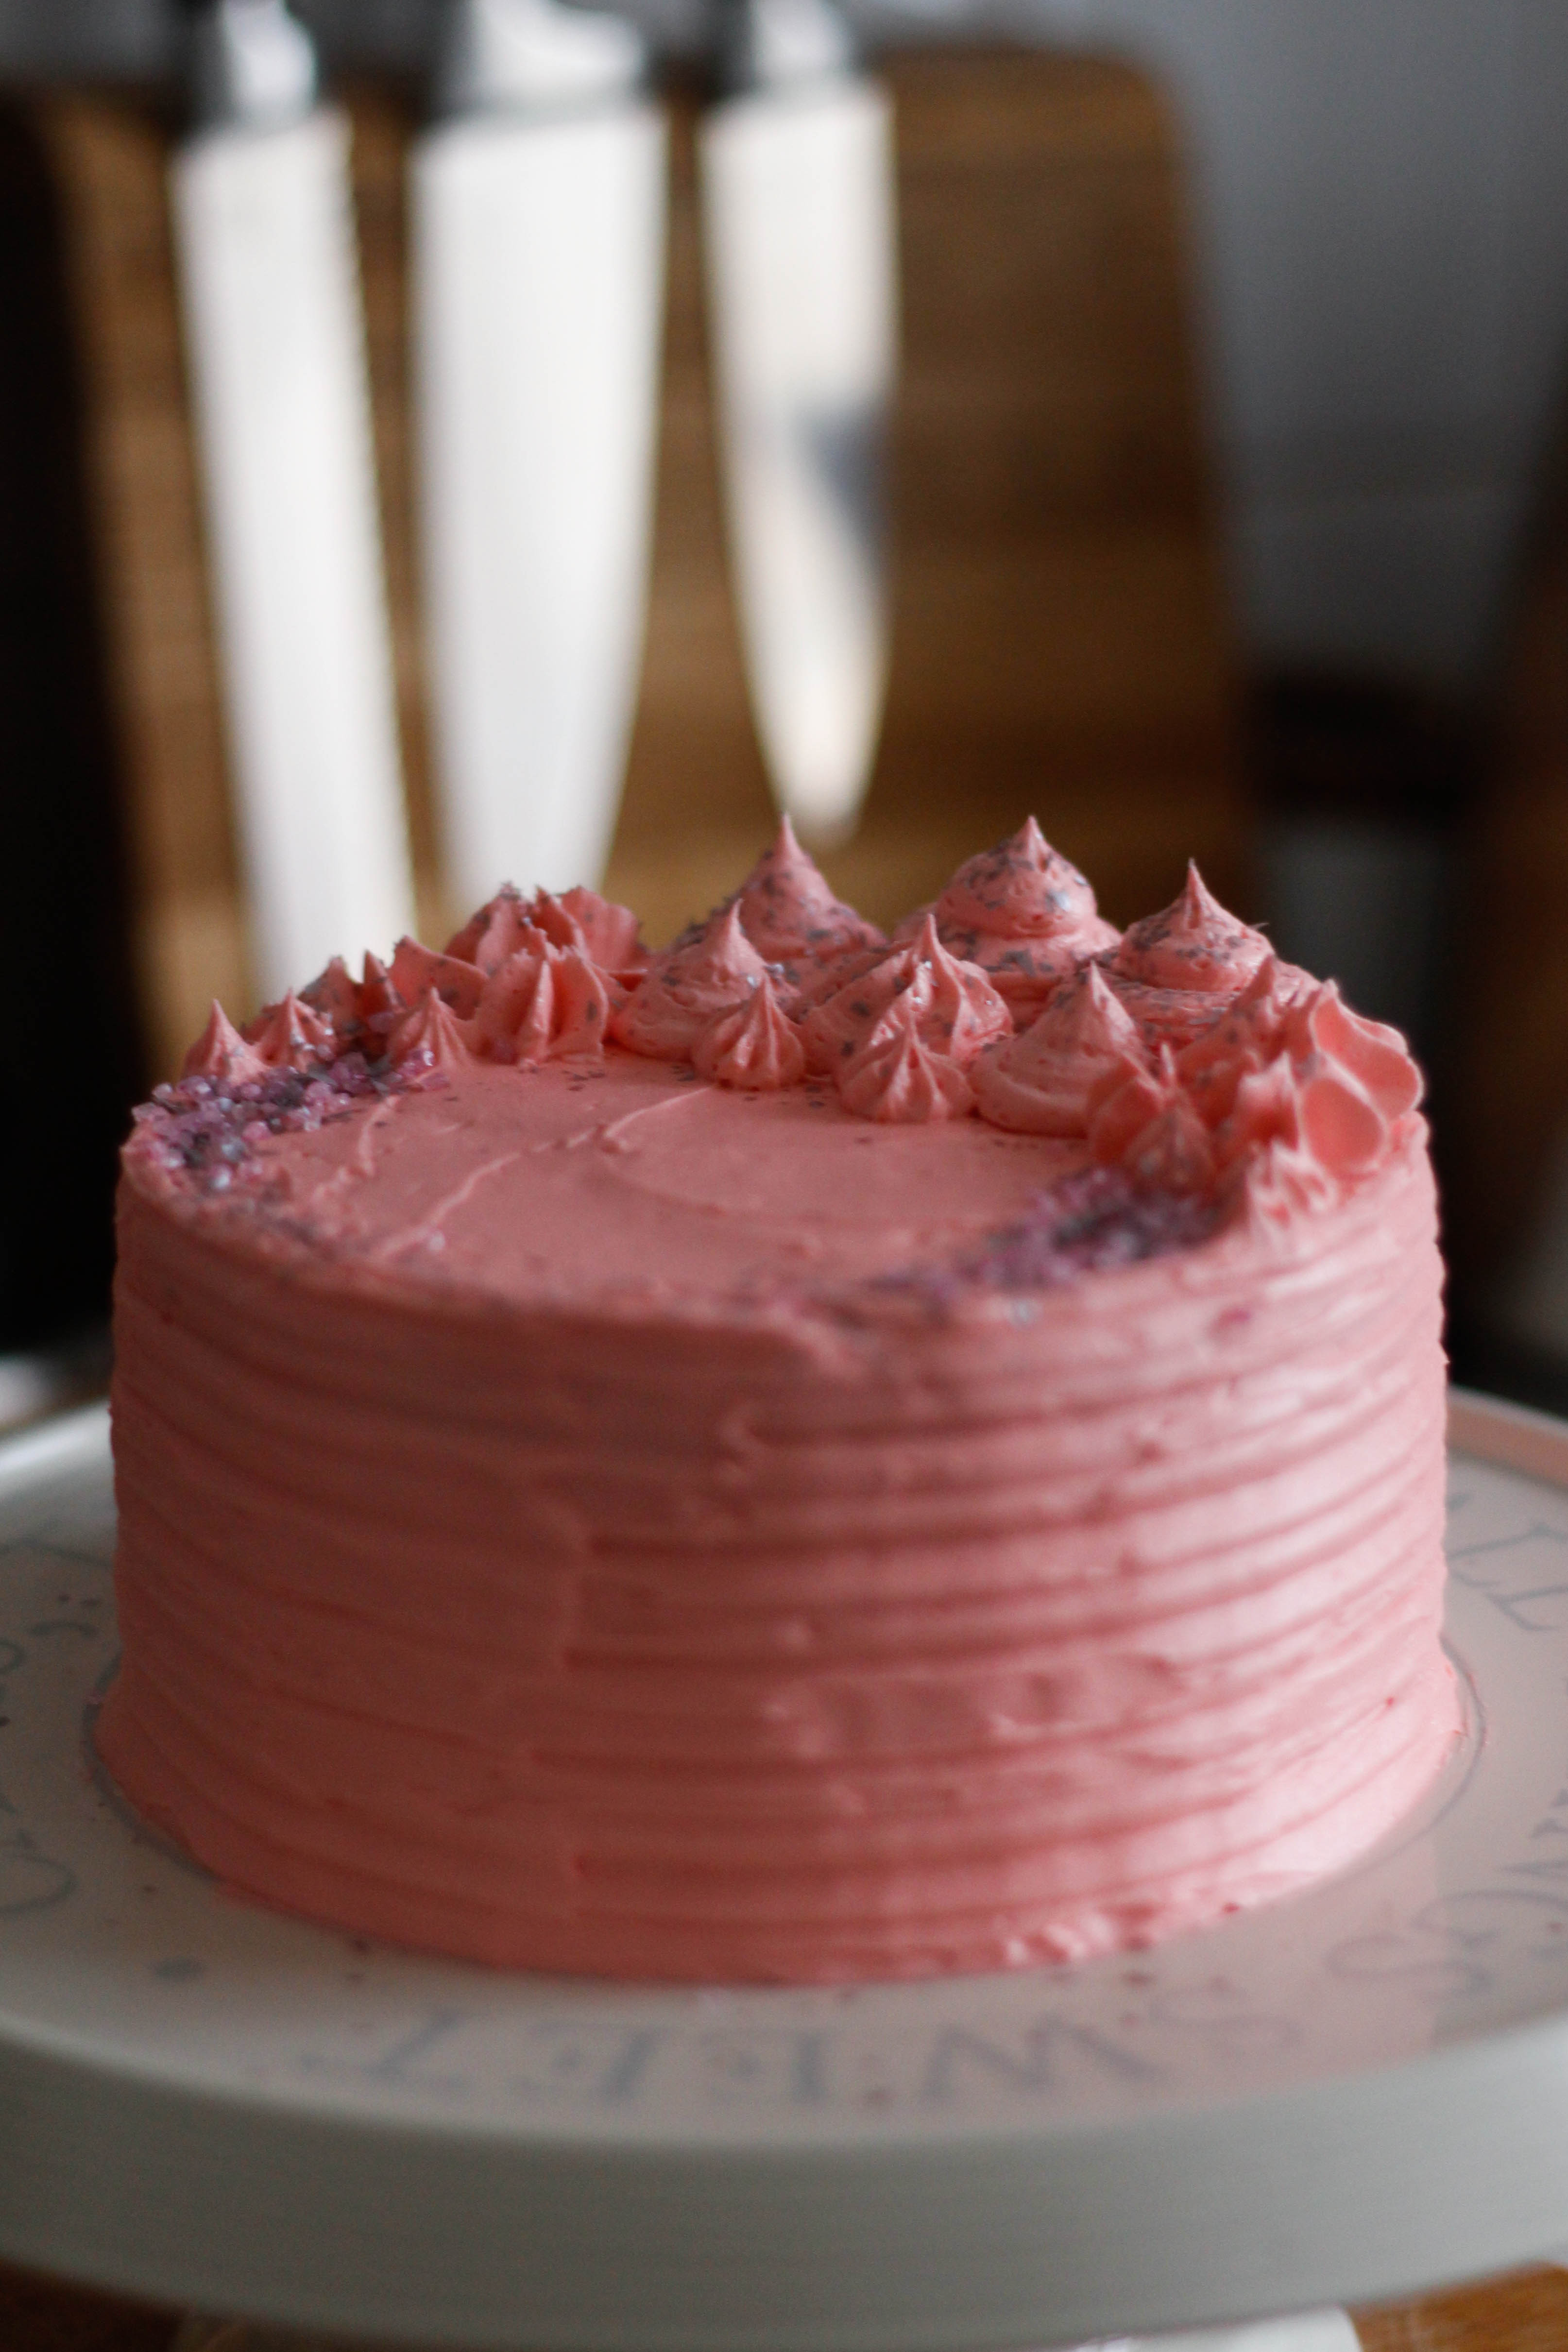
A “plain cake with plain pink buttercream, please.” She requested.
Right… How (un)exciting for me, I thought, and then immediately rebuked myself.
Really, Briana? It’s a birthday cake, for someone else’s birthday… Not all cakes are about you!
The next thing I thought to myself was: of course this cake was exciting. All birthday cakes are exciting.
Birthday’s should be about fun, relaxing times with the people we care about. They should be filled with excitement and anticipation… and of course, love, because the people we love are the ones who will inevitably be there to celebrate with us.

It goes without saying that those people will go above and beyond to try and make that day extra special, but that shouldn’t mean spending a small fortune on a five tiered chiffon and meringue cake with balloon shaped macaroons and crystallised flower petals (we’re not getting married here!).
OK, so it’s unlikely the average person would be after a five tiered chiffon and meringue cake with balloon shaped macaroons and crystallised flower petals, but even the simplest cakes (that don’t come in a generic supermarket box) can cost a small fortune…


Making a birthday cake for someone is a simple gesture, but one that comes straight from the heart. It doesn’t need to be fancy, but it should be made with affection, and it should be something that anyone can make… without having a mental breakdown when the chocolate doesn’t temper properly.
So here it is! A basic birthday cake that I urge even the most kitchen-phobic of you to try…


Some of the beautiful photography in this post was provided courtesy of the incredibly talented Zak Walton, who’s lifestyle blog, Walton & Wang, is a veritable feast for the eyes!
My picks for this bake…


Click this image to shop the product.
Basic Birthday Cake
Yield: a two layer 6″ cake

Ingredients
For the cake
250g butter
370g (1 2/3 cup) caster sugar
2 whole eggs
2 egg whites
2 tsp vanilla bean paste
350g (2 1/2 cups) flour
16g (4 tsp) baking powder
4g (1/4 tsp salt)
1/2 cup whole milk
For the buttercream frosting
250g butter
340g powdered icing sugar
20ml whole milk
AmeriColor food colouring
Method
For the cake
Preheat oven to 180°C/350° F/Gas Mark 4, then line the base of two 6″ (15cm) cake tins with baking paper and grease the sides with butter. If you have only one cake tin then just use the same tin after you have baked the first layer.
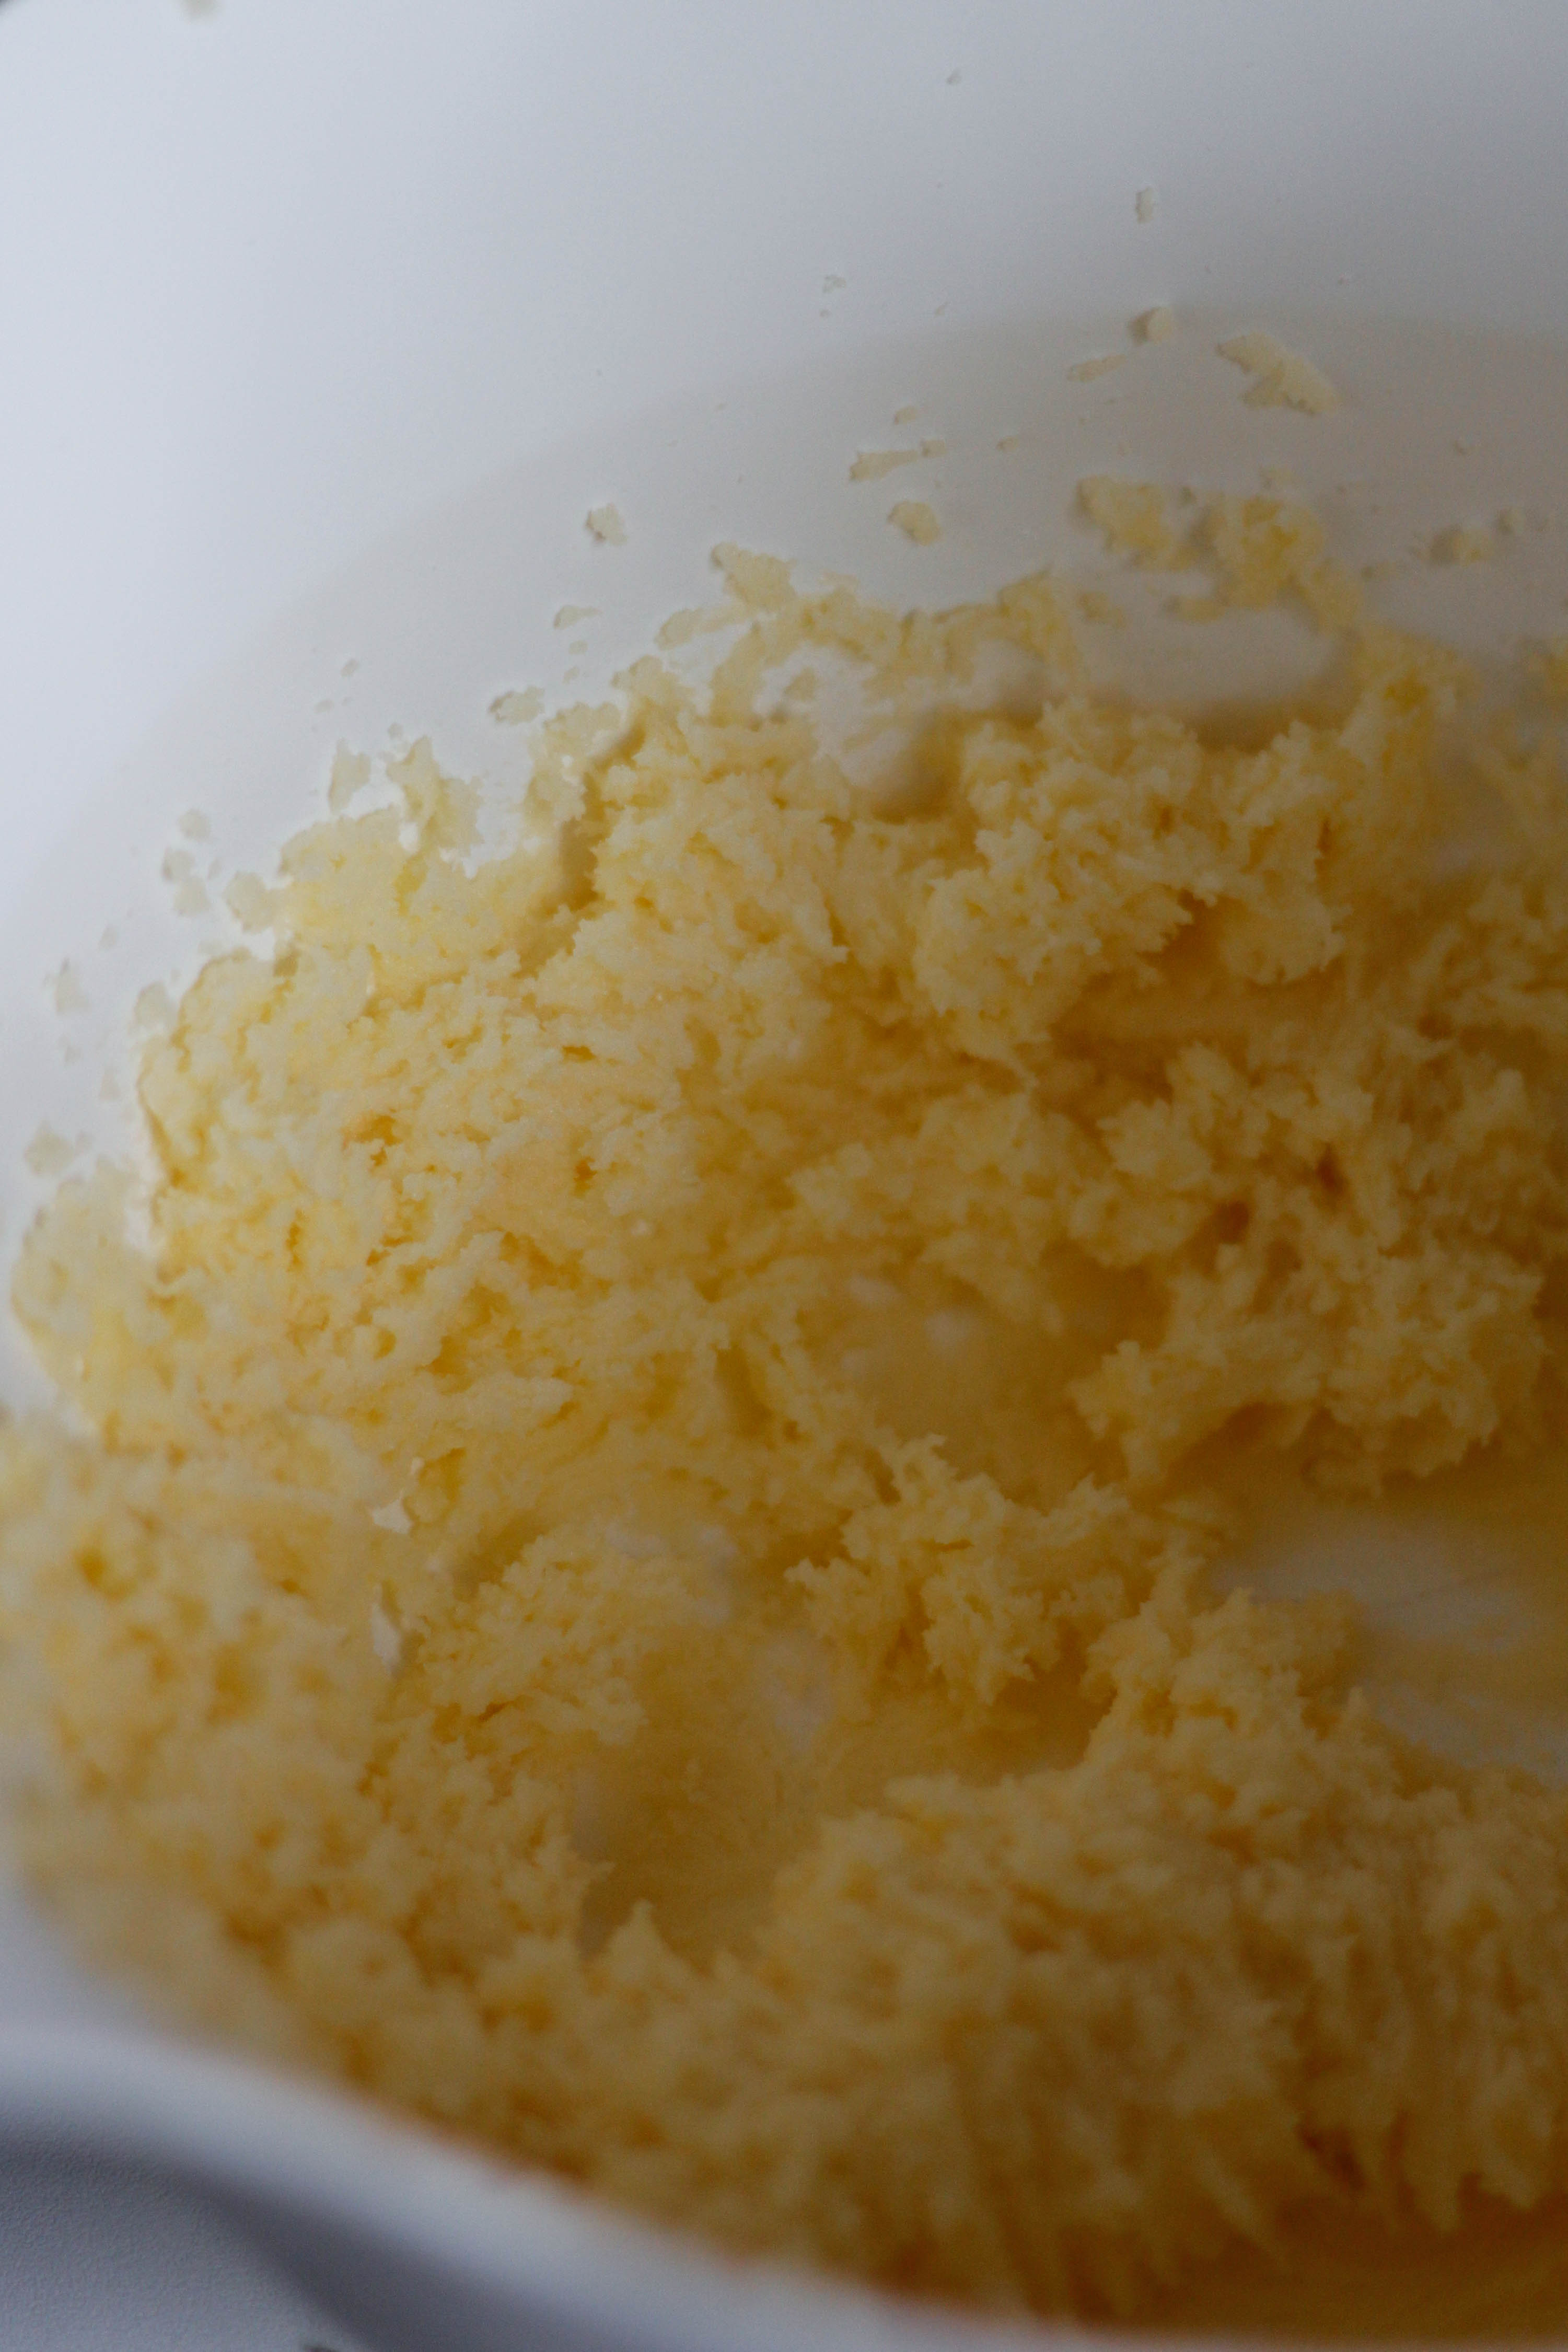
Place the butter and sugar into a large bowl and beat until pale and creamy, then add the eggs, egg whites and vanilla bean paste and beat again.

Sift the flour, baking powder and salt into a separate bowl and stir to combine (this helps to evenly distribute the baking powder). Add around half the flour mixture to the butter mixture and beat, then add half the milk and beat again. Add the rest of the flour and beat, and then add the rest of the milk.

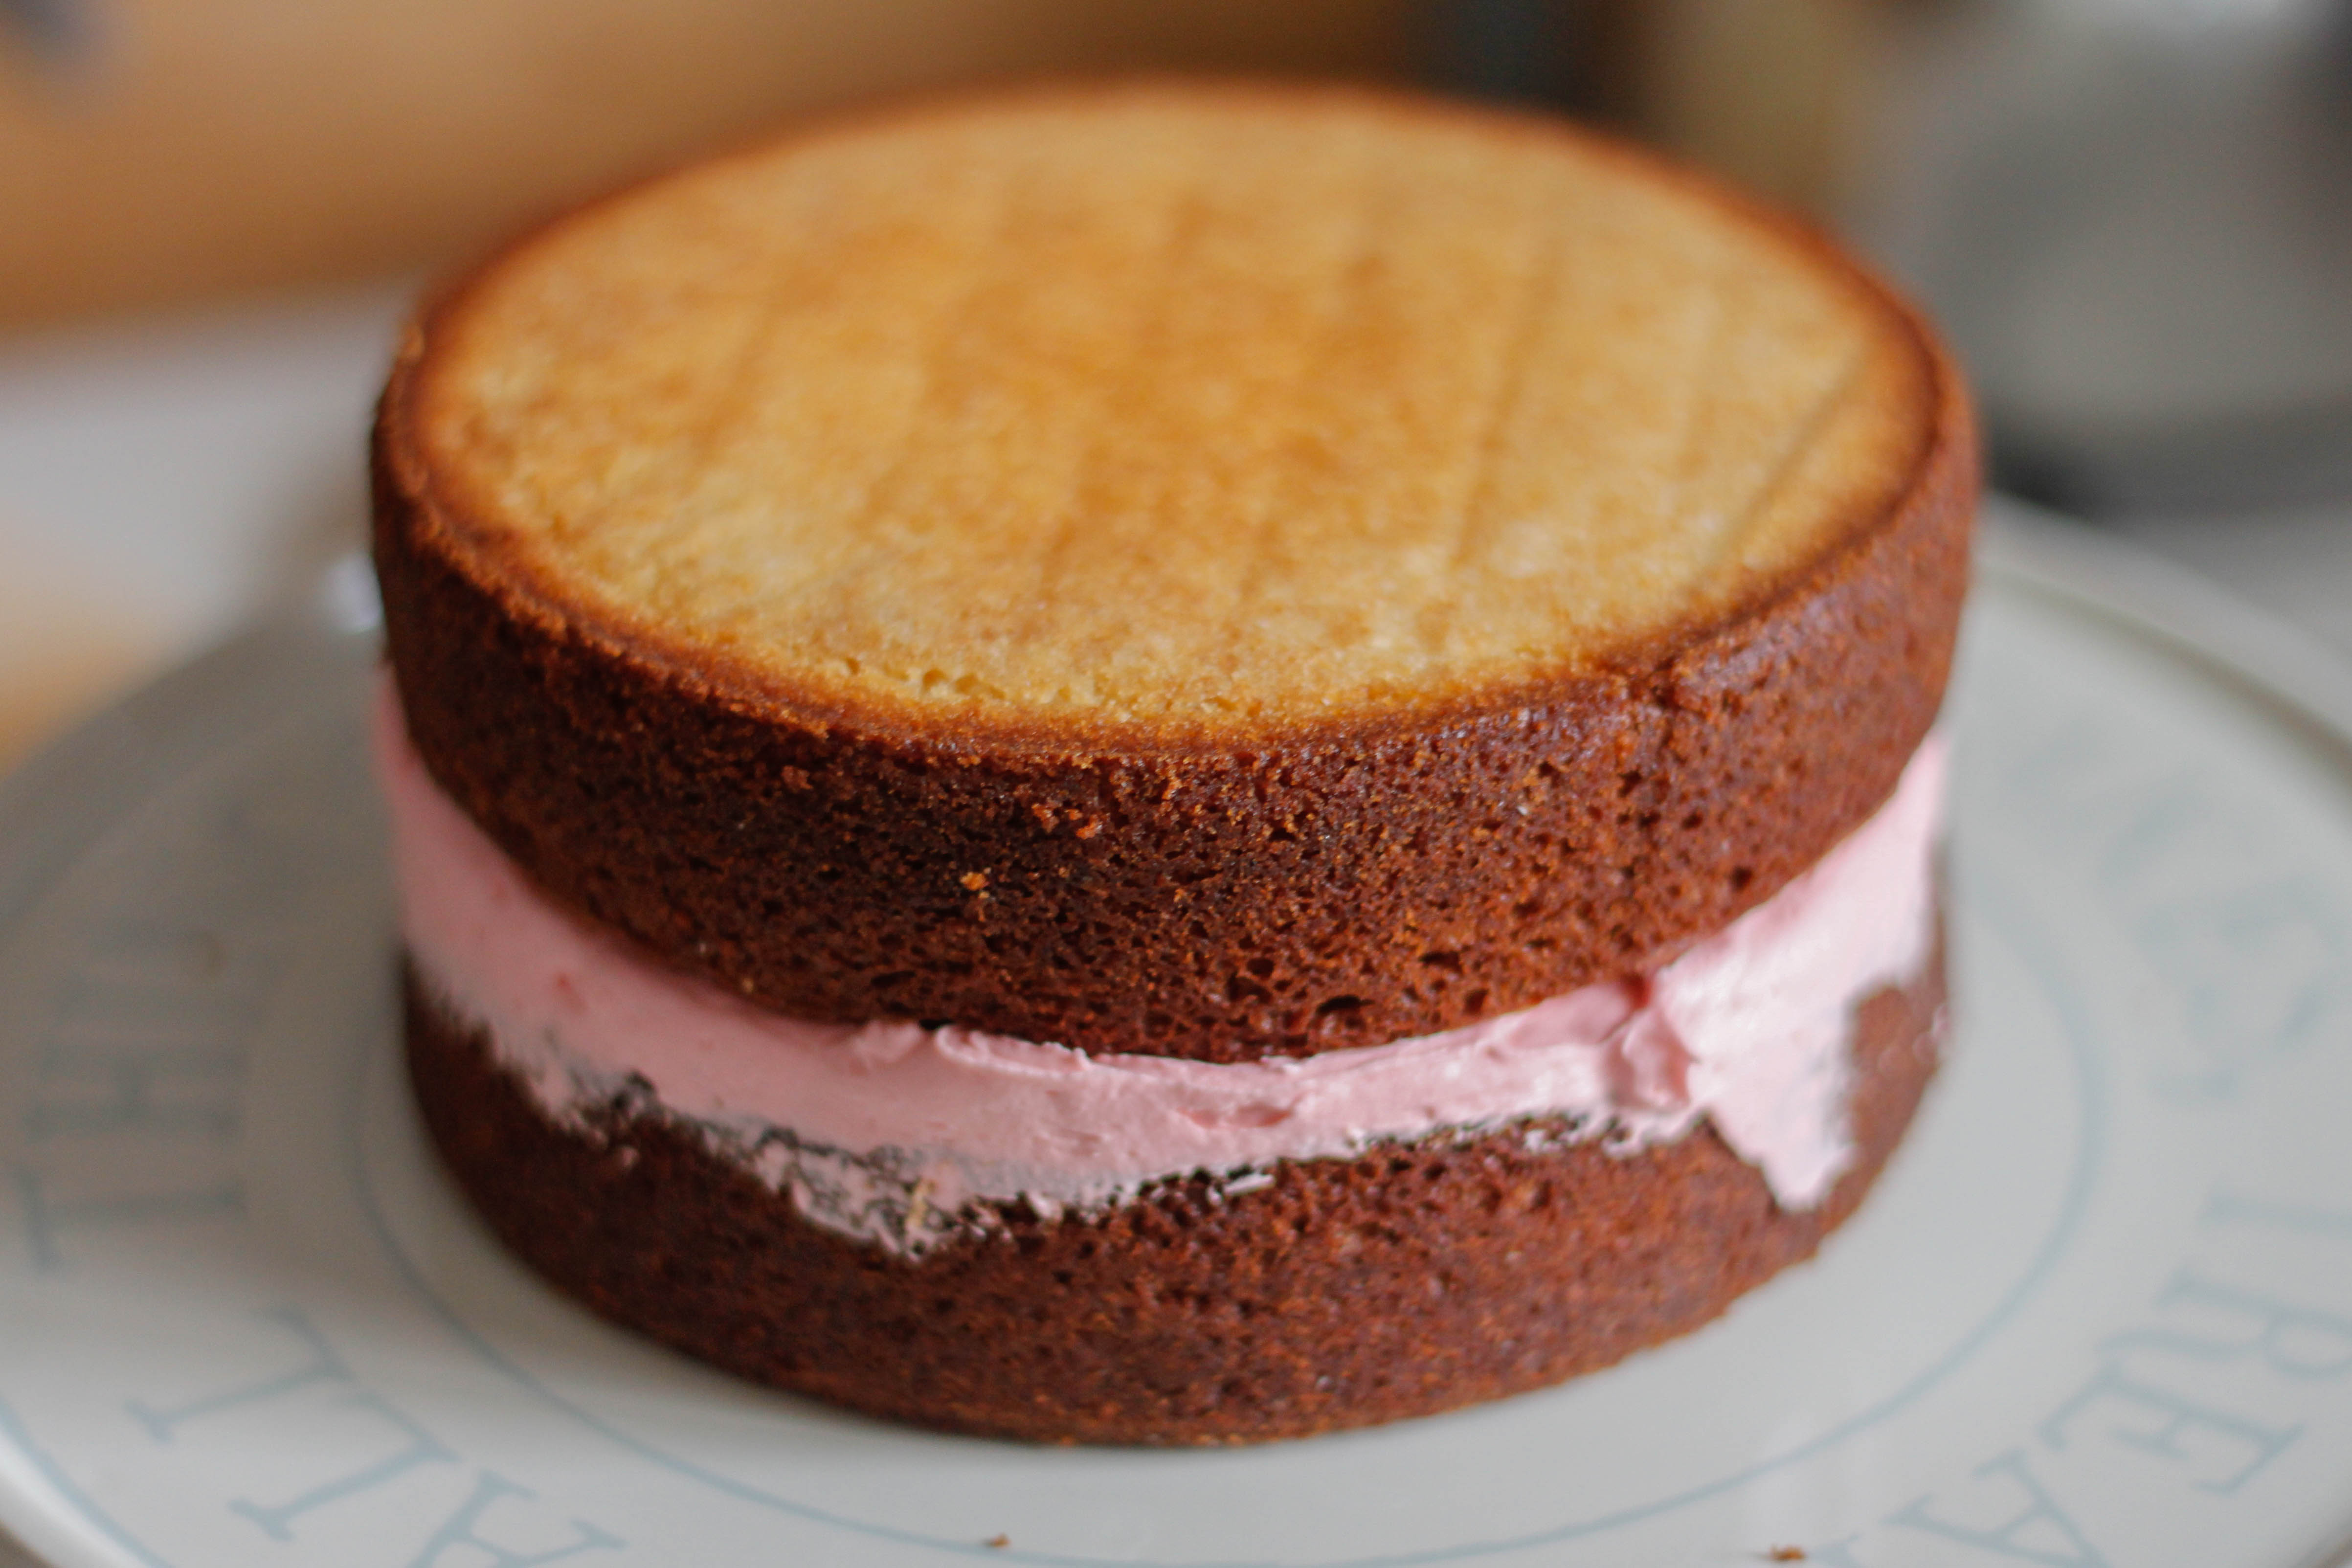
Divide the mixture between the two cake tins and bake each layer separately for 35 minutes, or until a cake skewer comes out with no uncooked cake batter on it! Set aside to cool completely.

For the buttercream frosting
Place the butter in a deep mixing bowl and beat until smooth and creamy, then add the icing sugar little by little, beating after each addition. Don’t be scared of the icing sugar when it puffs up into the air; it happens, and it won’t hurt you! Try to avoid stirring the icing sugar into the butter as this could lead to a heavier icing – beating will give you that delightful cloud-like finish.

Once all the icing sugar has been added, continue beating for an additional few minutes until your icing is light, fluffy and pale in colour. If the icing is quite stiff at this stage you can add the milk a little at a time, but feel free to leave it out if you are happy with the texture.
Flavour and colour as you please (I used 1 tsp vanilla extract) and you’re ready to go!


Assembling the cake
Tip: use a palette knife for best results when icing your cake. A palette knife will give a much smoother, refined finished product. If you don’t have a palette knife you could use a spatula or a butter knife.
Place one completely cool cake layer onto your cake stand or cake board and cover with a thick layer of buttercream, levelling it out as evenly as you can, then place the second cake layer on top.

Crumb coat your cake using a palette knife by covering it in a thin layer of buttercream, taking care not to dip your crumb covered knife back into your beautiful buttercream – we don’t want to see crumbs in the icing of your finished product!
Refrigerate for at least 20 minutes.

Take your crumb coated cake from the refrigerator and coat it in a second layer of buttercream, taking care that all the areas are covered evenly.

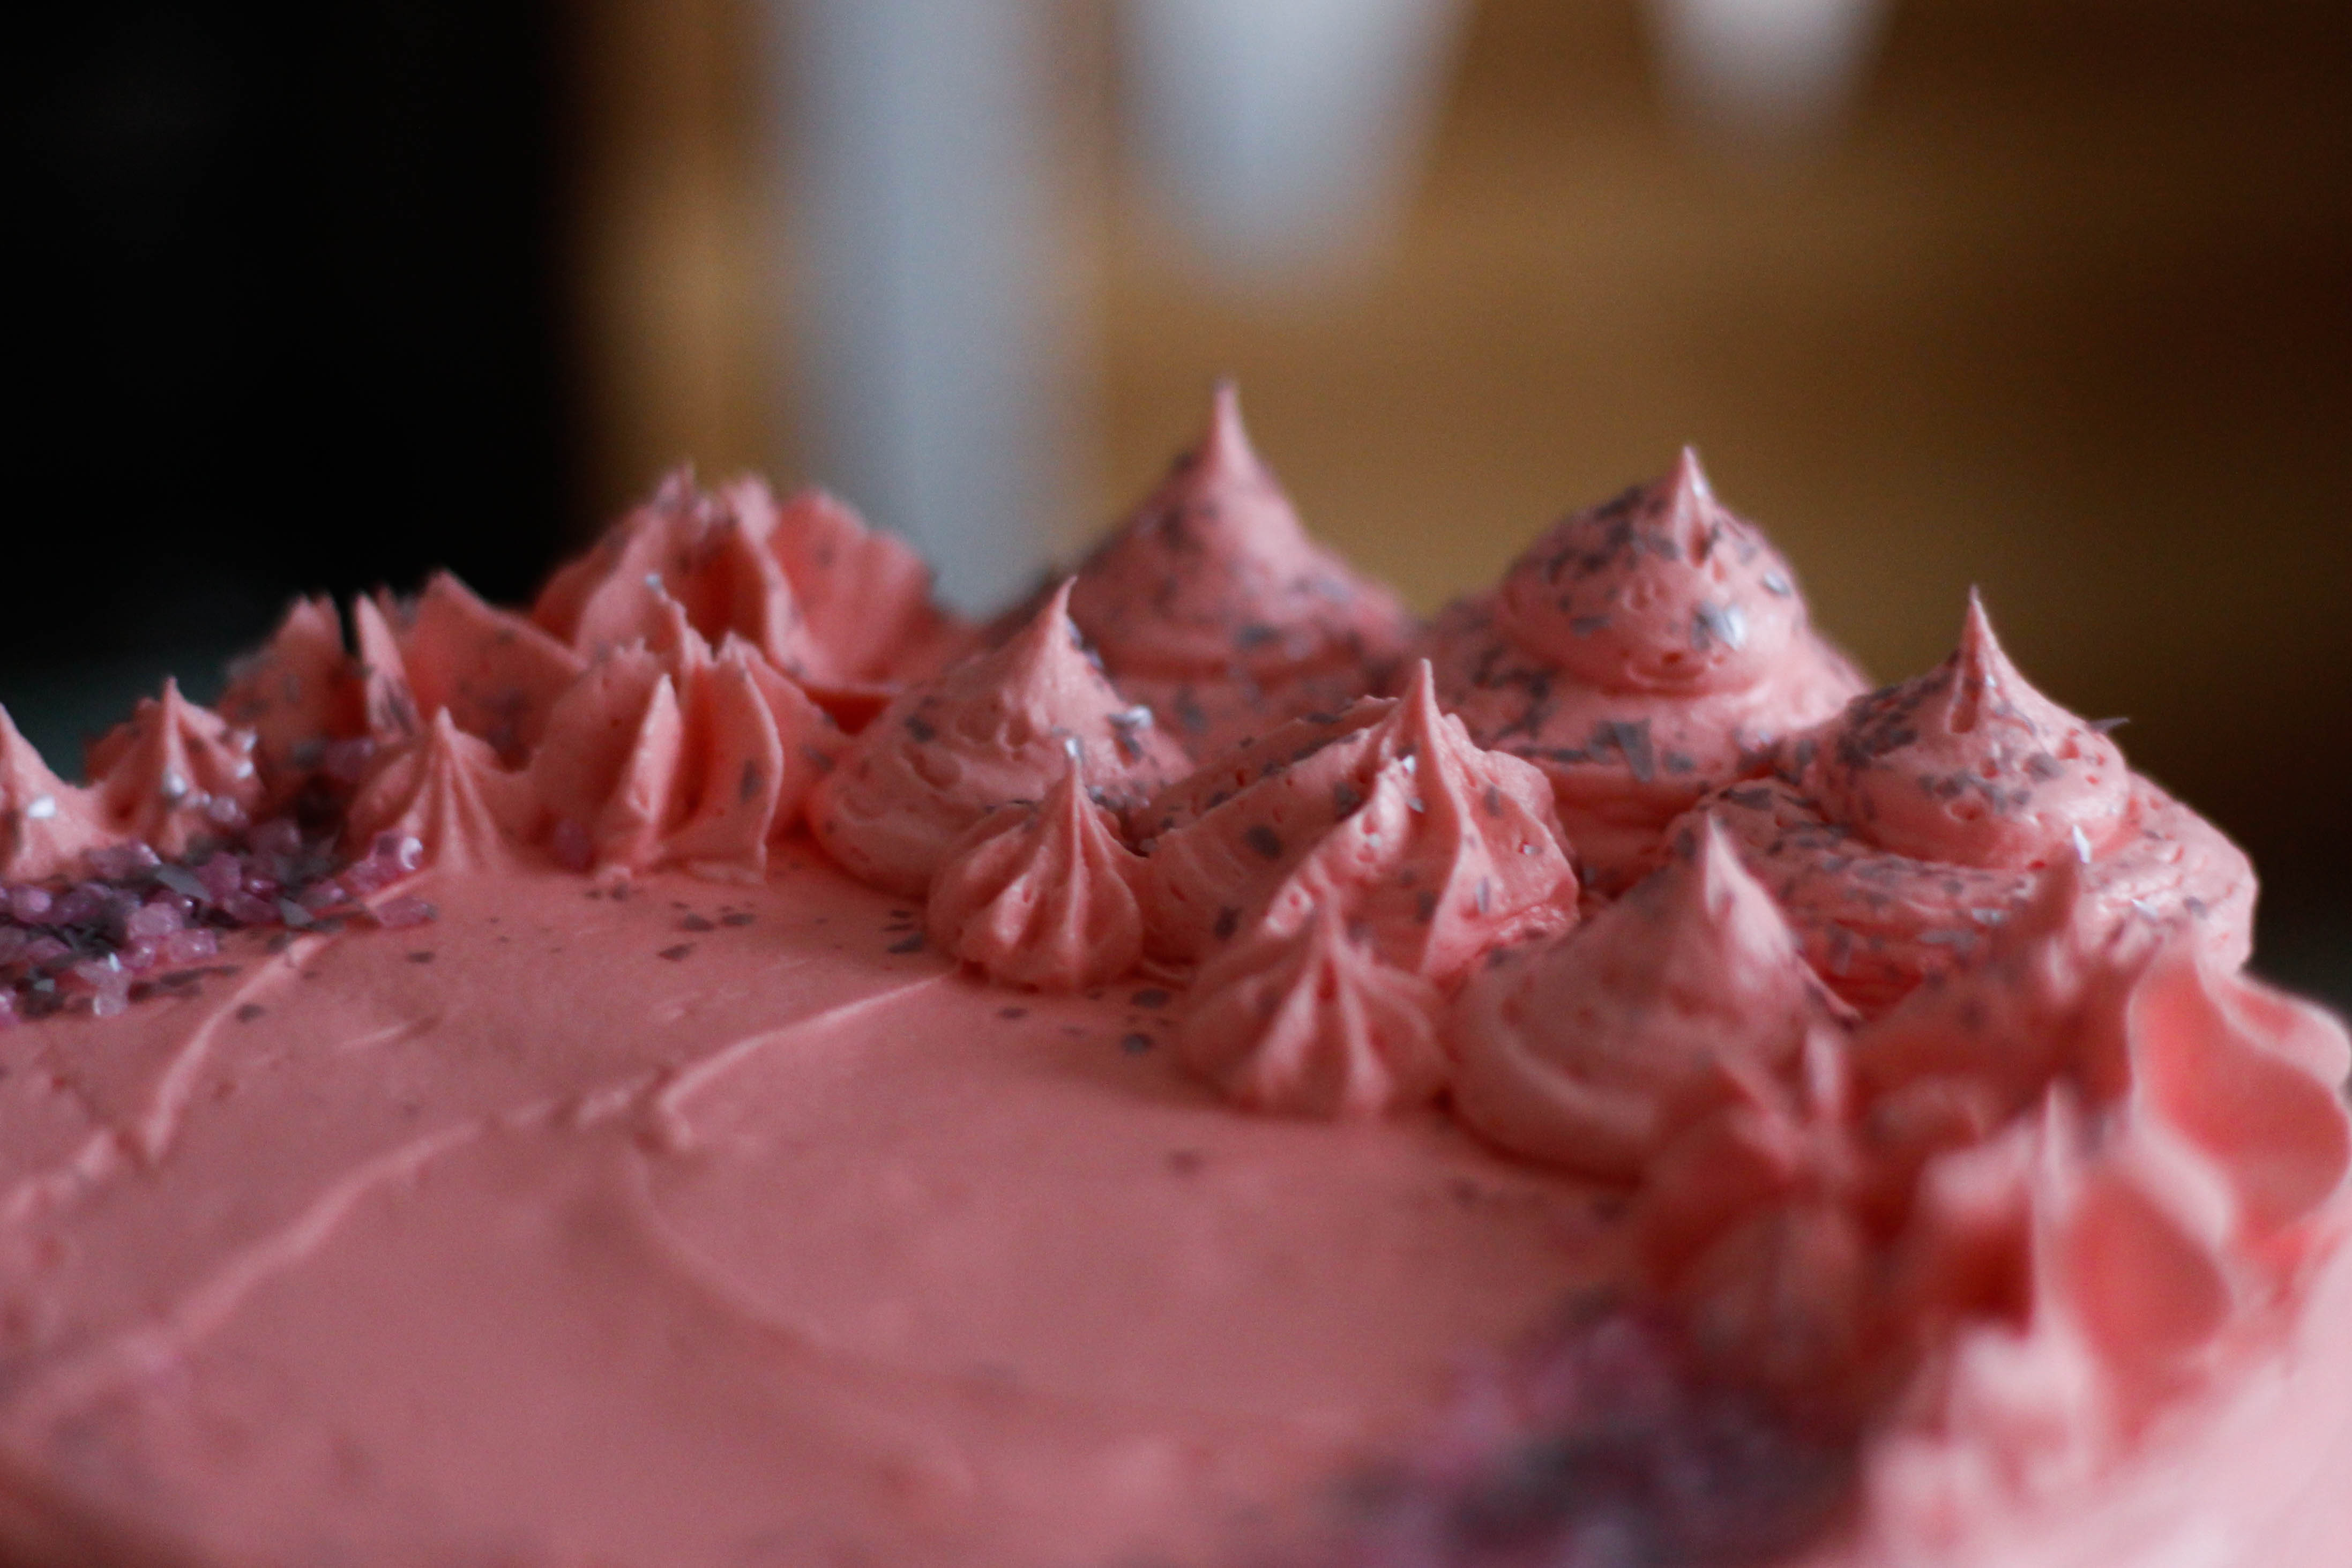
From here you can do whatever you like…
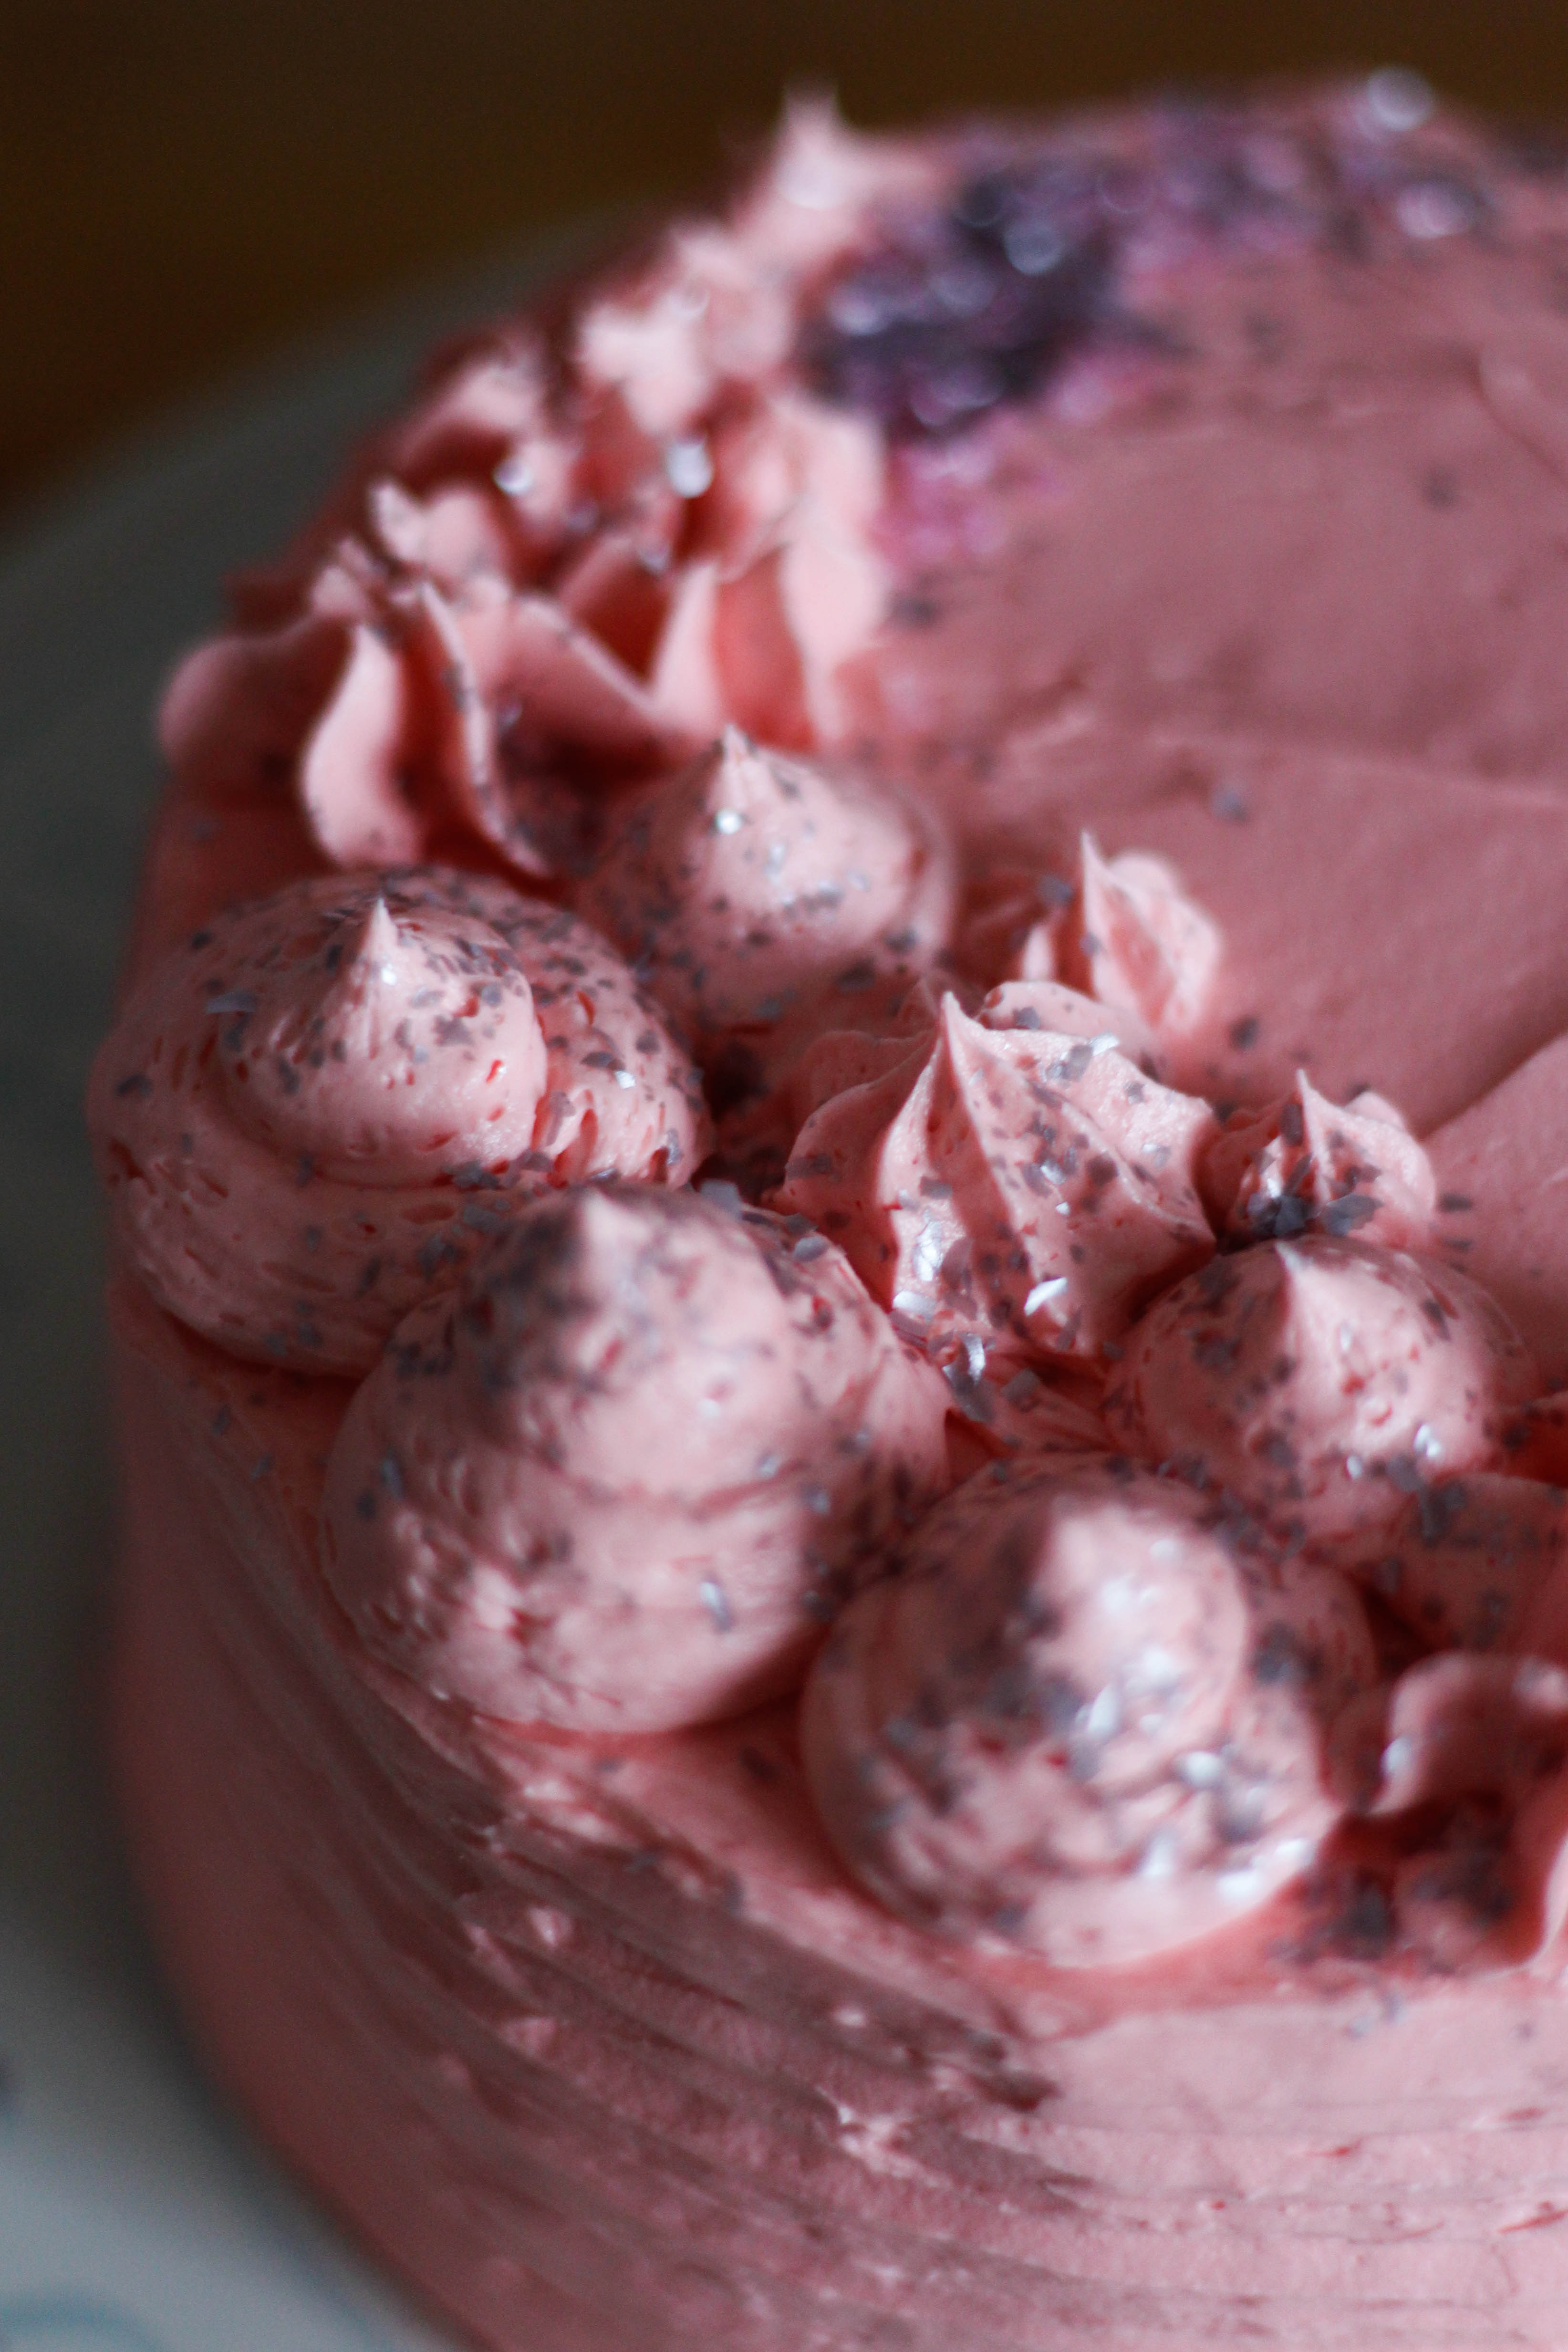
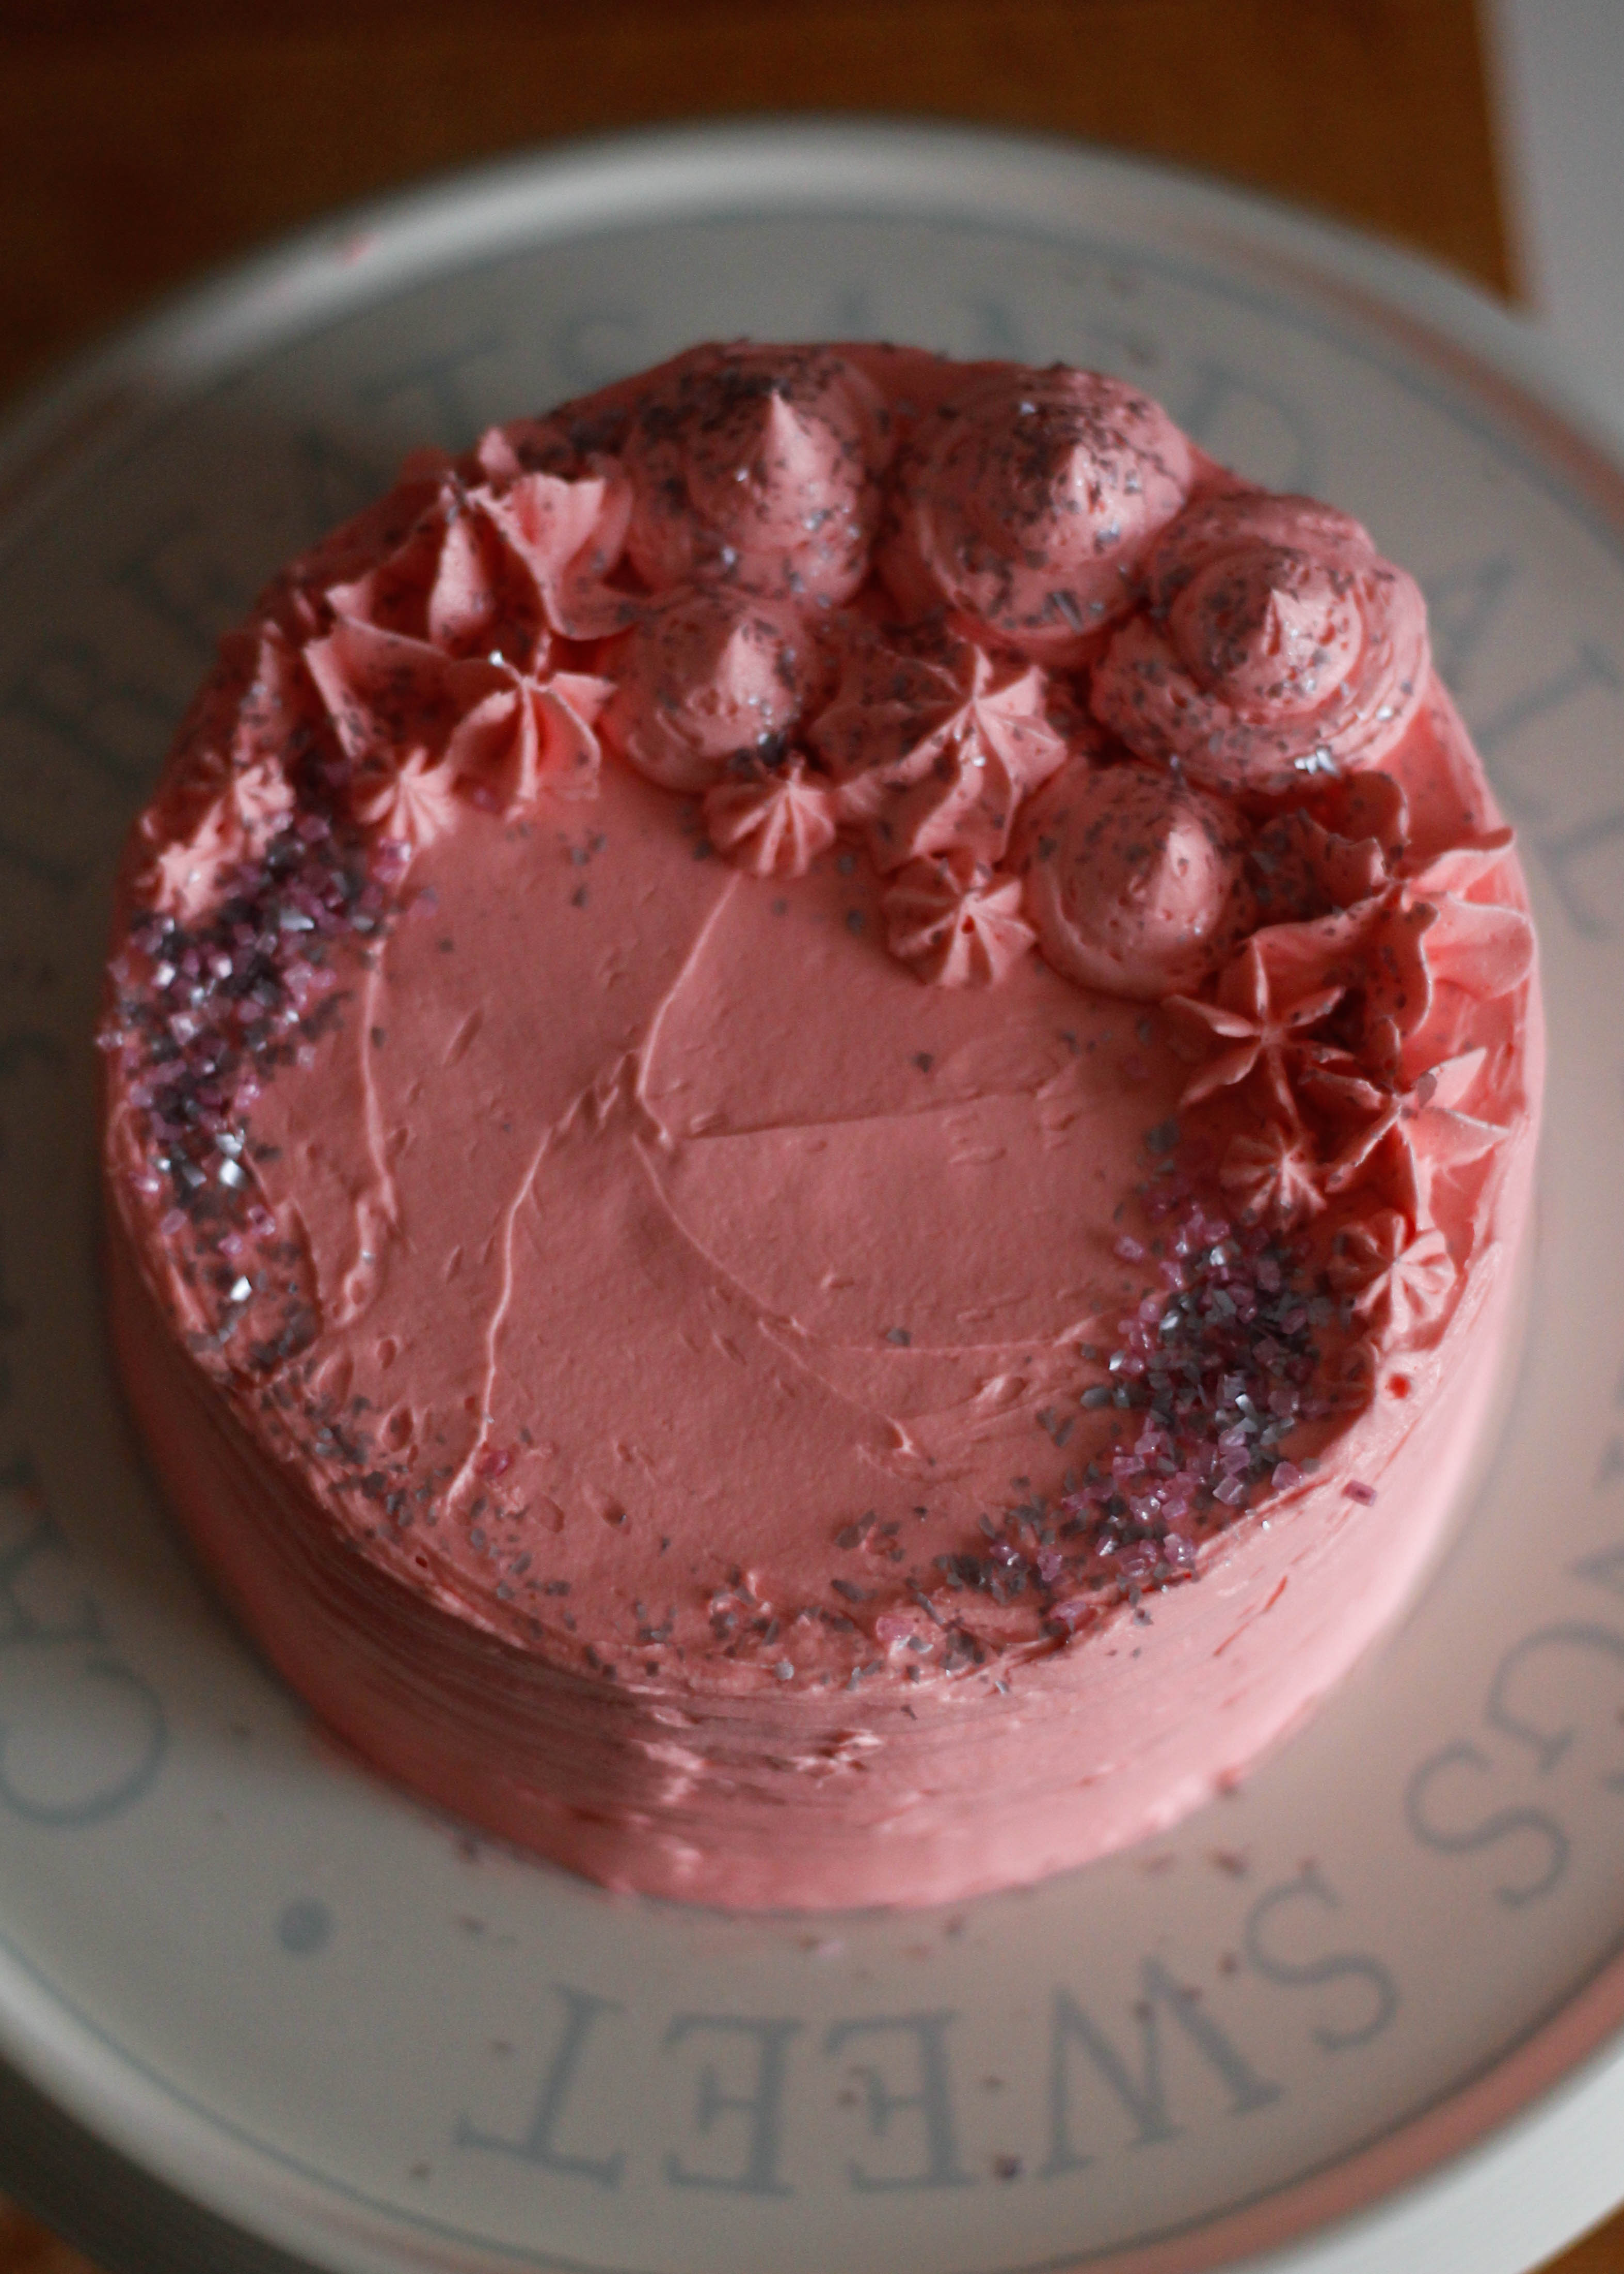
I used a Wilton patterned scraper for the effect on the side of my cake, and various piping nozzles for the top.


If you don’t have any decorating equipment there are plenty of other things you can do. Try using the back of a spoon to create a swirl effect in the icing, or simply decorate with some fresh berries or grated chocolate.
If you have some time, check out the baking aisle at your local supermarket and you will most likely discover a cachet of delightful little additions you can simply place on your cake as you please, from edible glitter to sweet little sugar roses!
Be creative, or keep it simple. It doesn’t have to be fancy, whatever you decide to do, because I guarantee it will be tasty!

Enjoy… x

Very simple recipe of cake.
LikeLike