
Choc-Berry Meringue Mousse Cheesecake…
… it’s a bit of a mouthful, isn’t it? (And a delicious one at that!)
I could just call it a chocolate & berry cheesecake, but oh, it is so much more than just a cheesecake…


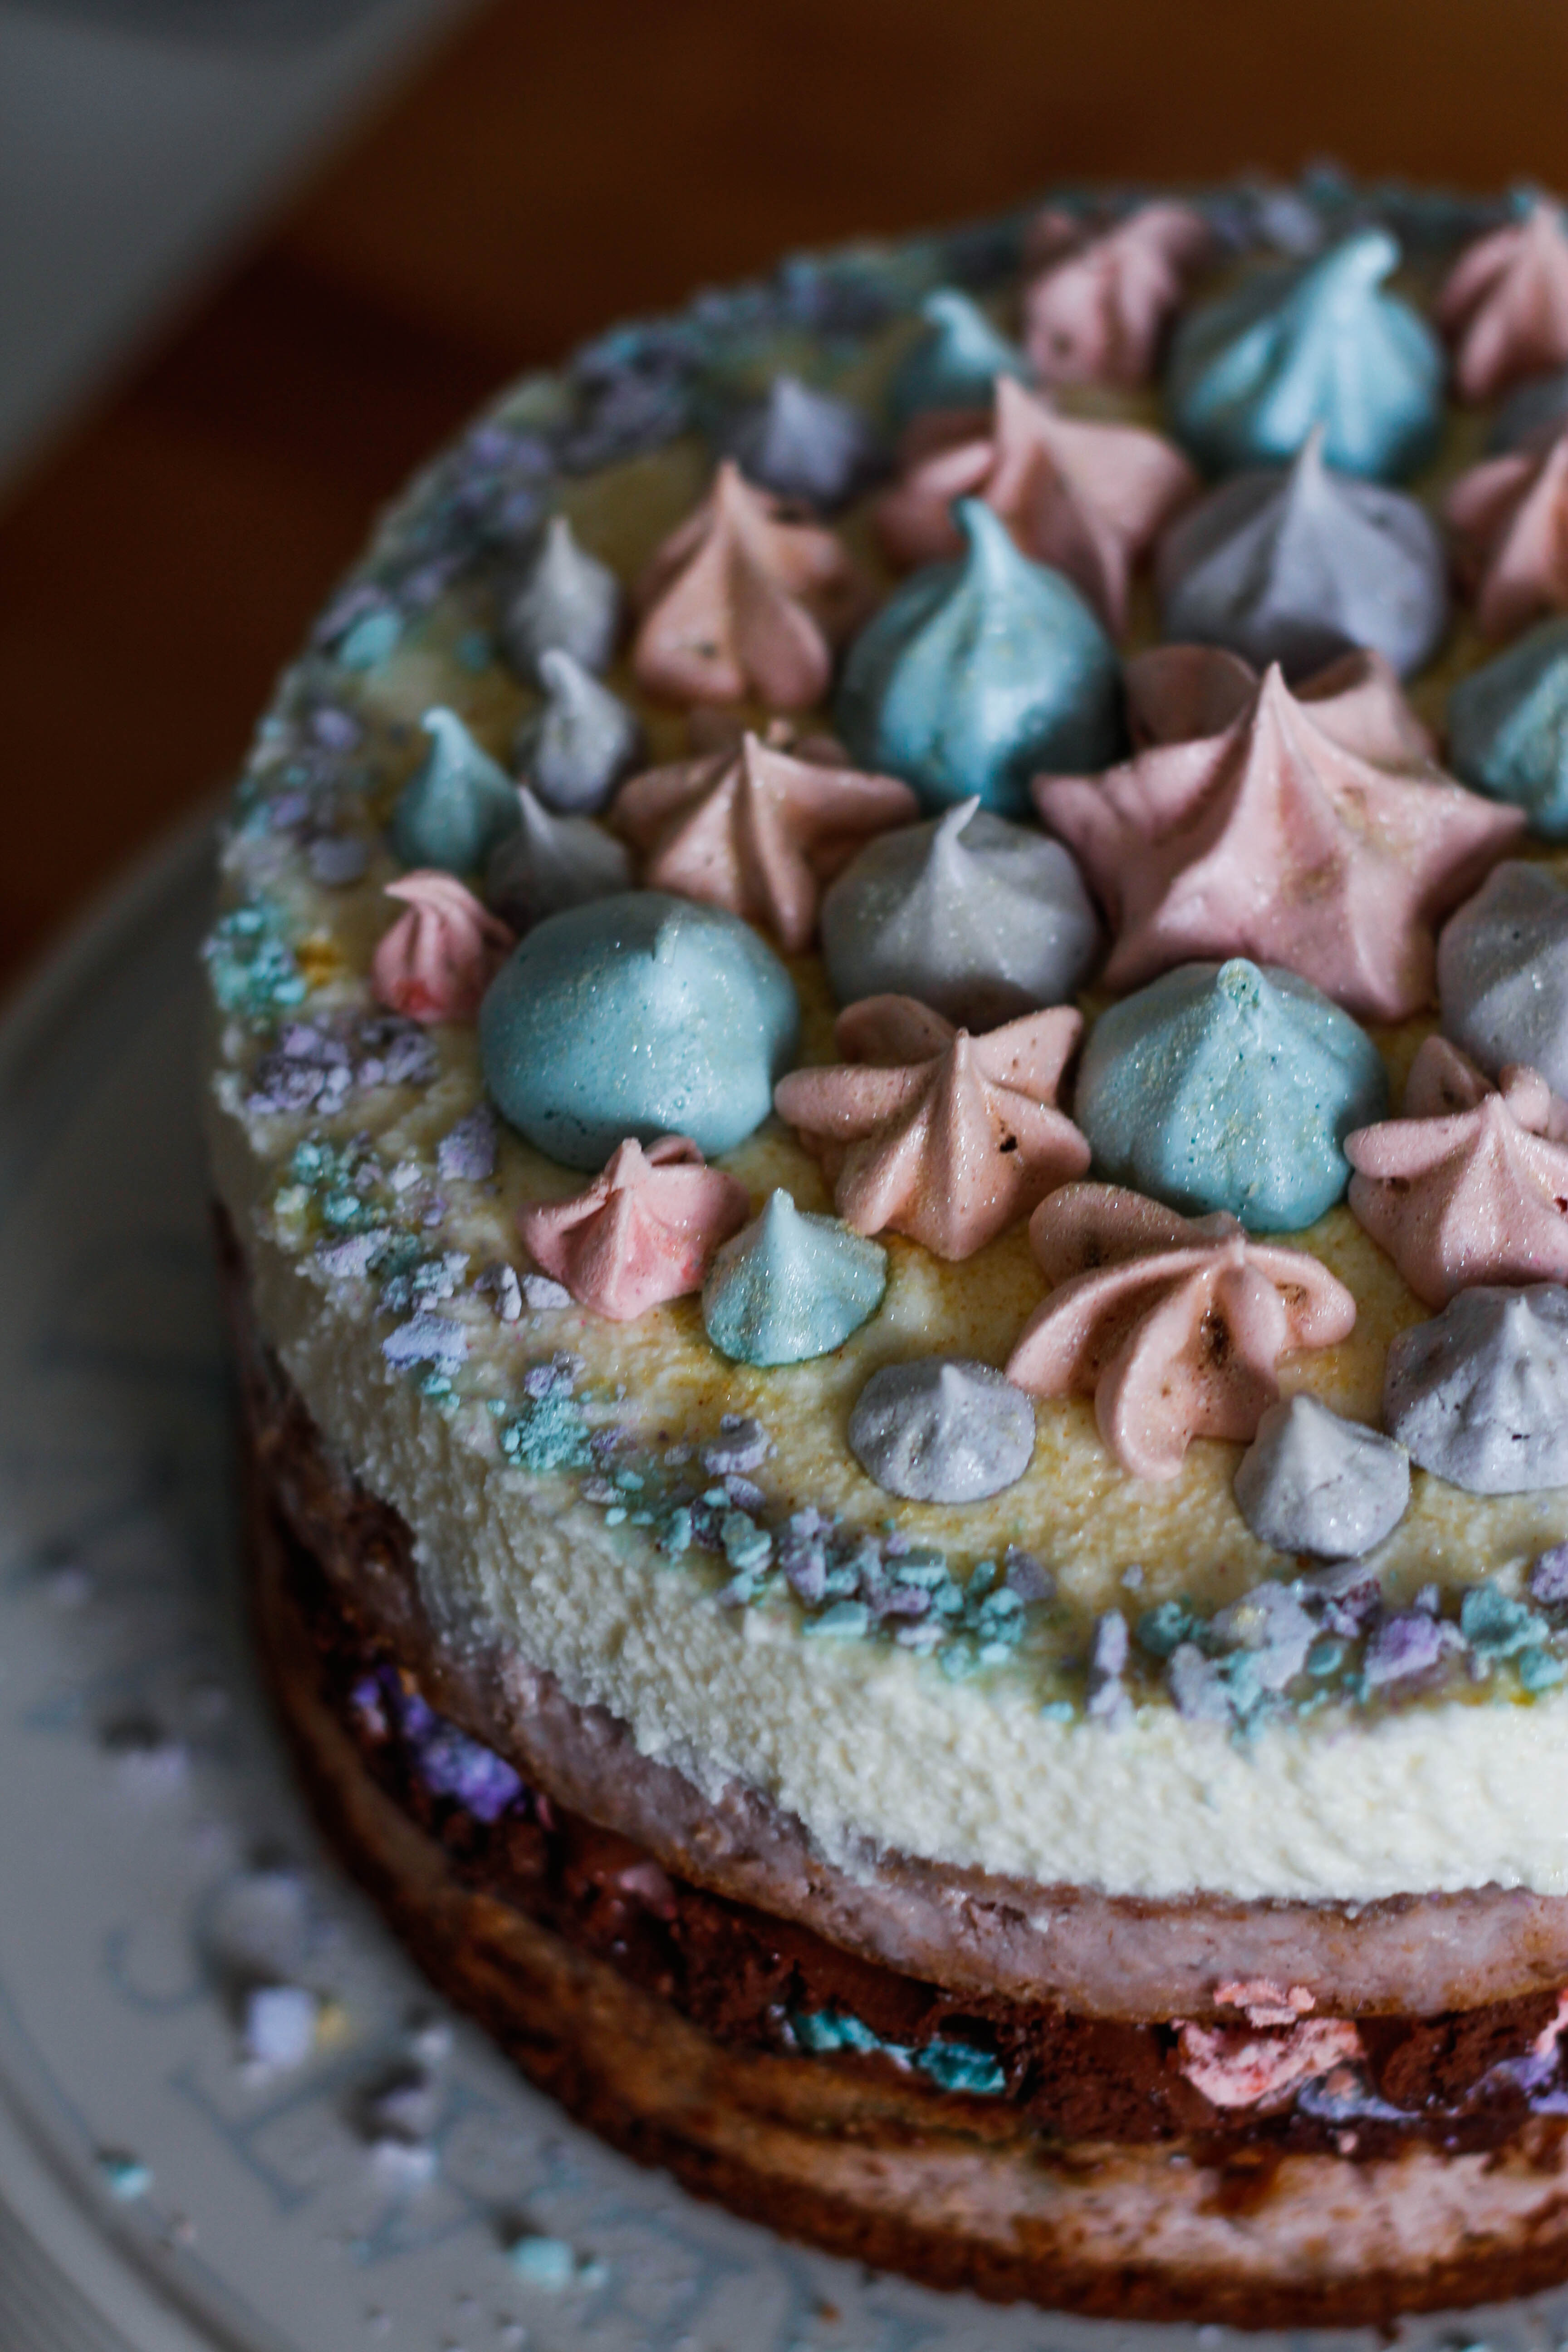
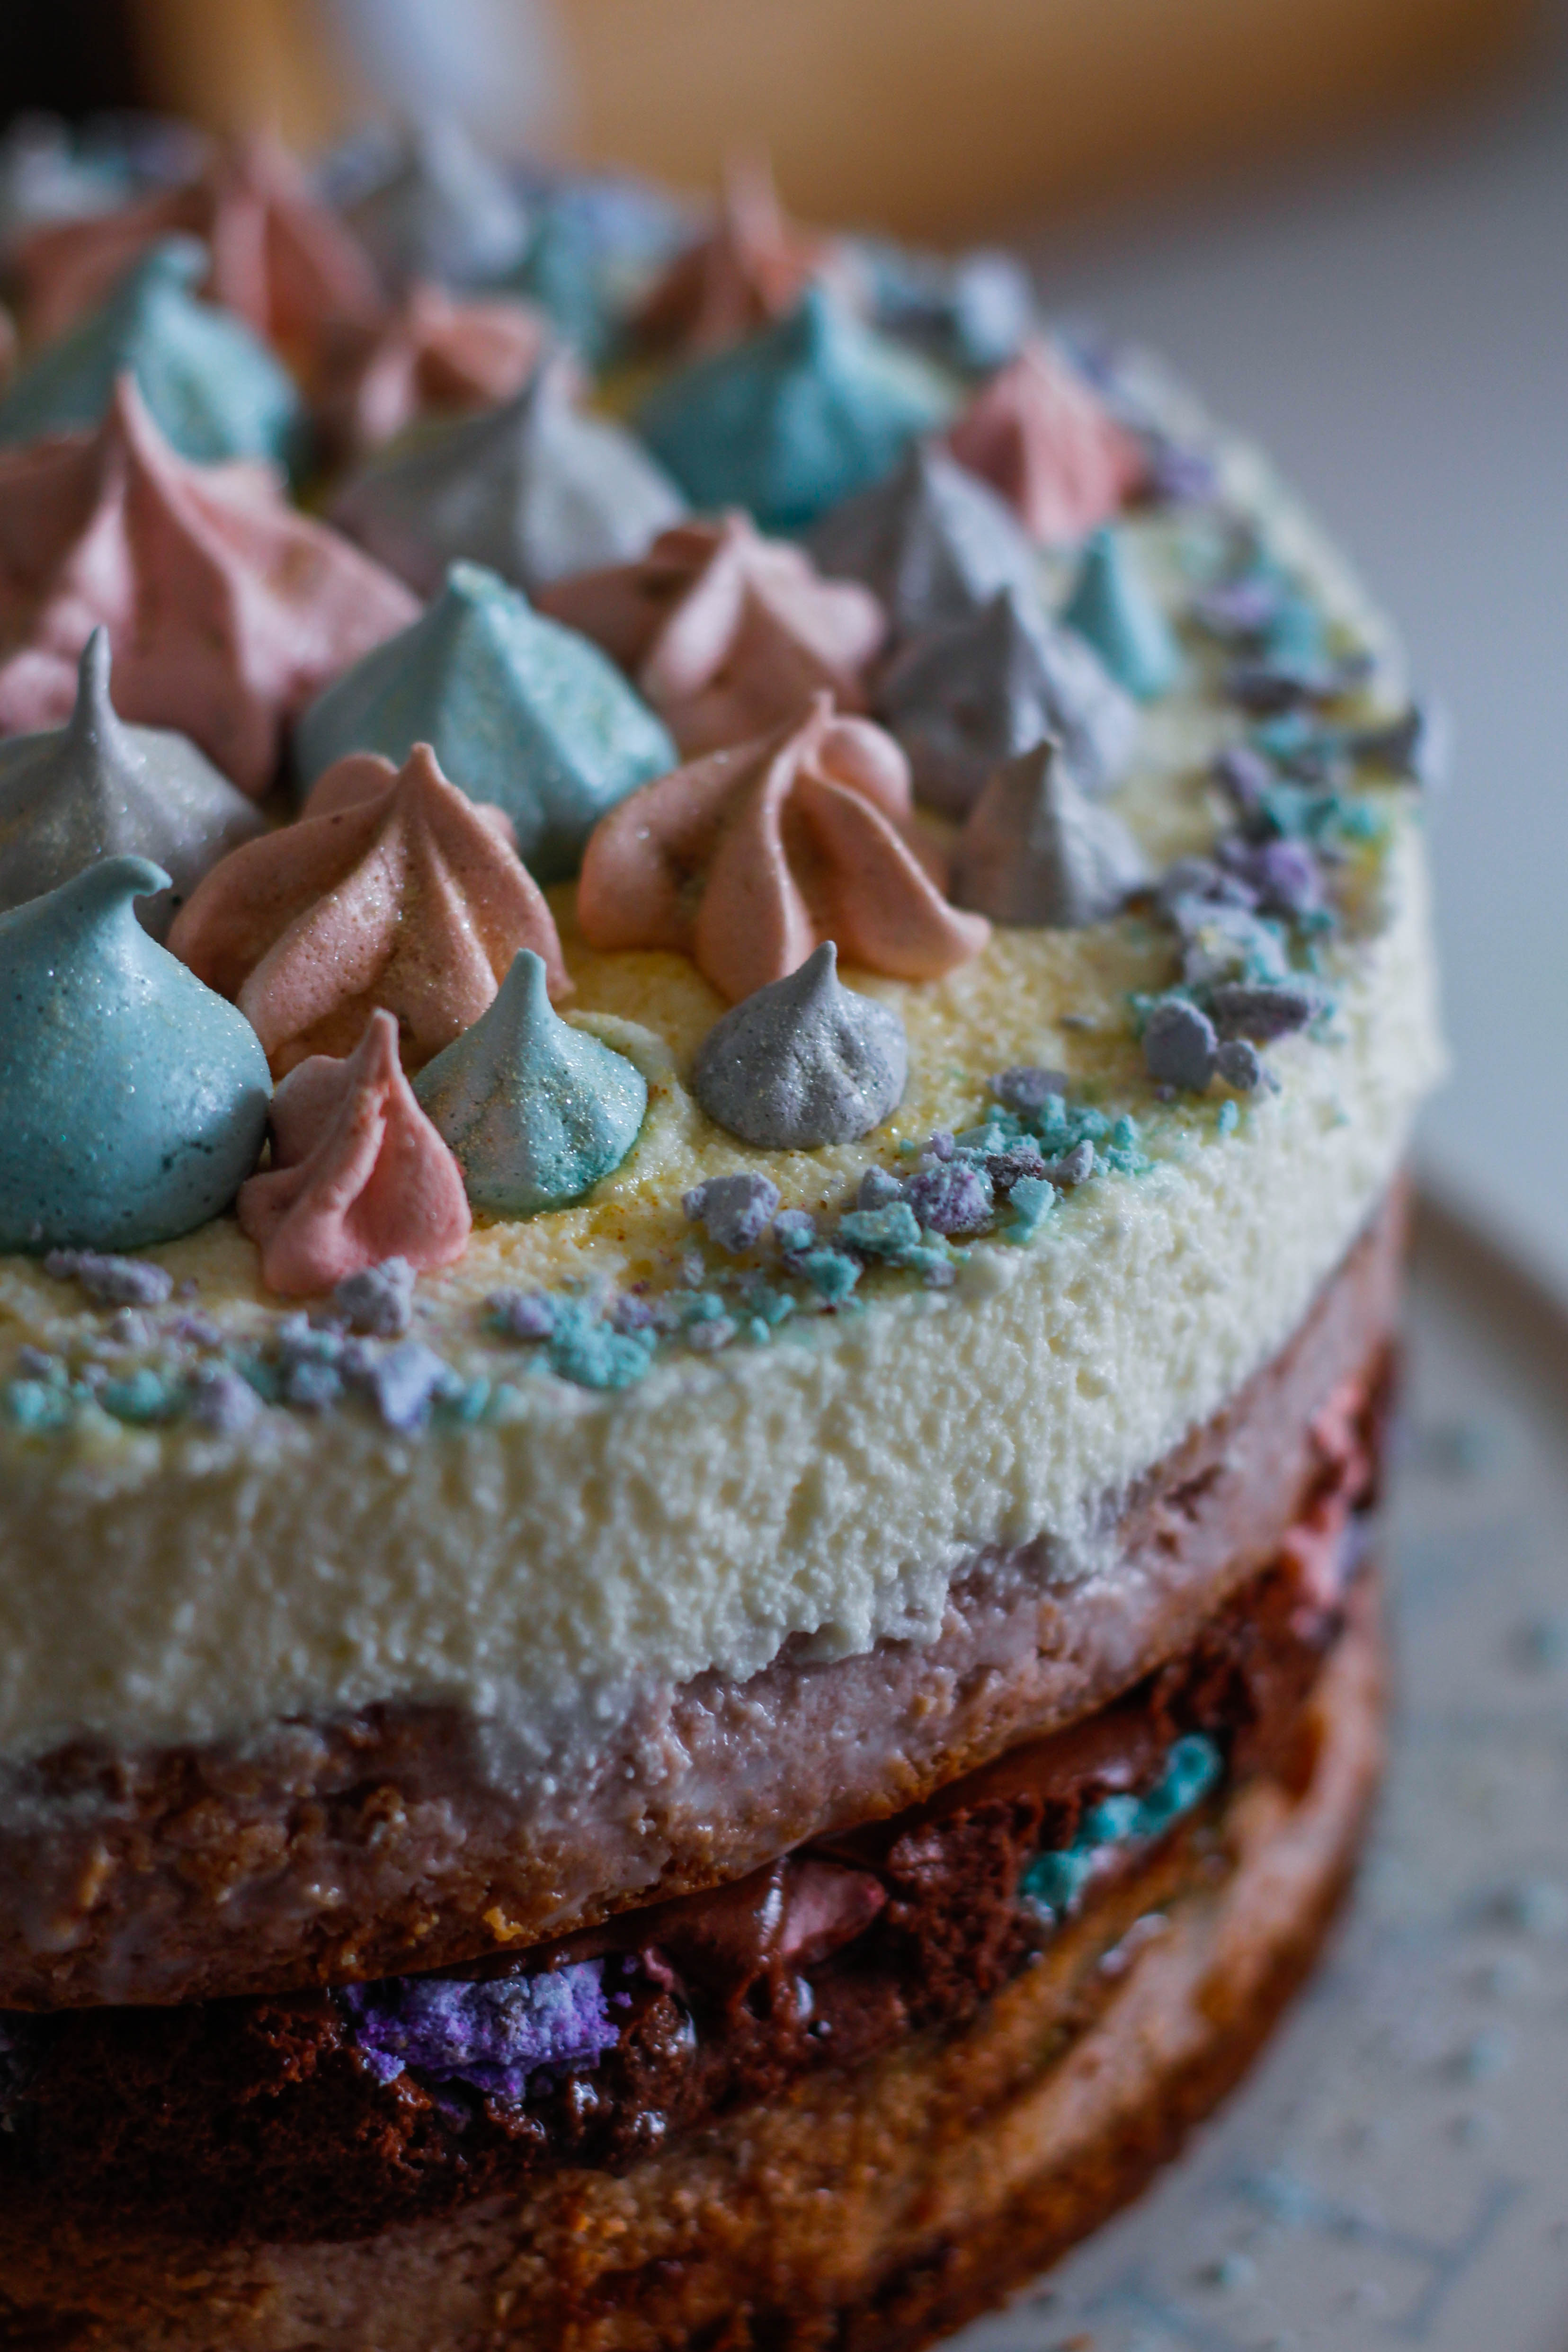
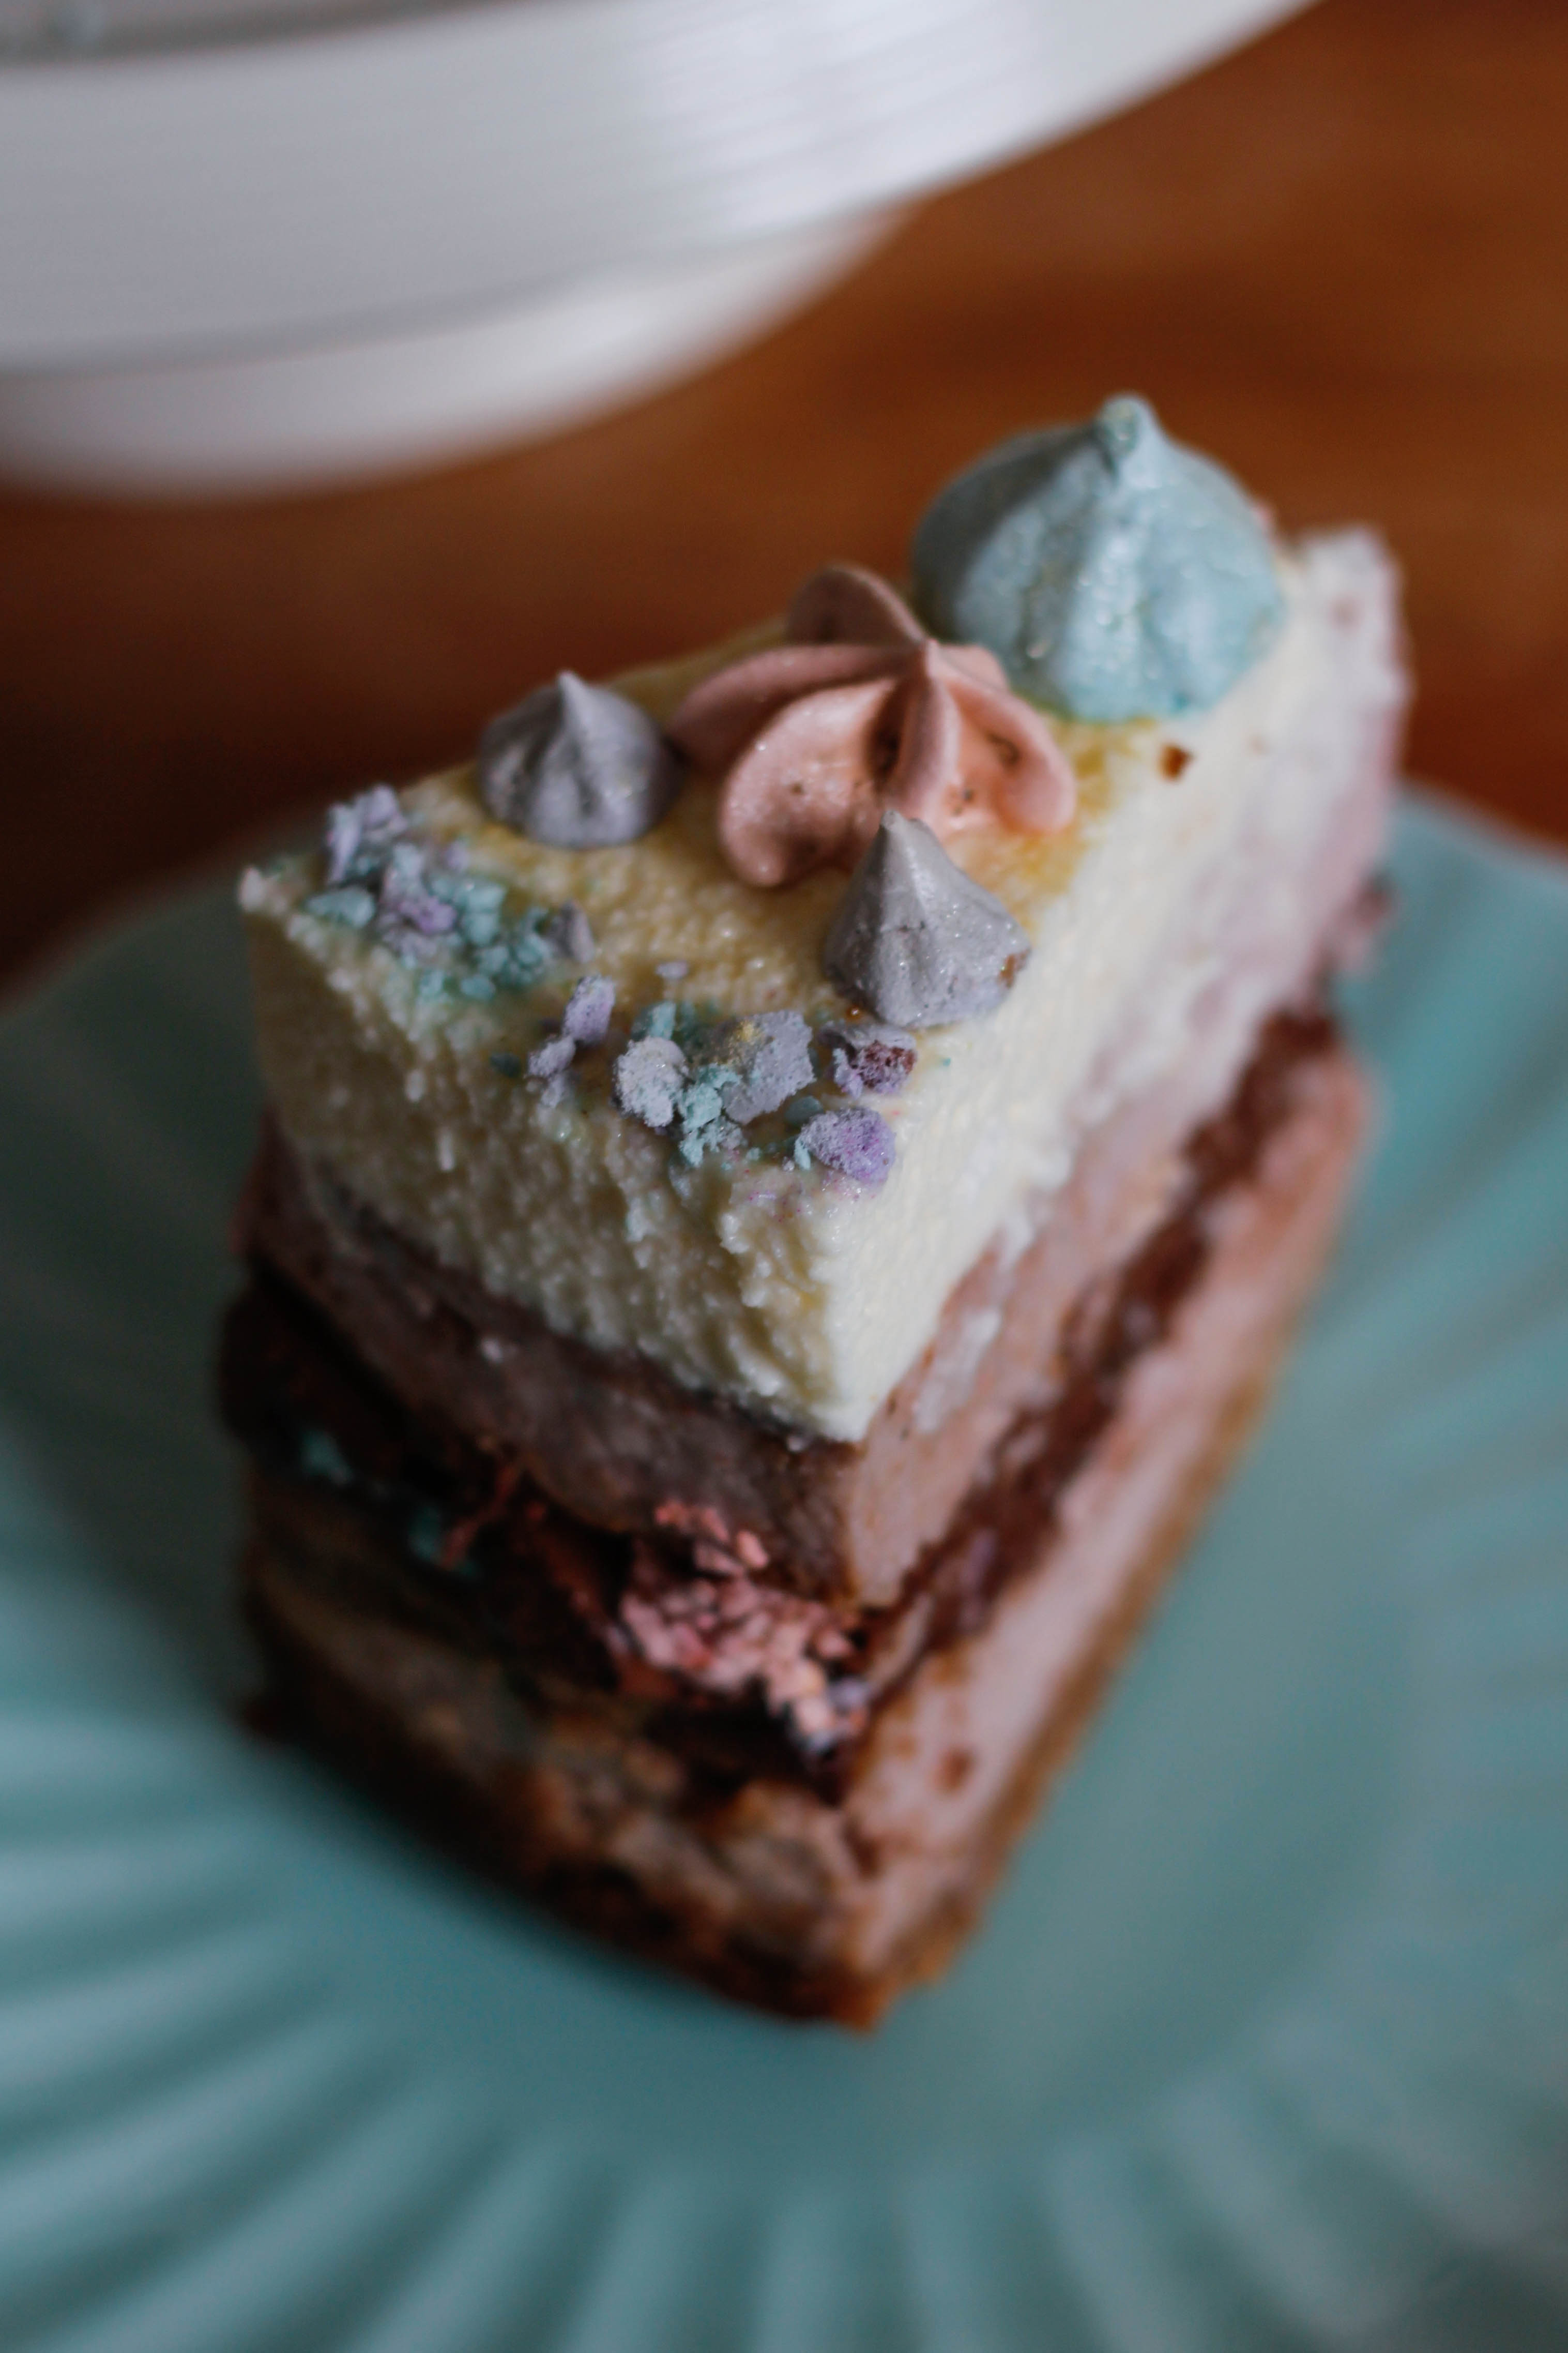
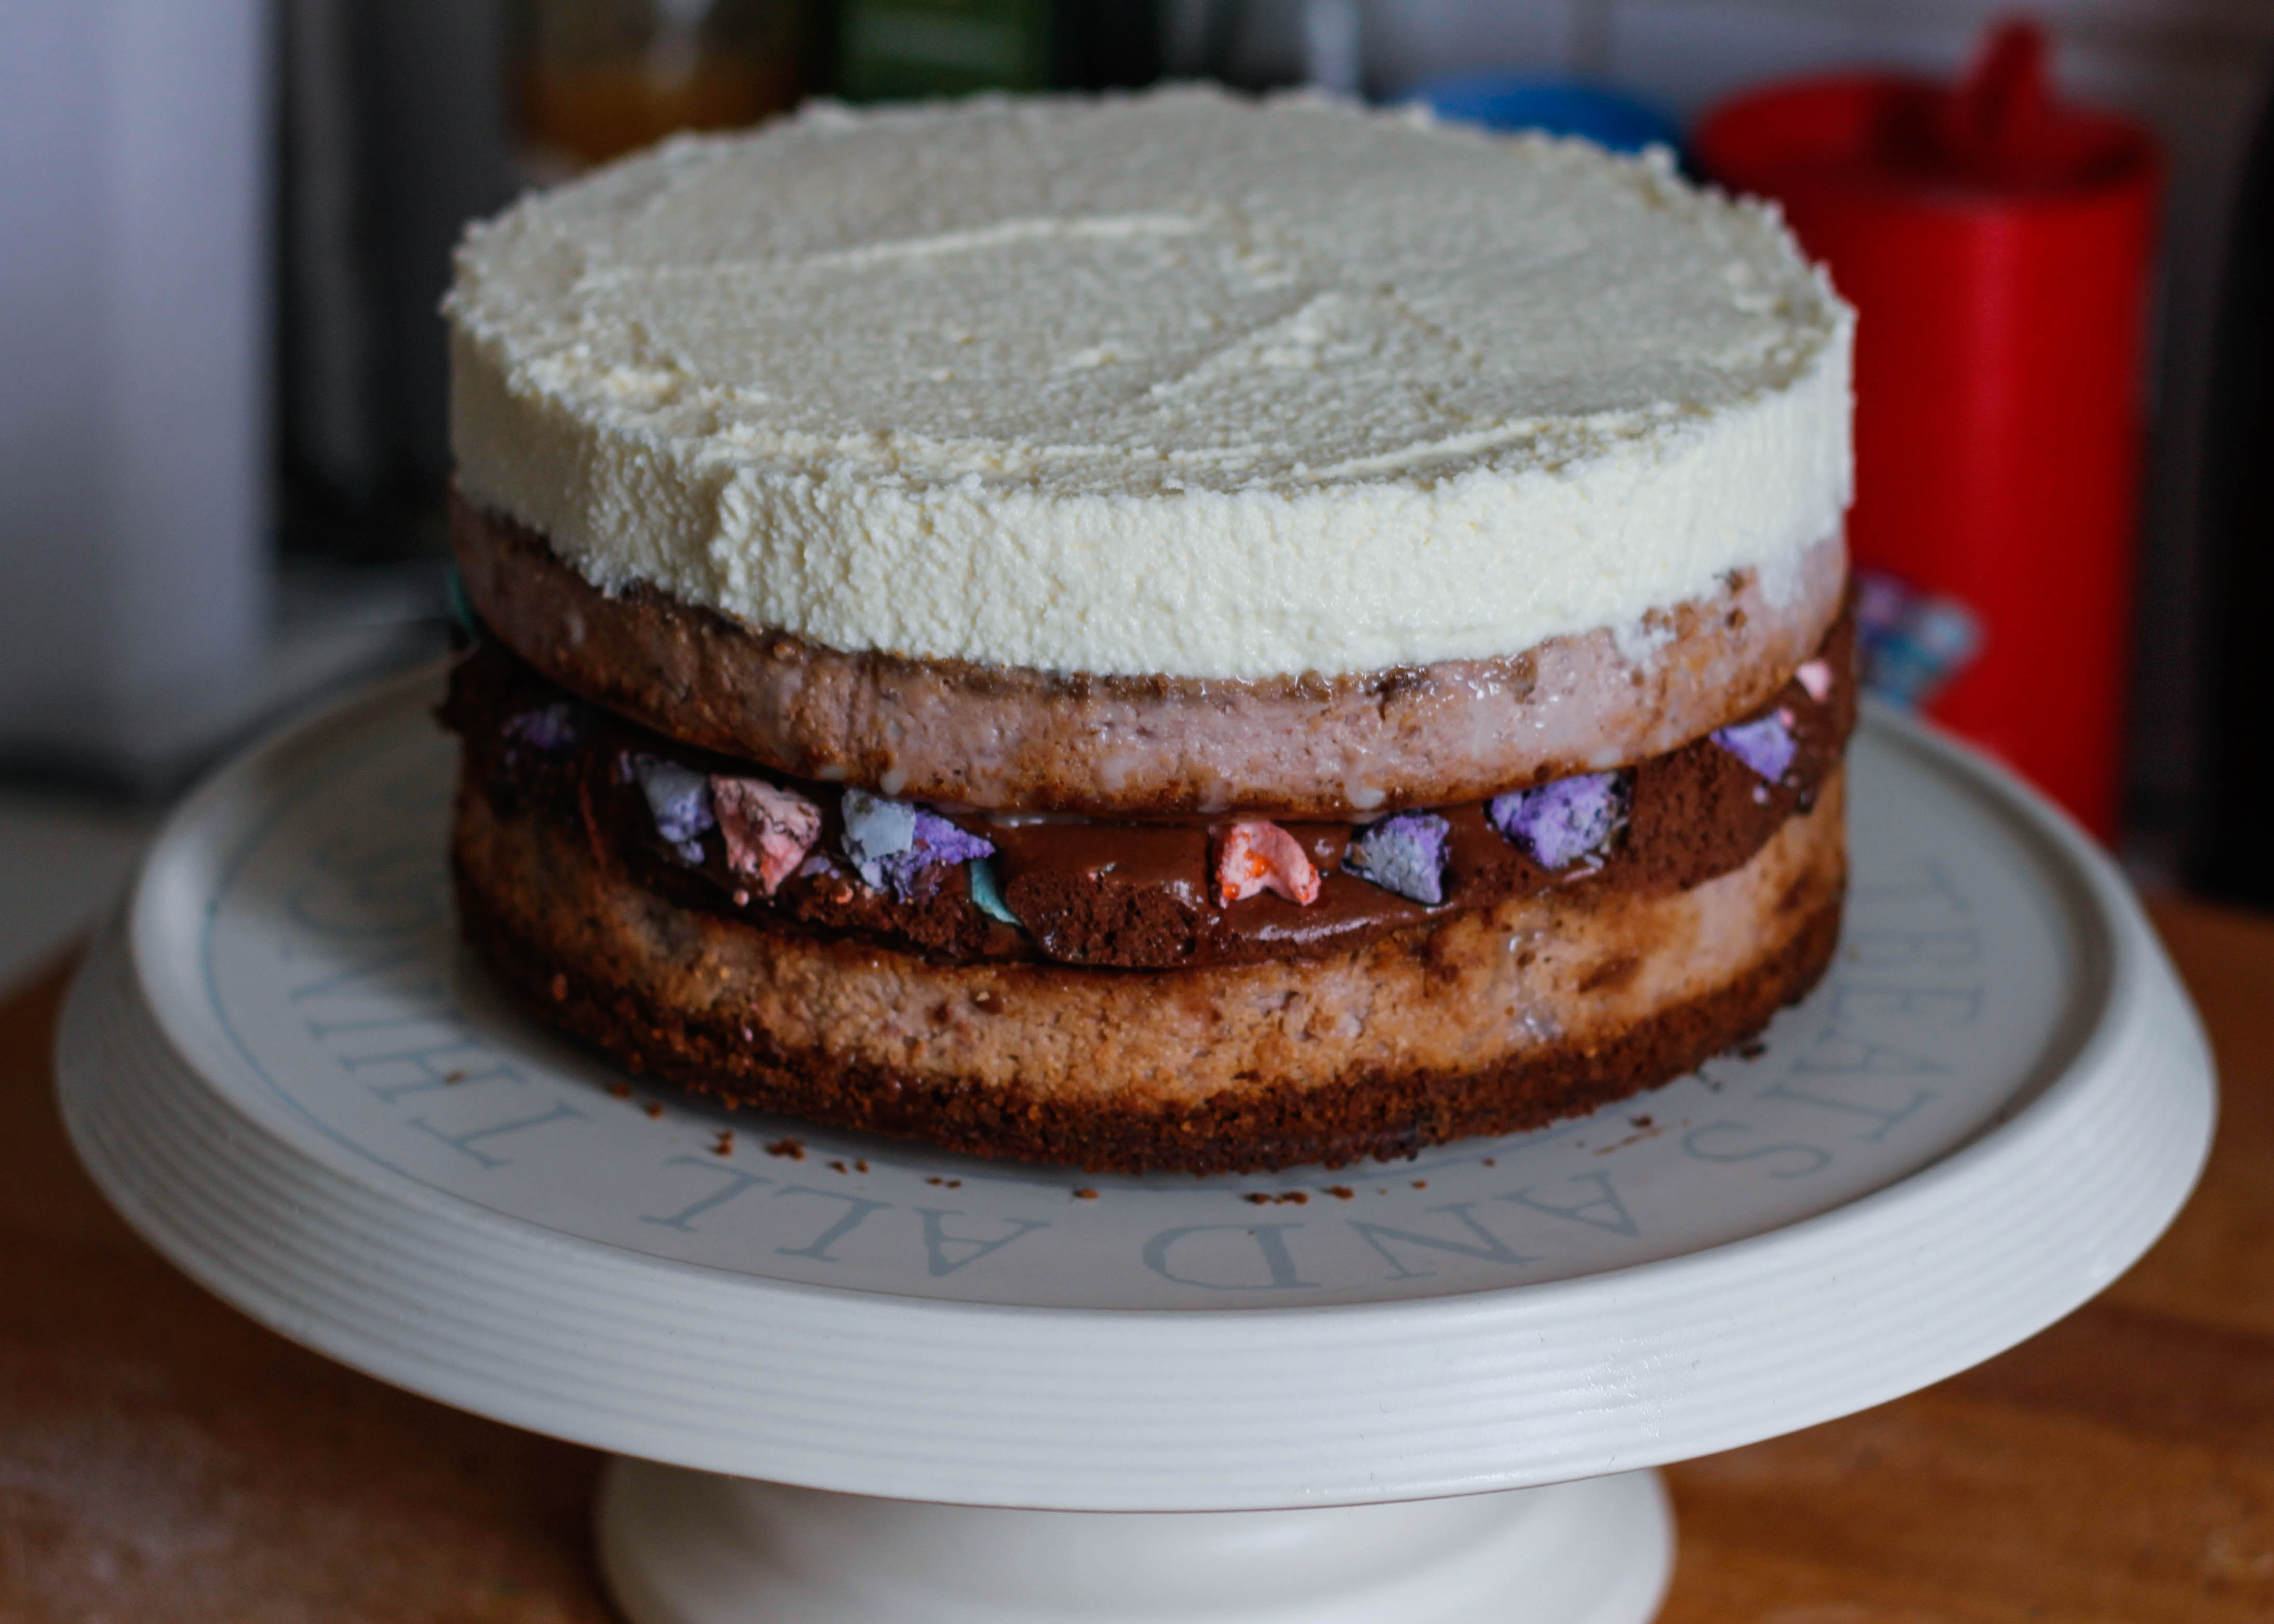
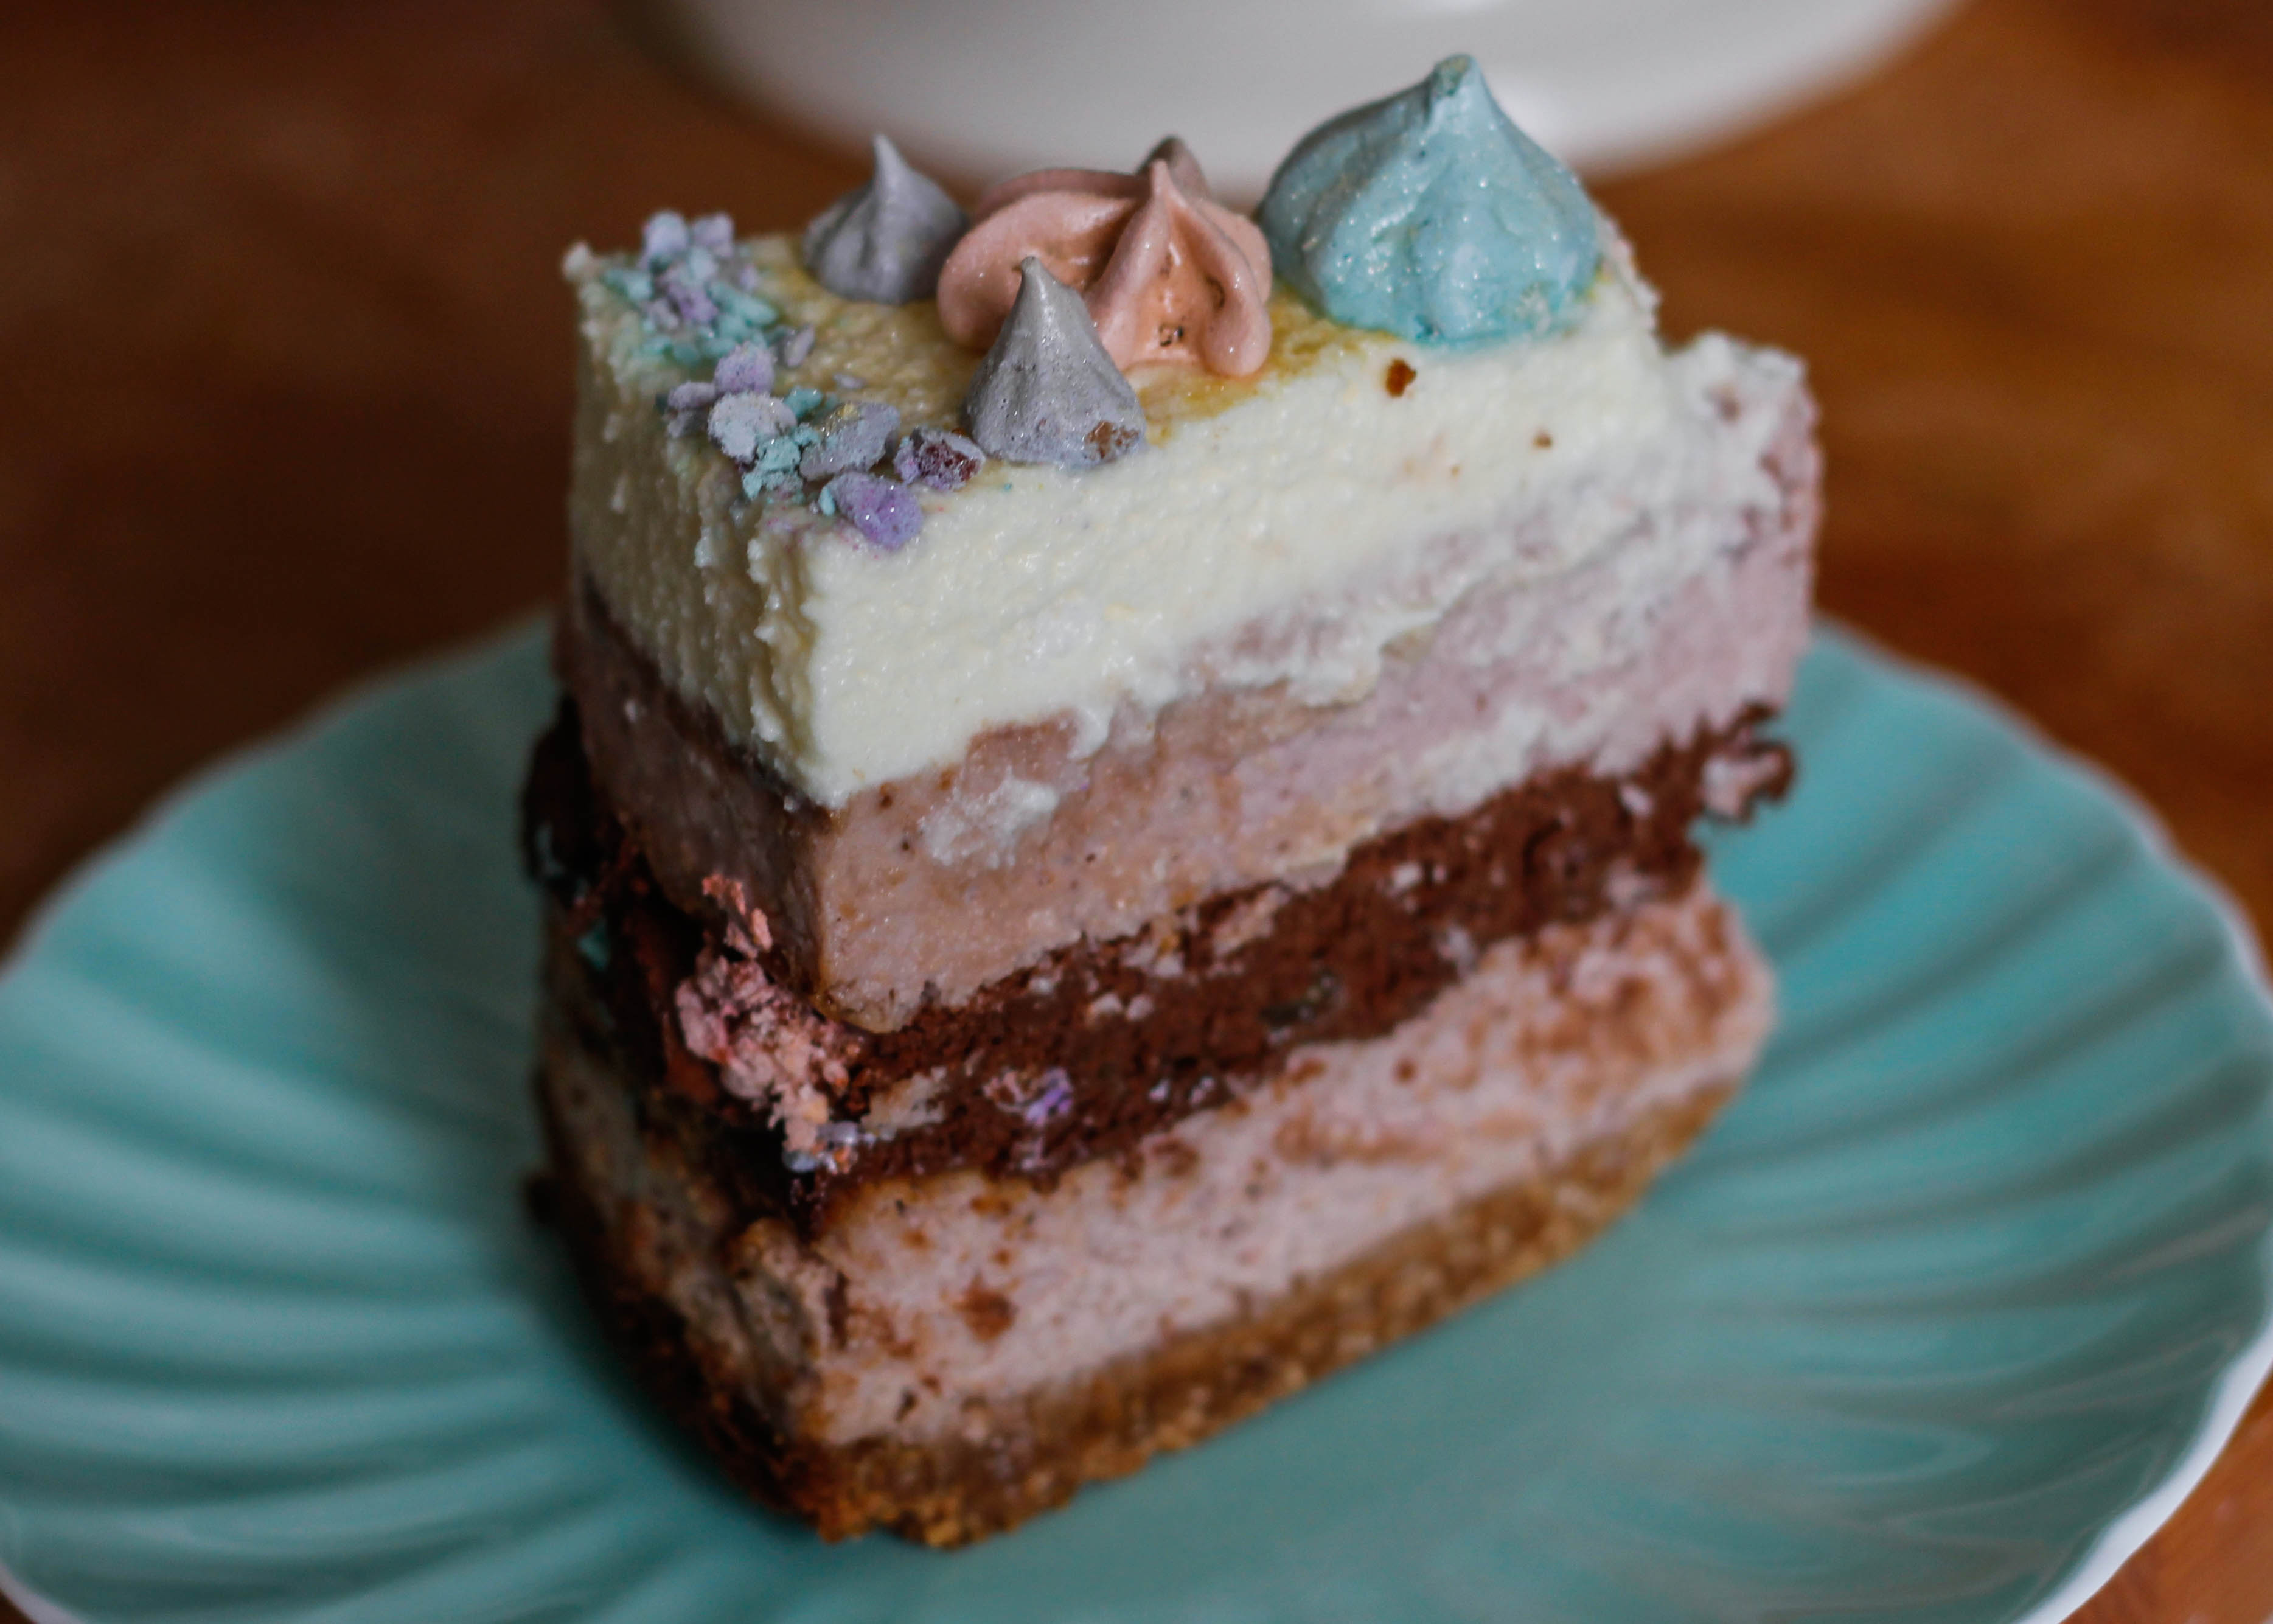
Rich chocolate mousse sandwiched between layers of smooth, velvety cheesecake bursting with fresh berry flavours, topped with a feather-light white chocolate mousse and finished with delicate, crisp meringue kisses.
Sounds complicated…
Well, I won’t pretend it’s anything like one of my more simple recipes, but it is certainly worth the effort if you are up for a challenge!

Before you start, bear in mind that it’s not just the name of this cake that is lengthy… the method is, well, rather long-winded. There is a lot of waiting for things to set, so it is best to prepare it in two parts over two days. Make the cheesecakes on the first day and refrigerate overnight, then prepare the mousses and assemble the cake on the second day.
I find cheesecakes only mature in flavour after the first day, so there is no harm in stretching out the process longer if you need to – just be sure to keep it refrigerated. Cakes of the cream cheese variety don’t tend to last longer than a few days in our house once they’ve been cut into… but in general they should keep for up to a week in the fridge.
Bear in mind that the meringues will begin to soften as soon as they are added to the cake, and the mousse is best to be poured onto the cake immediately after preparing it, before it sets. If you leave the mousse to set and then build the cake you will loose some of the delicate air bubbles as you attempt to spread it.
My favourites for this bake…


Click the image to shop the product.
Choc-Berry Meringue Mousse Cheesecake
Yield: one 8″ layered cheesecake

Ingredients
For the meringues
2 egg whites
100g caster sugar
pinch of cream of tartar
8g freeze dried raspberry crumb (optional)
food colourings (pink, blue, purple)
For the base
160g plain sweet biscuits
40g dessicated coconut
20g plain flour
40g honey
60g butter
For the cheesecake
80g raspberries
175g strawberries, quartered
30ml water
squeeze of lemon juice
75g caster sugar
640g cream cheese
4 whole eggs
2 egg yolk
100g sugar
150ml sour cream
60ml double cream
40g plain flour
For the chocolate mousse
80g dark chocolate
35g milk chocolate
3 eggs
2 Tbsp light muscovado sugar
For the white chocolate mousse
100g white chocolate
130ml double cream
3 egg whites
2 Tbsp caster sugar
Method
For the meringues
Preheat oven to 110°C/230° F/Gas Mark 1/4 and line a tray with baking paper.
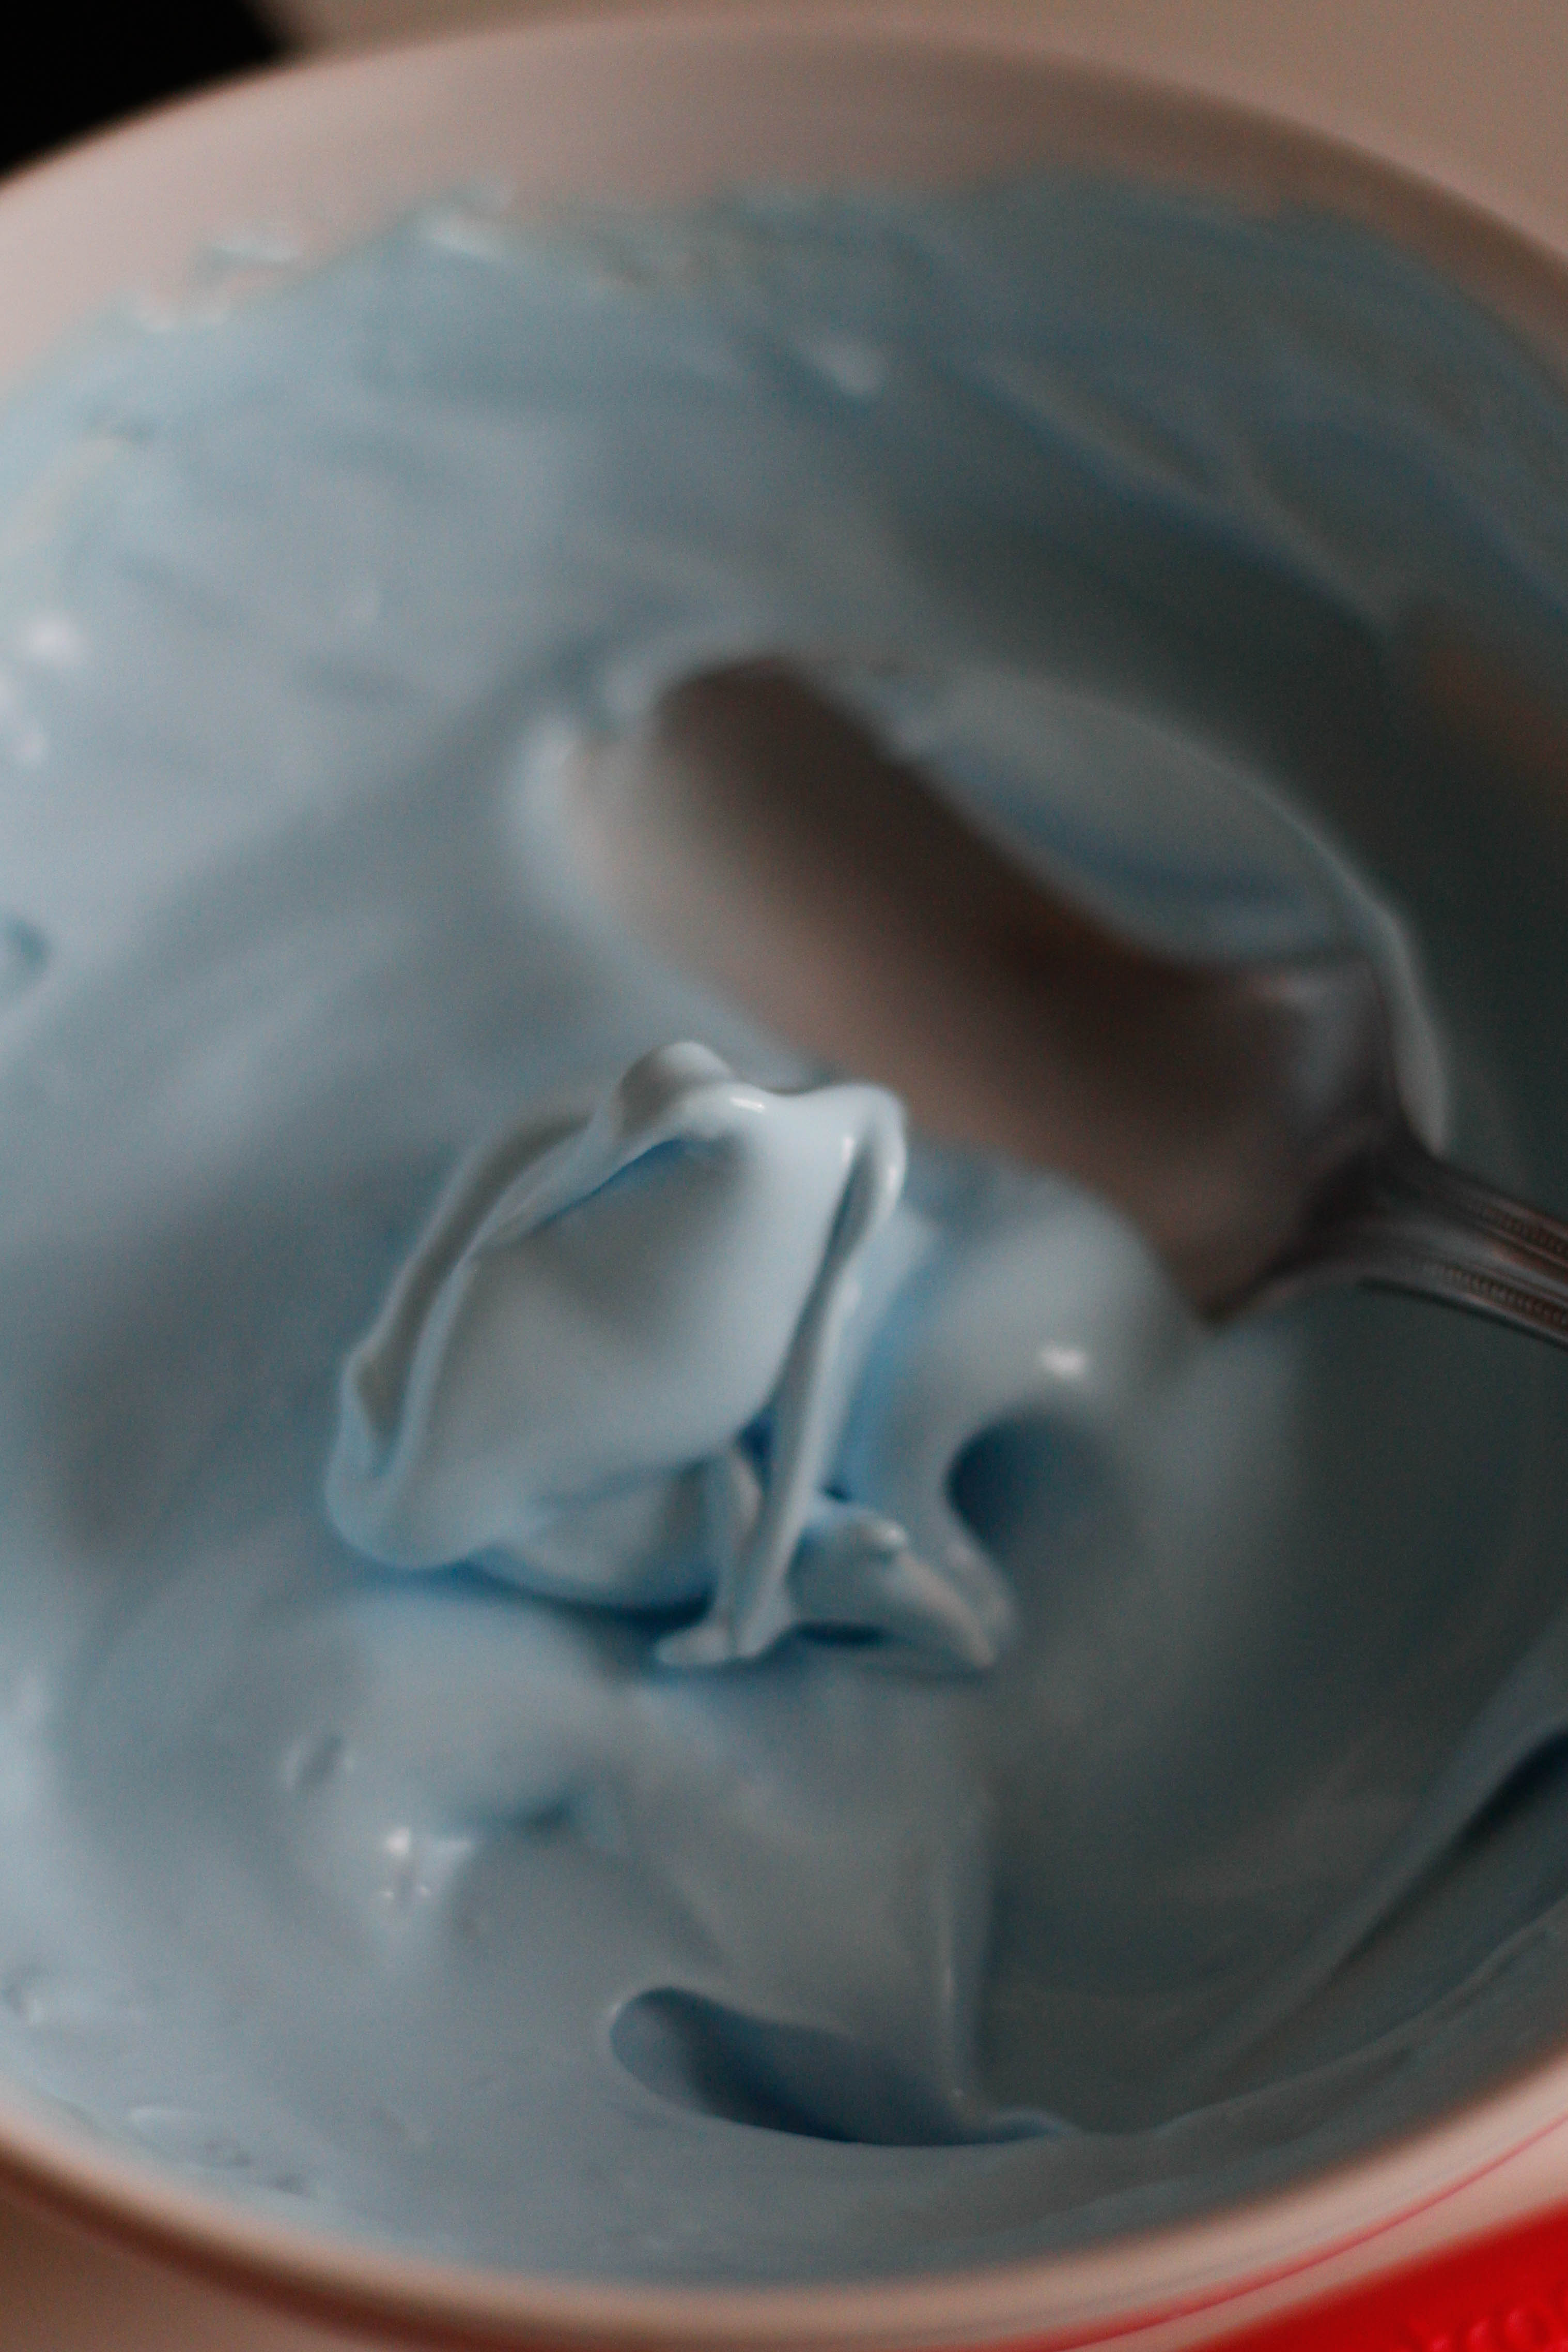
Whisk the egg whites to soft peaks using an electric whisk, then add in the cream of tartar. Gradually add the sugar, continuing to whisk the egg whites as you add a few spoons in at a time. Beat until egg whites are stiff and glossy, and the sugar grains have dissolved.

Divide the mixture into three (if you are using three colours) and add the freeze-dried raspberries to one of the thirds if you are using it. Colour this third with red or pink to enhance the hue.


Colour the remaining two thirds as you please.
Pipe the meringue mixture onto the prepared tray using different piping nozzles, or just spoon on in dollops if you don’t have a piping bag. Bake in the preheated oven for 1 hour, or until the meringues are crisp (but not brown) and come away from the paper when nudged.

Allow to cool completely, then store in an air-tight container until ready to use.

For the cheesecake base
Preheat oven to 180°C/350° F/Gas Mark 4 and line the base of an 8″ (20 cm) springform cake tin with baking paper.
Place the biscuits, coconut and flour into a food processor and pulse until you are left with a fine crumb. Add the butter and honey and pulse again until the mixture comes together.
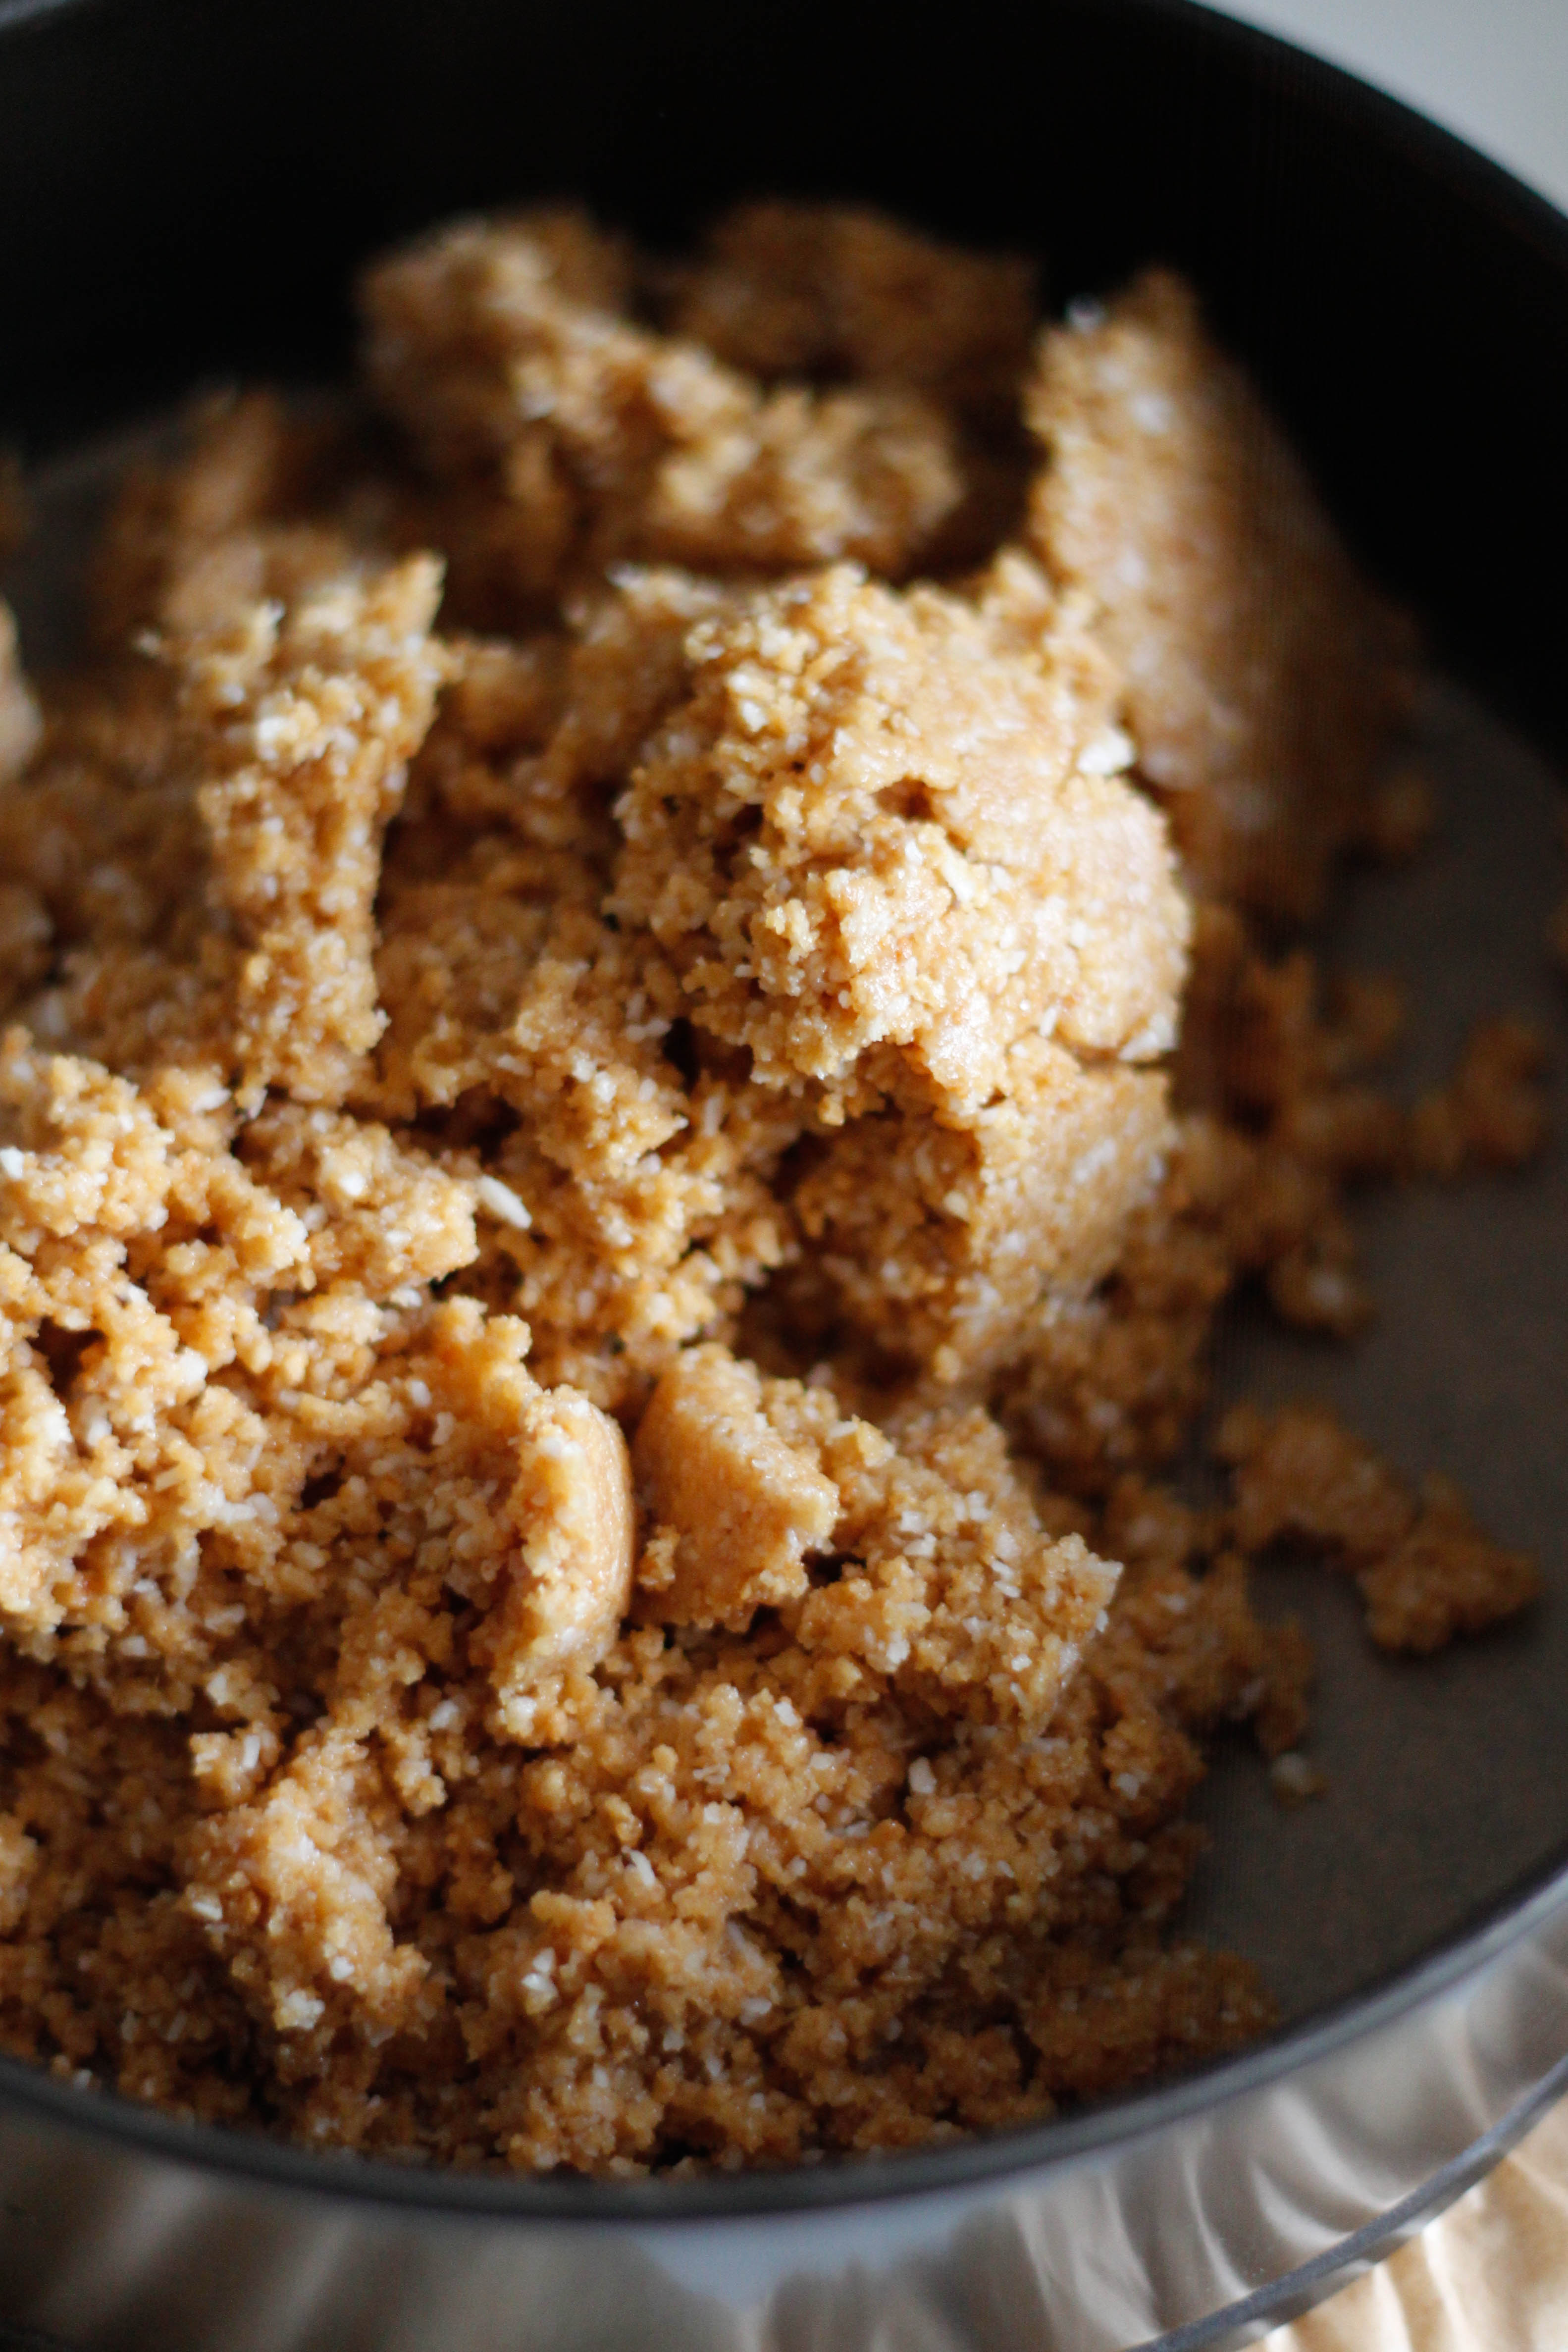
Press the mixture into the base of the cake tin, then bake in the preheated oven for 10 minutes.

Remove from the oven and set aside to cool, then refrigerate until ready to use.
For the cheesecake
Place the raspberries, strawberries, water, lemon juice and 75g sugar in a saucepan and bring to a boil. Reduce heat and simmer until the berries have broken down and the mixture has thickened. Set aside to cool, then refrigerate until it has reached room temperature.
Whisk the cream cheese until smooth, then add in the remaining 100g sugar. Beat in the eggs, then sift the flour and whisk well until mixture is smooth and creamy. Gradually add the cream, the sour cream, and finally the cooled berry mixture.
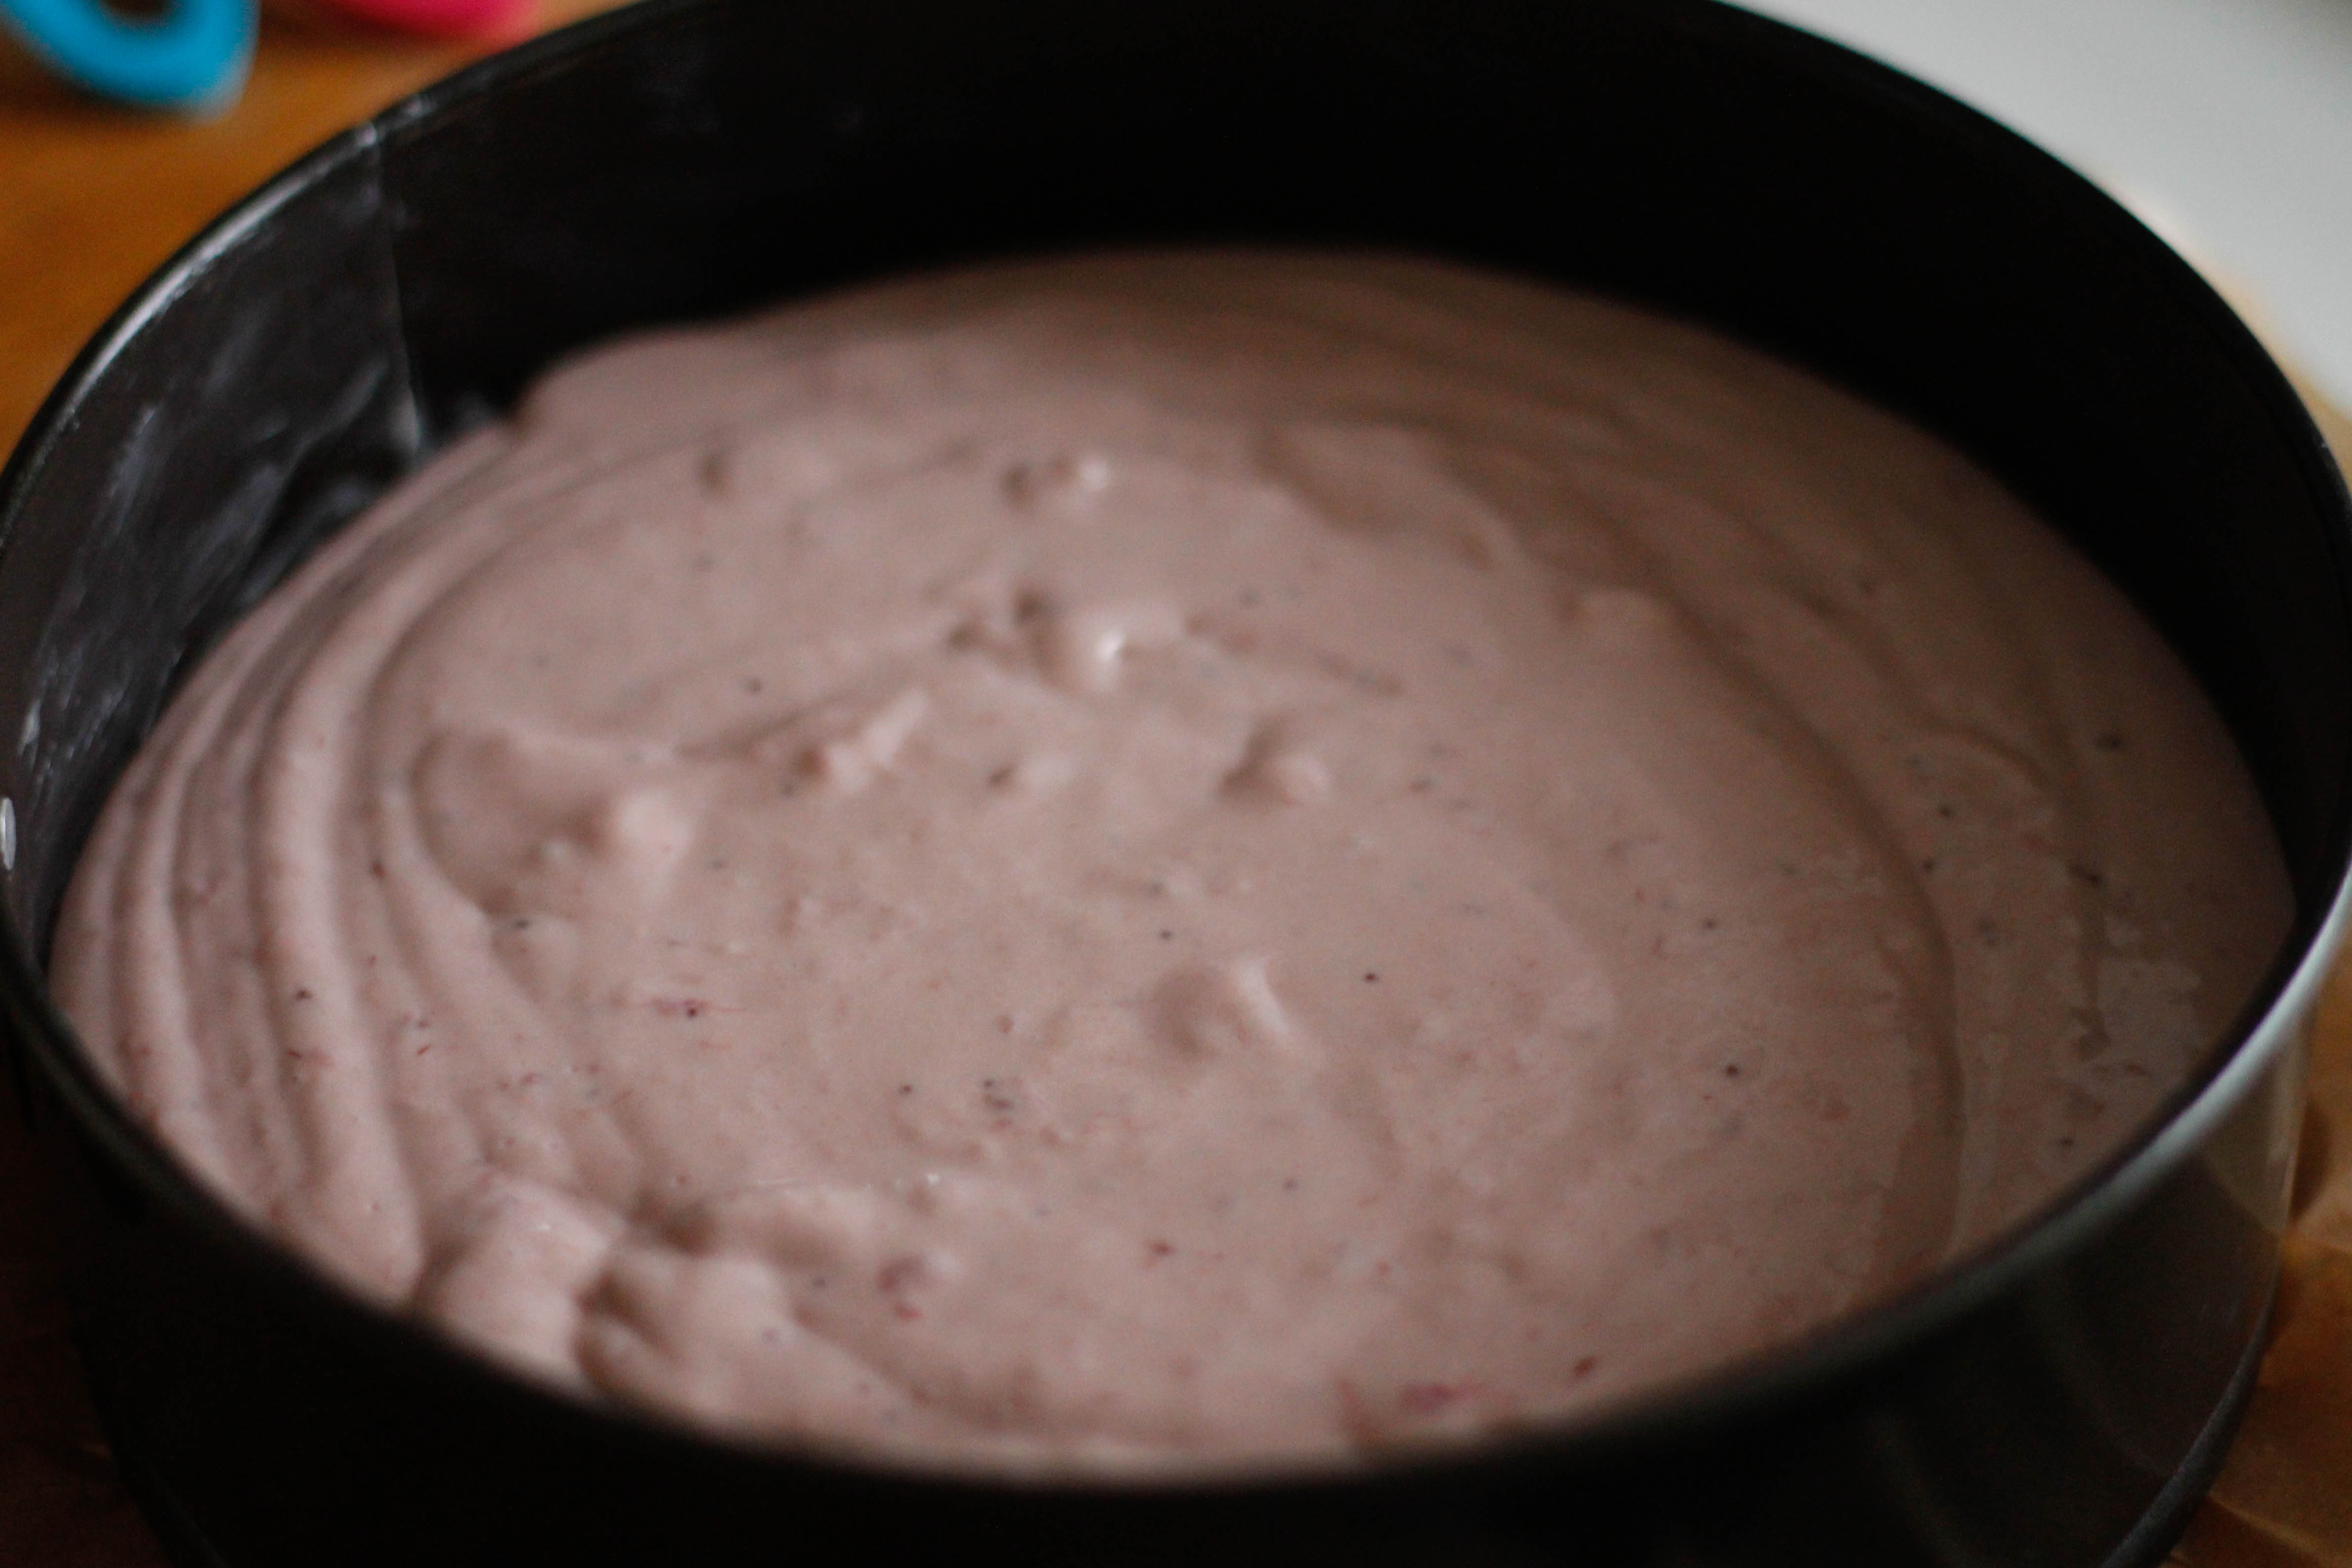
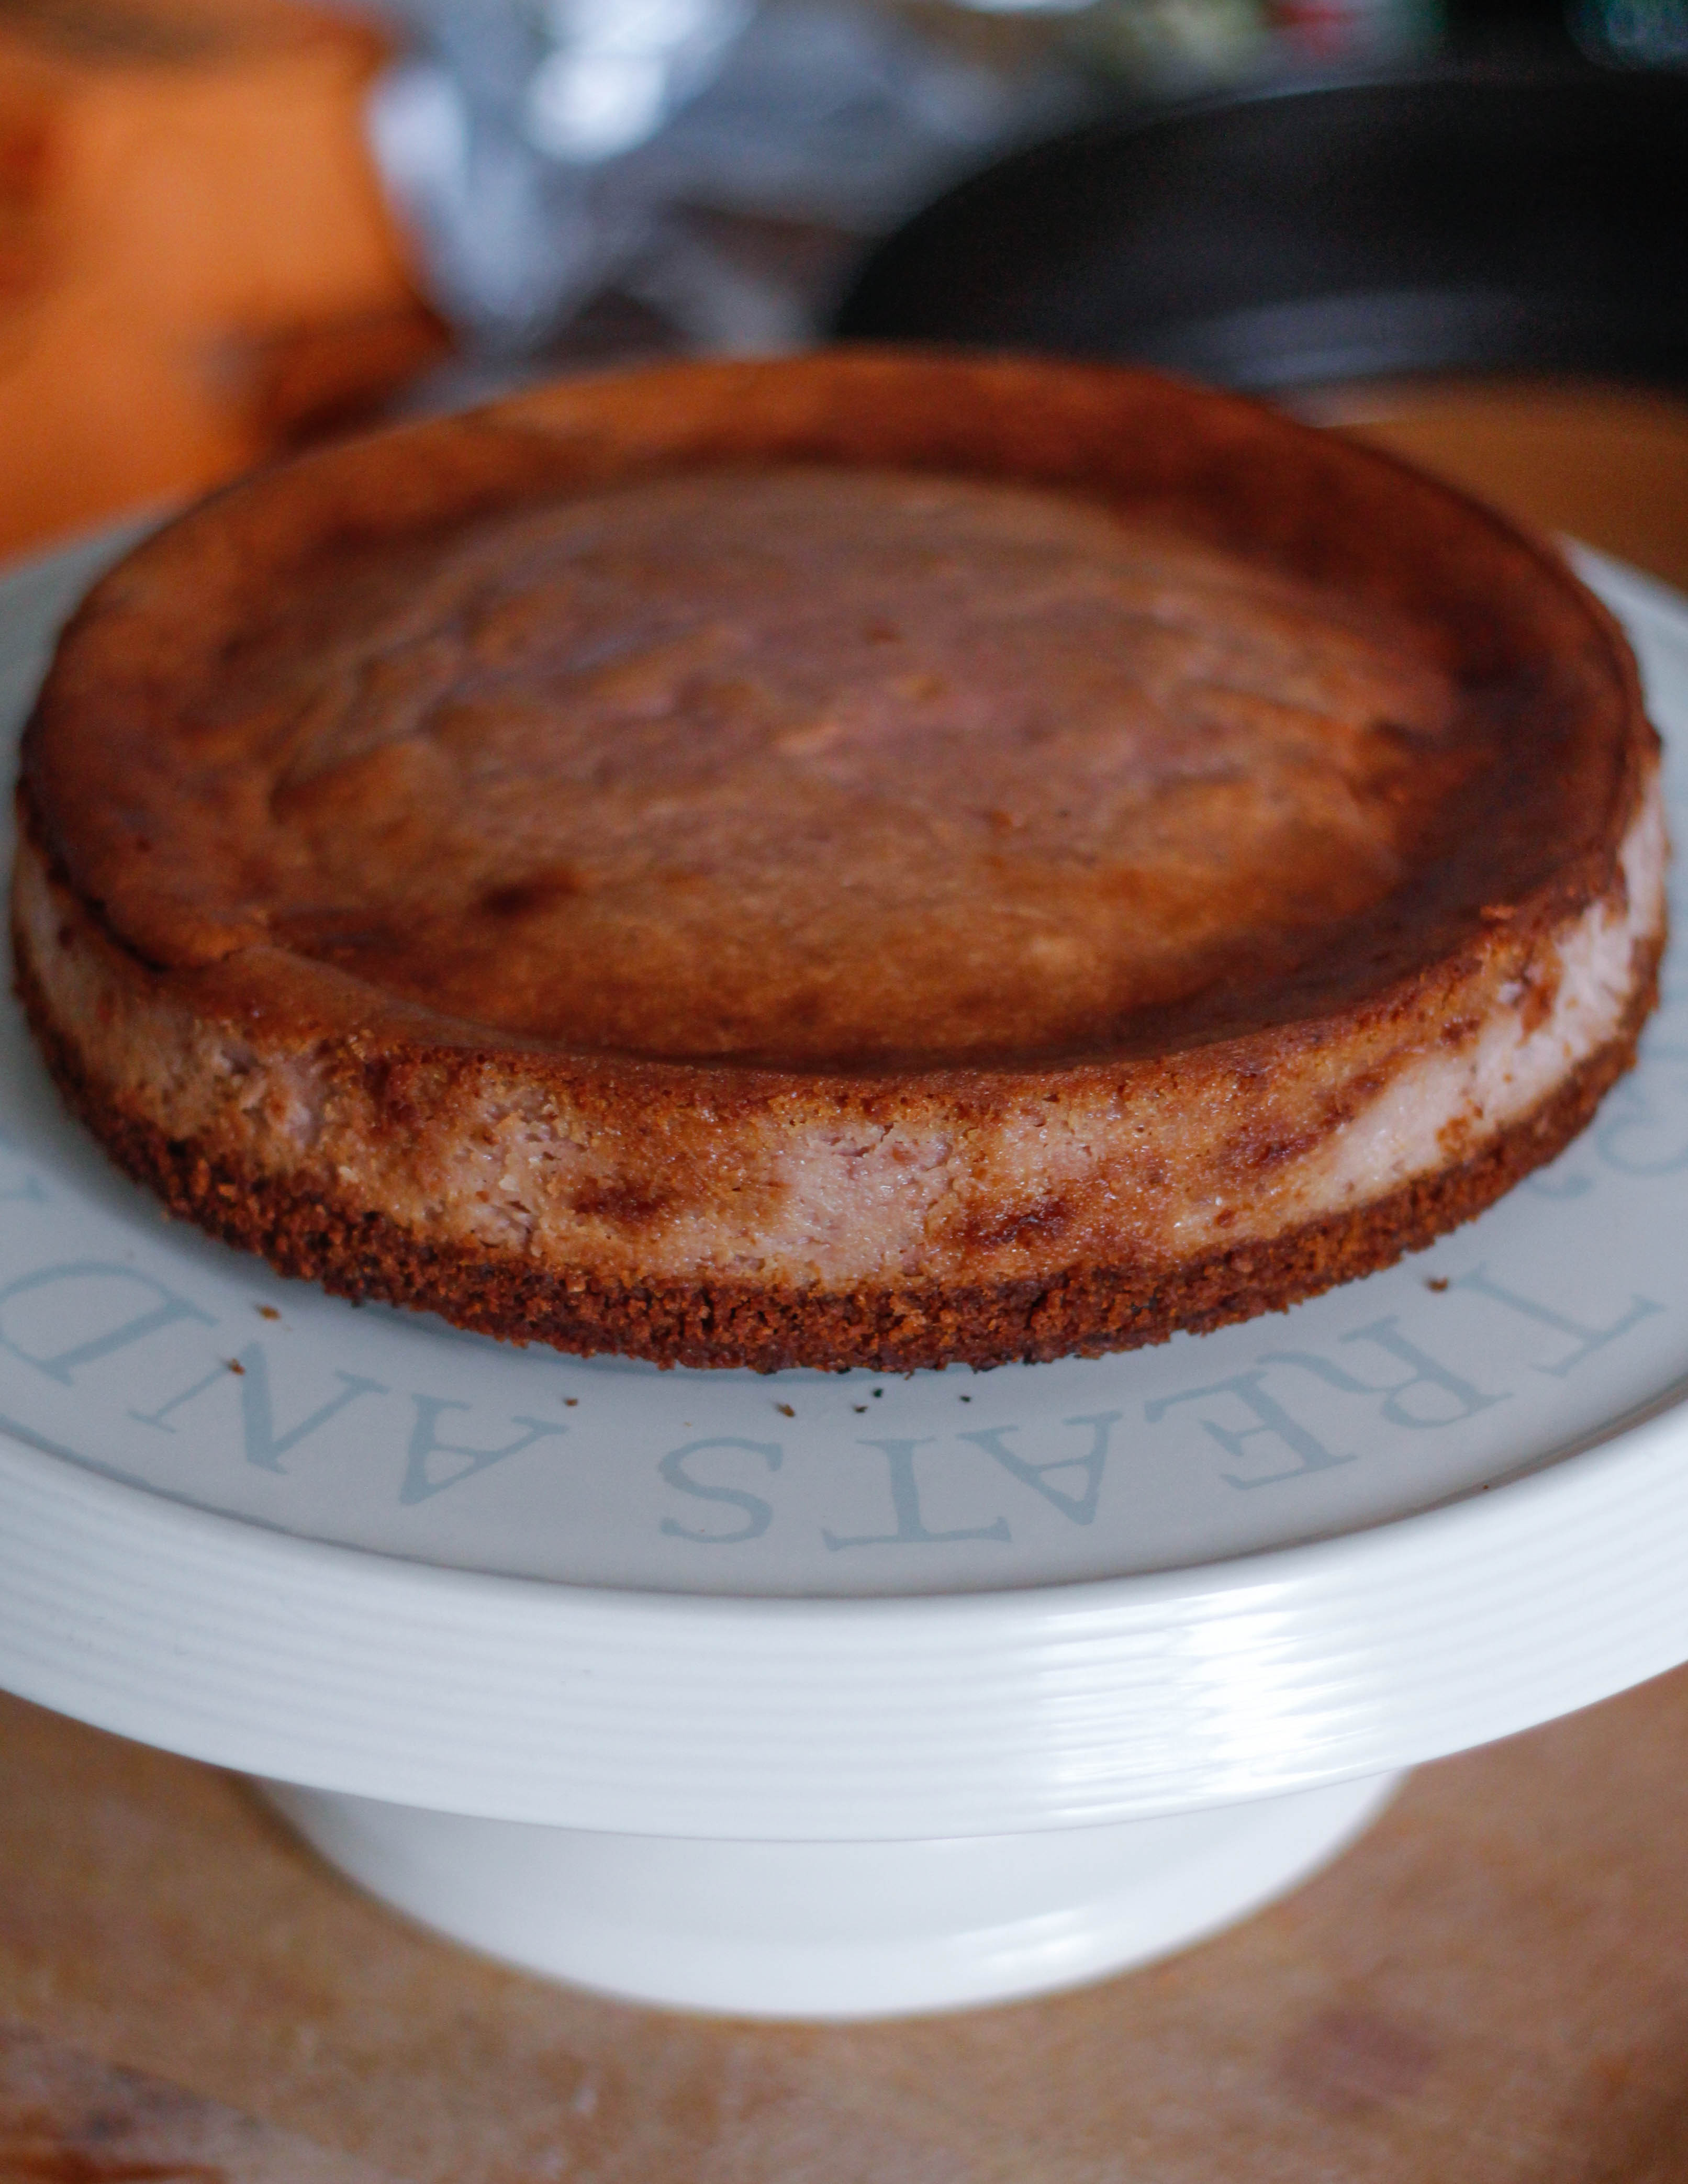
Divide the mixture in half, pouring one half onto the cooled biscuit base and baking in your preheated oven for 50 minutes, or until cake is set (there should still be a slight wobble in the centre).
Prepare a second 8″ cake tin by lining the base with baking paper. Pour the remaining mixture directly onto the pan (without a biscuit base) and bake for 50 minutes, or until cake is set but still slightly wobbly in the centre.
Tip: if your cake is browning too much reduce the oven temperature to 165°C/325° F/Gas Mark 3, or cover the cake with tin foil.
Leave to cool in the oven with the door ajar, then refrigerate for at least 2 hours to set before moving on to assembling the layers. If you are making the cake over two days just leave the cheesecakes in the fridge overnight until you are ready to use them.
Tip: I cook one cake layer at a time in my gas oven, as it does not handle cooking cakes at two levels very well. Once one cheesecake layer has finished I move it up to the grill (which is off, but warm from the oven below) and leave it inside with the door ajar while the second cheesecake cooks.
For the chocolate mousse
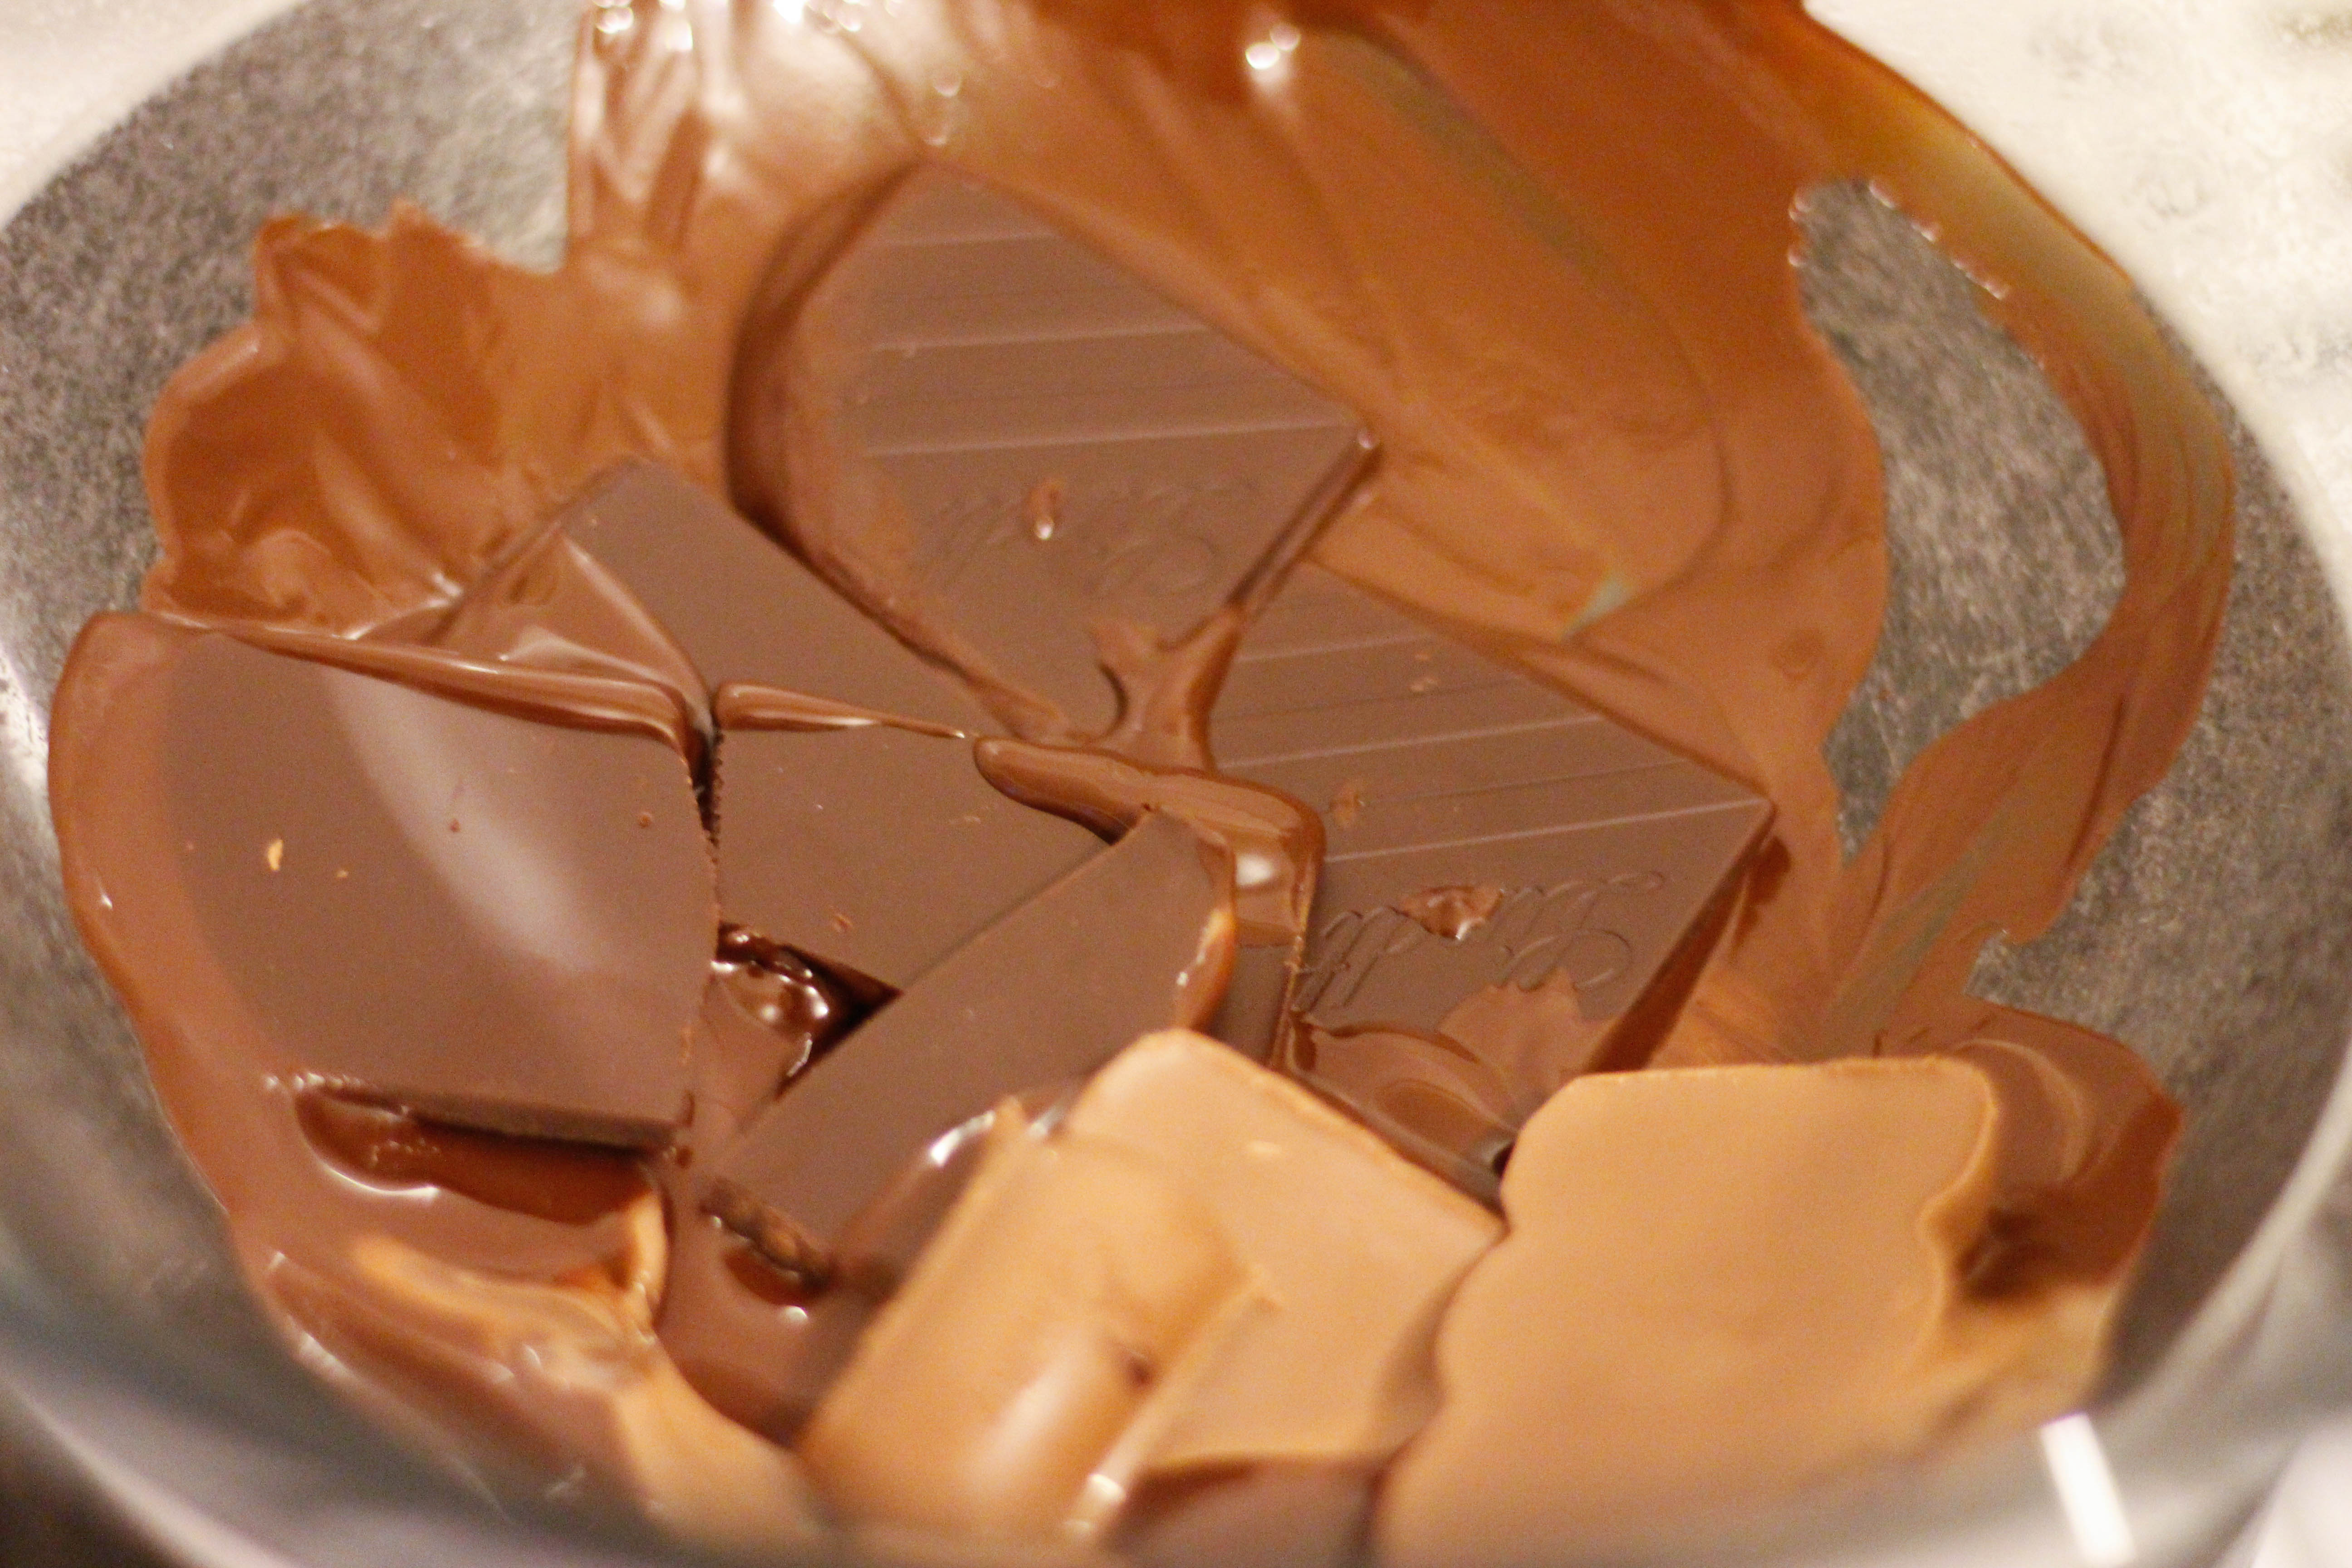
Melt the dark and milk chocolate over a double boiler. Once melted, remove from the heat and set aside to cool slightly.
Separate the eggs and set the whites aside. Lightly whisk the egg yolks and muscovado sugar together, then whisk in the warm melted chocolate.


Beat the egg whites to soft peaks, then whisk a third into your chocolate mixture to soften it.

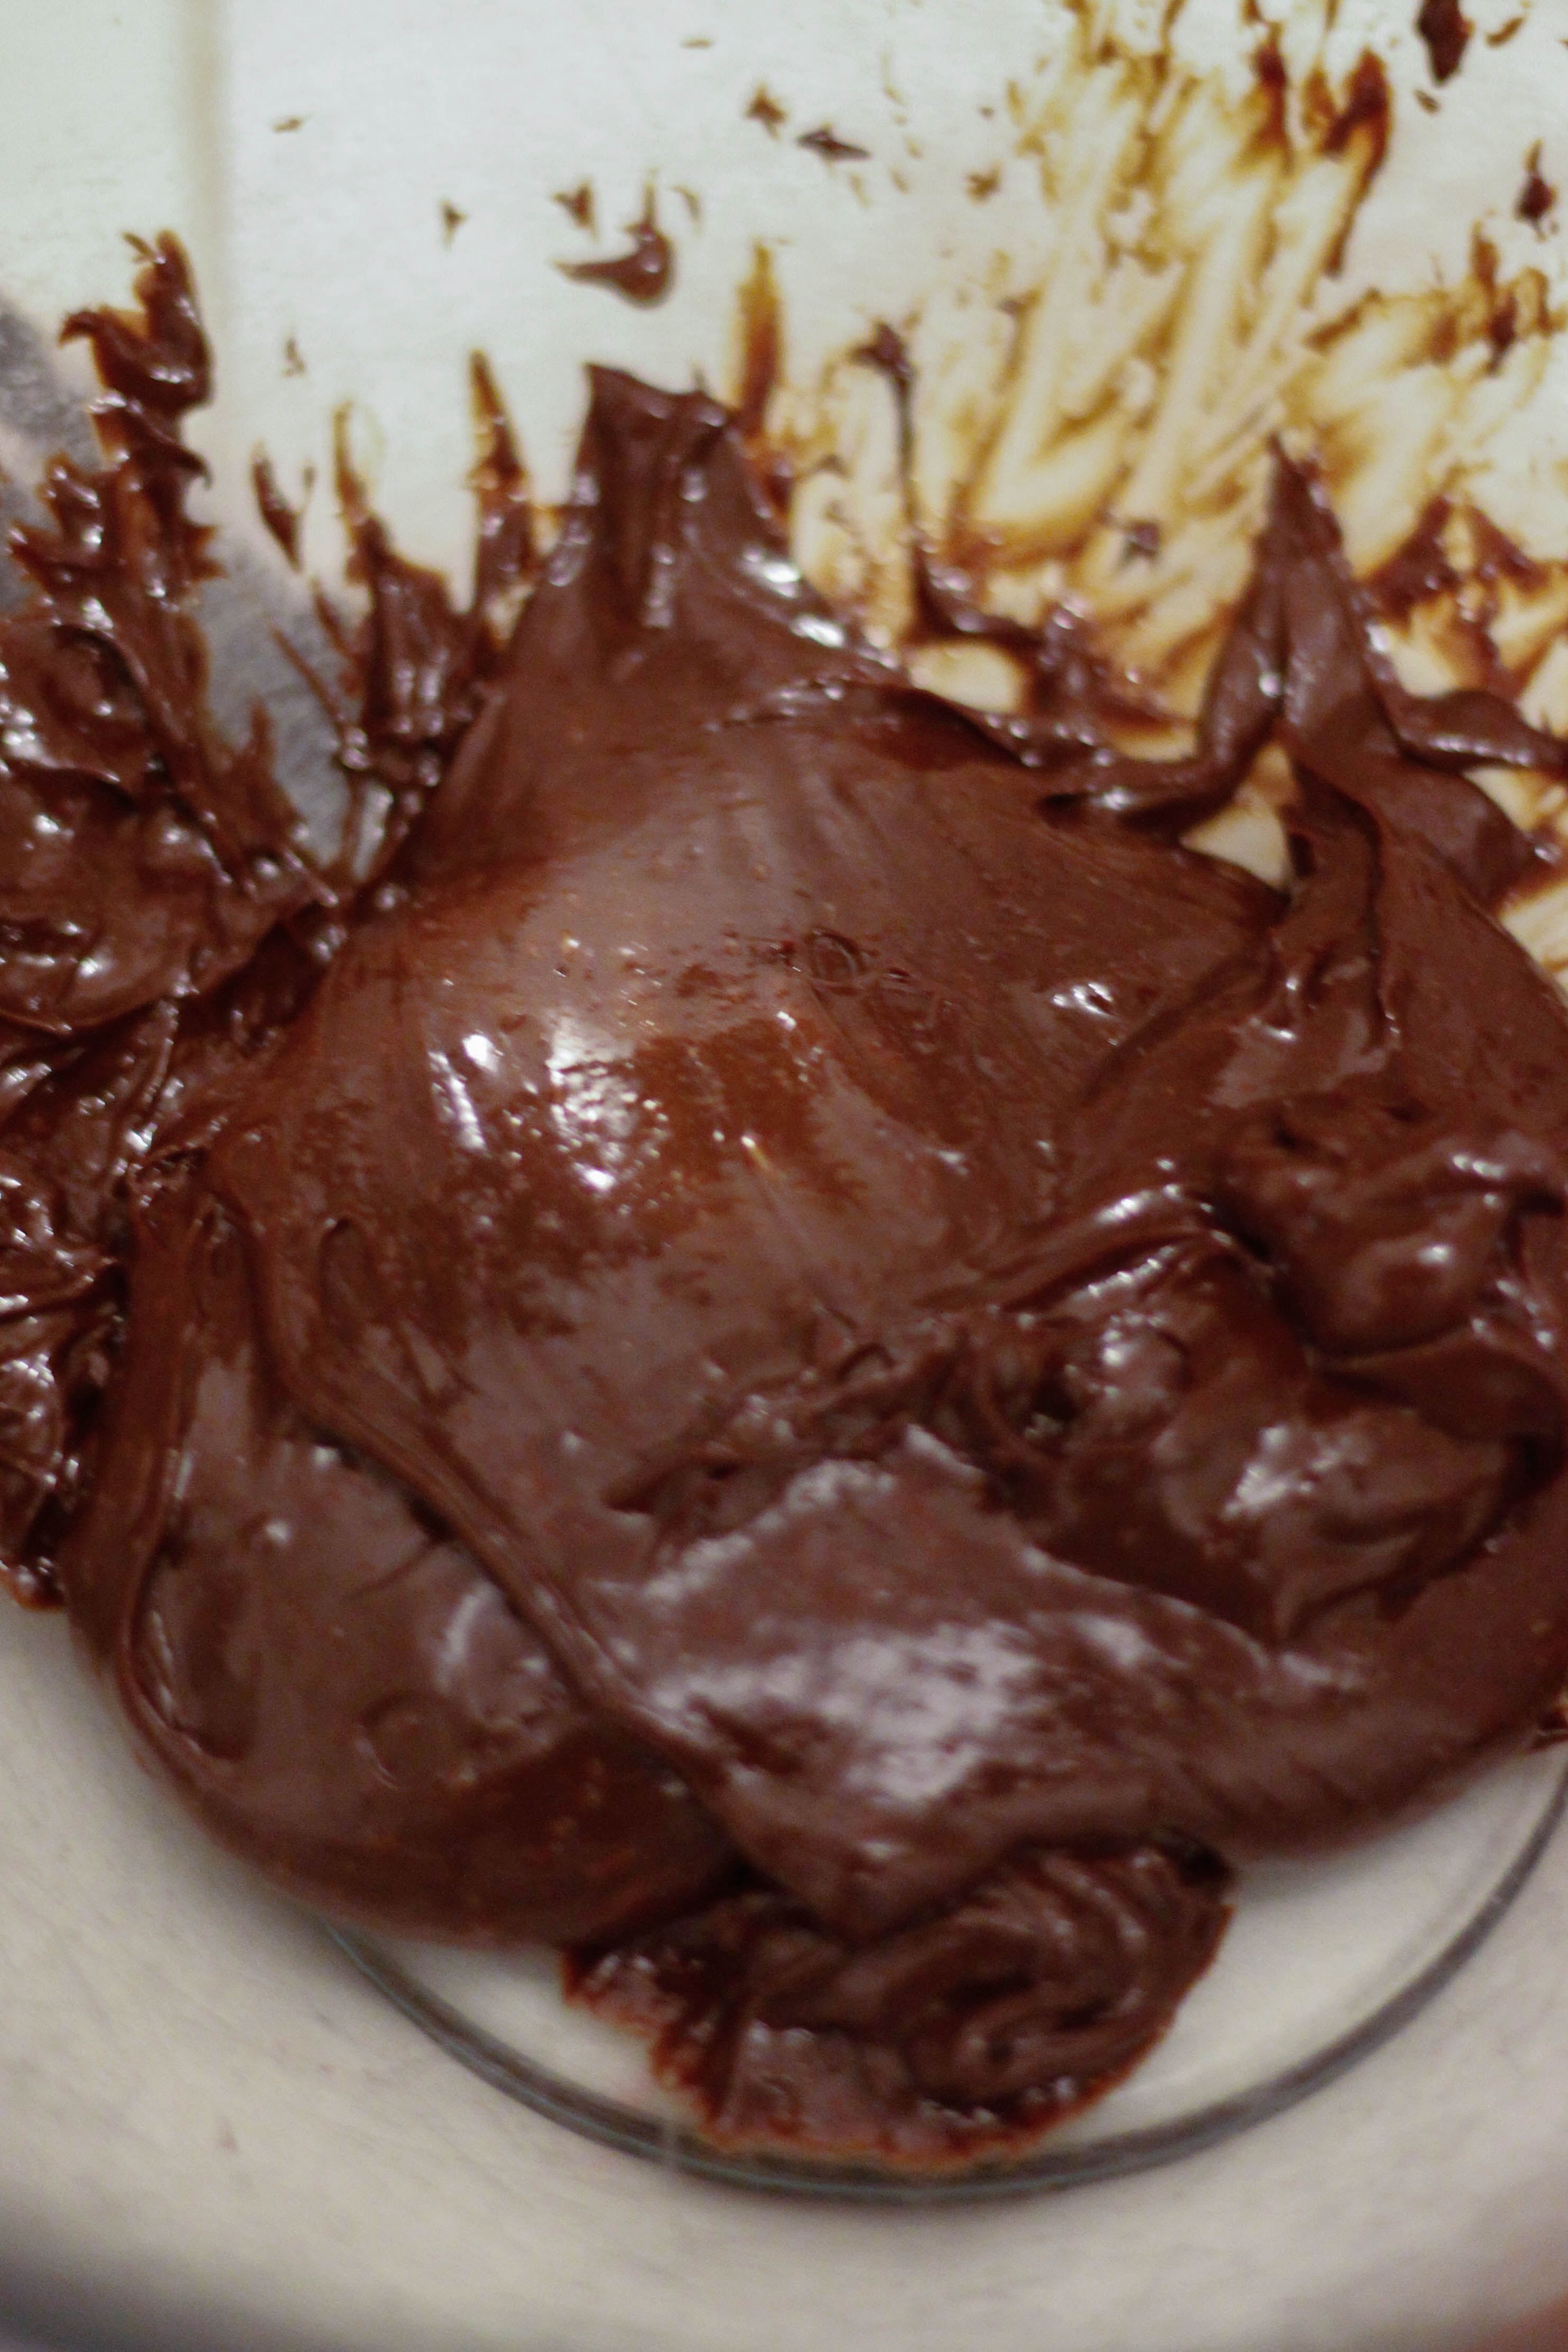
Take the remaining two thirds of egg whites and fold gently into the chocolate mixture, but don’t be so gentle that you are left with egg white streaks!
Assembling the cake (part 1)
Place your base cheesecake layer (the layer with the biscuit base) onto your cake stand and create a ring of baking paper around the sides, securing it with adhesive tape. Slide the side attachment of your spring form pan over the baking paper and fasten the clamp.
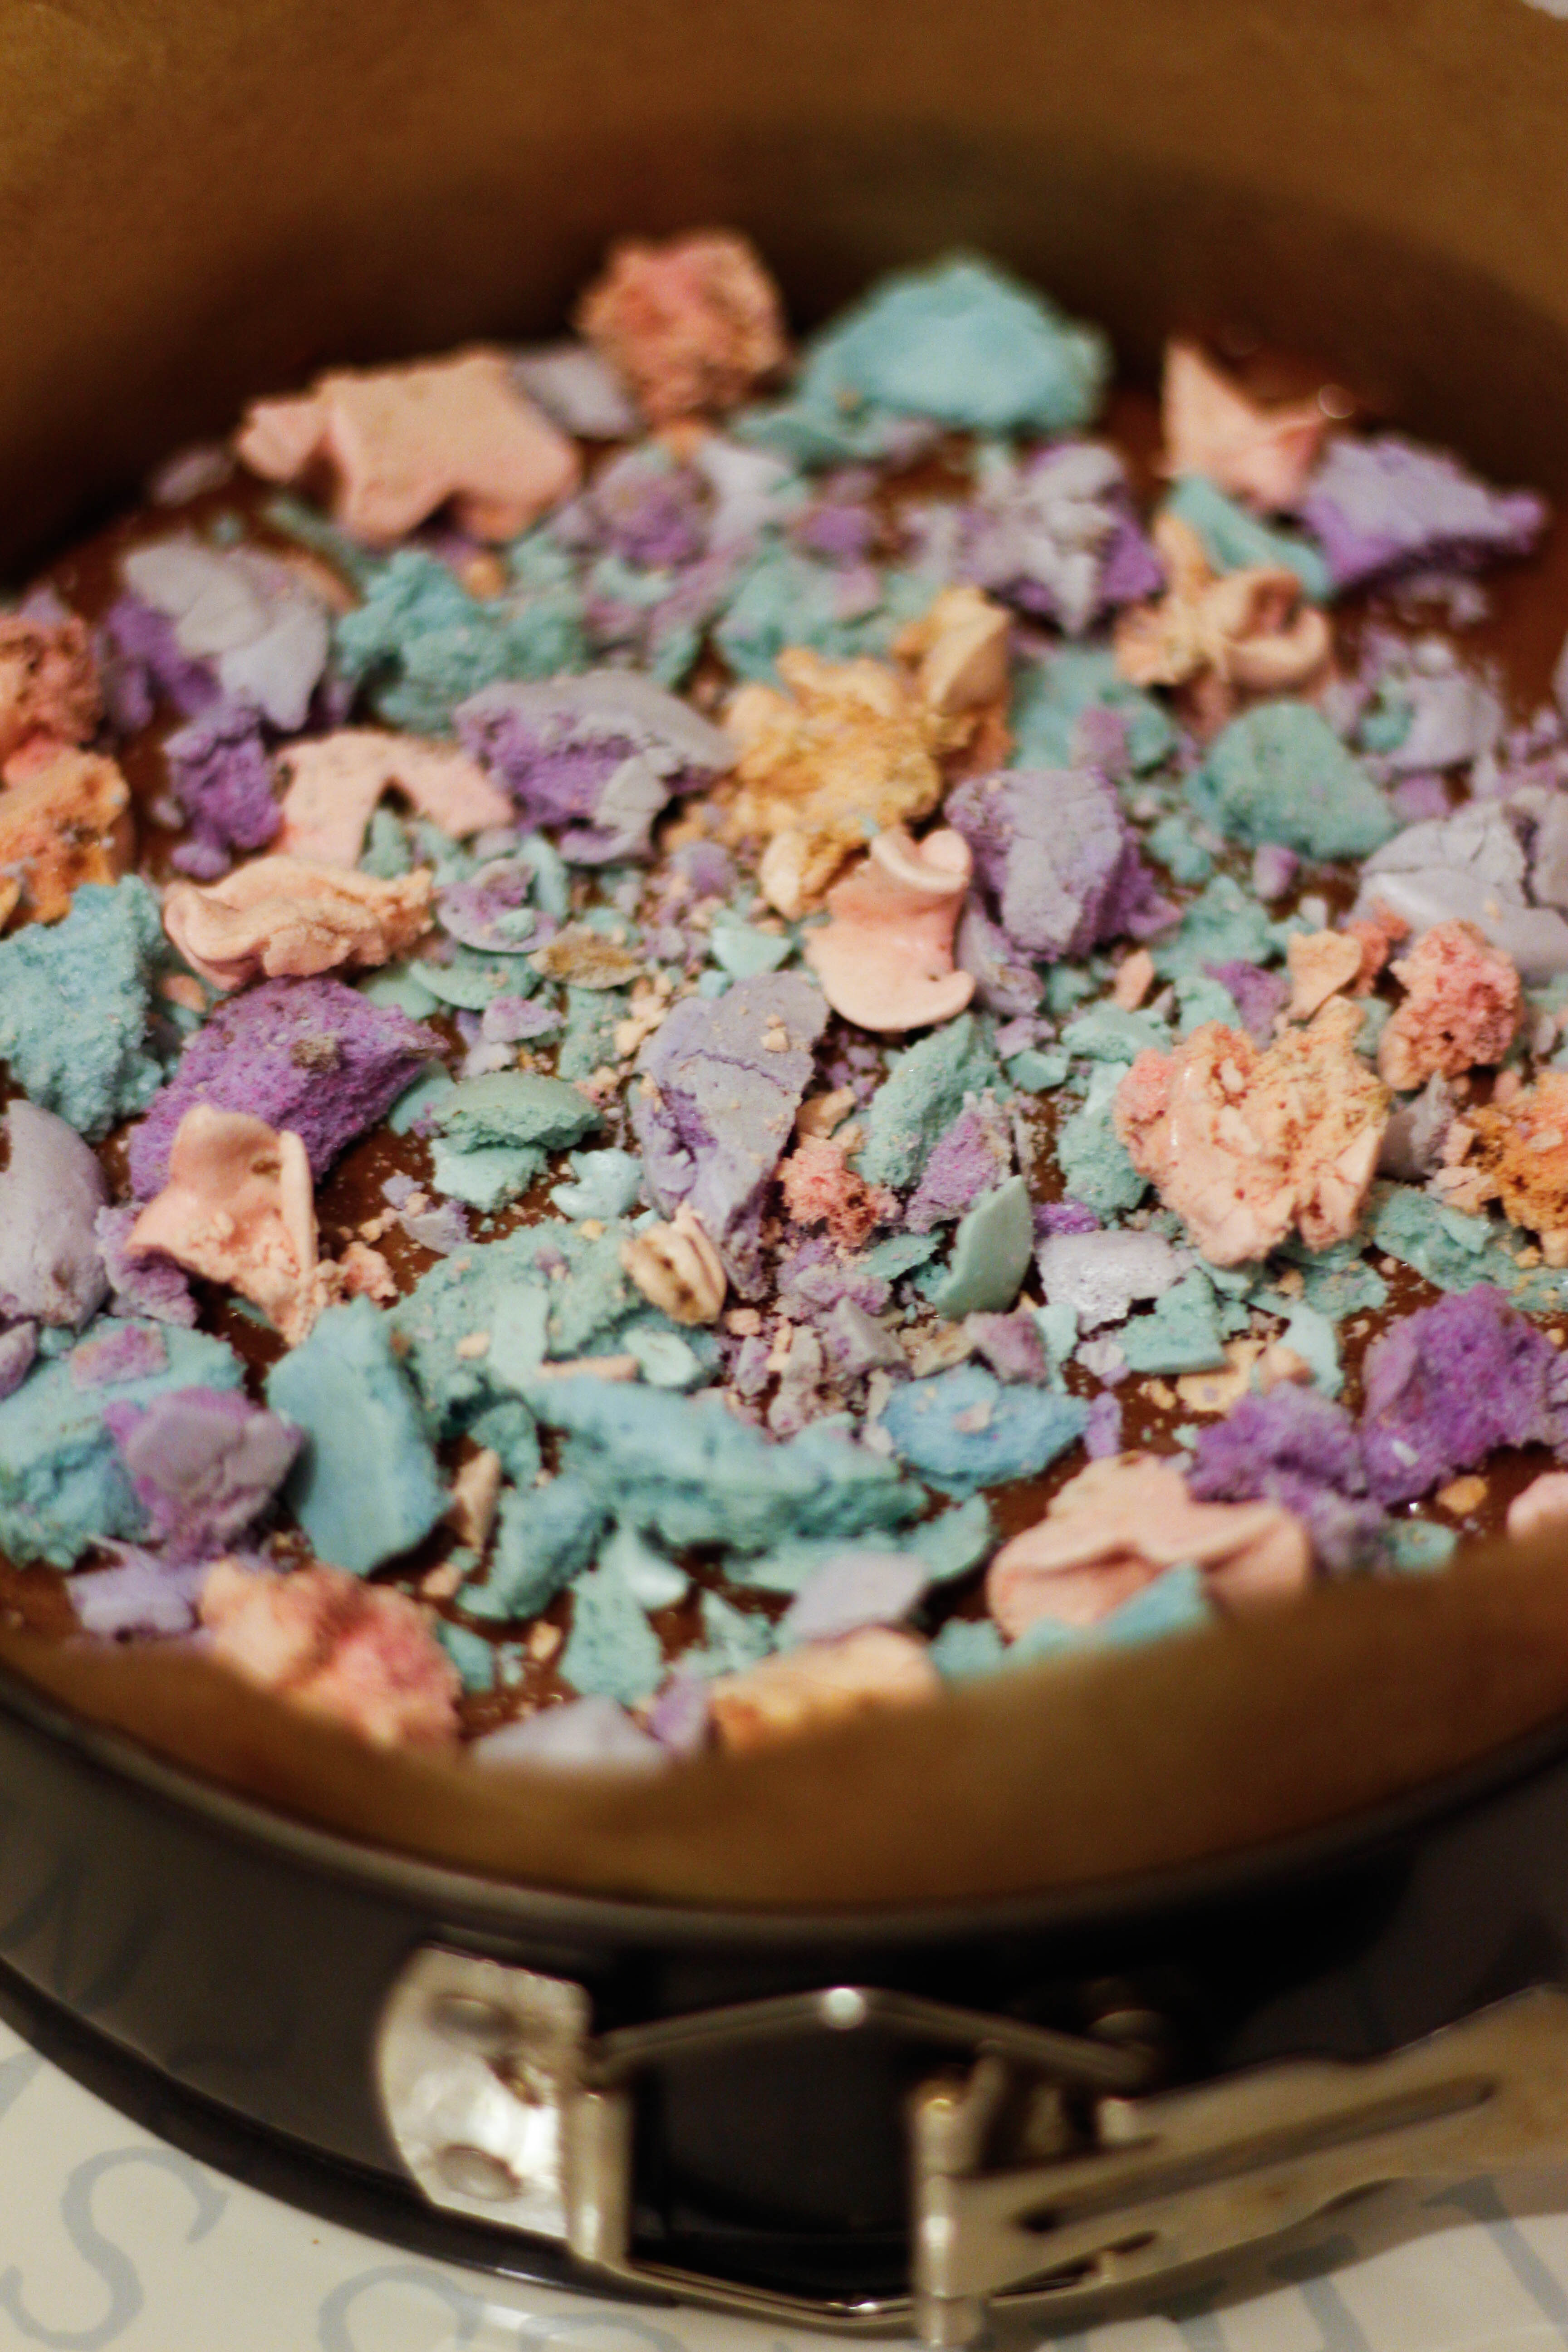
Pour a layer of chocolate mousse over the cheesecake about 1/2cm – 1cm thick.

Crush a handful of meringues and spread them over the top of the mousse, then cover with another layer of chocolate mousse. Refrigerate for around 4 hours.
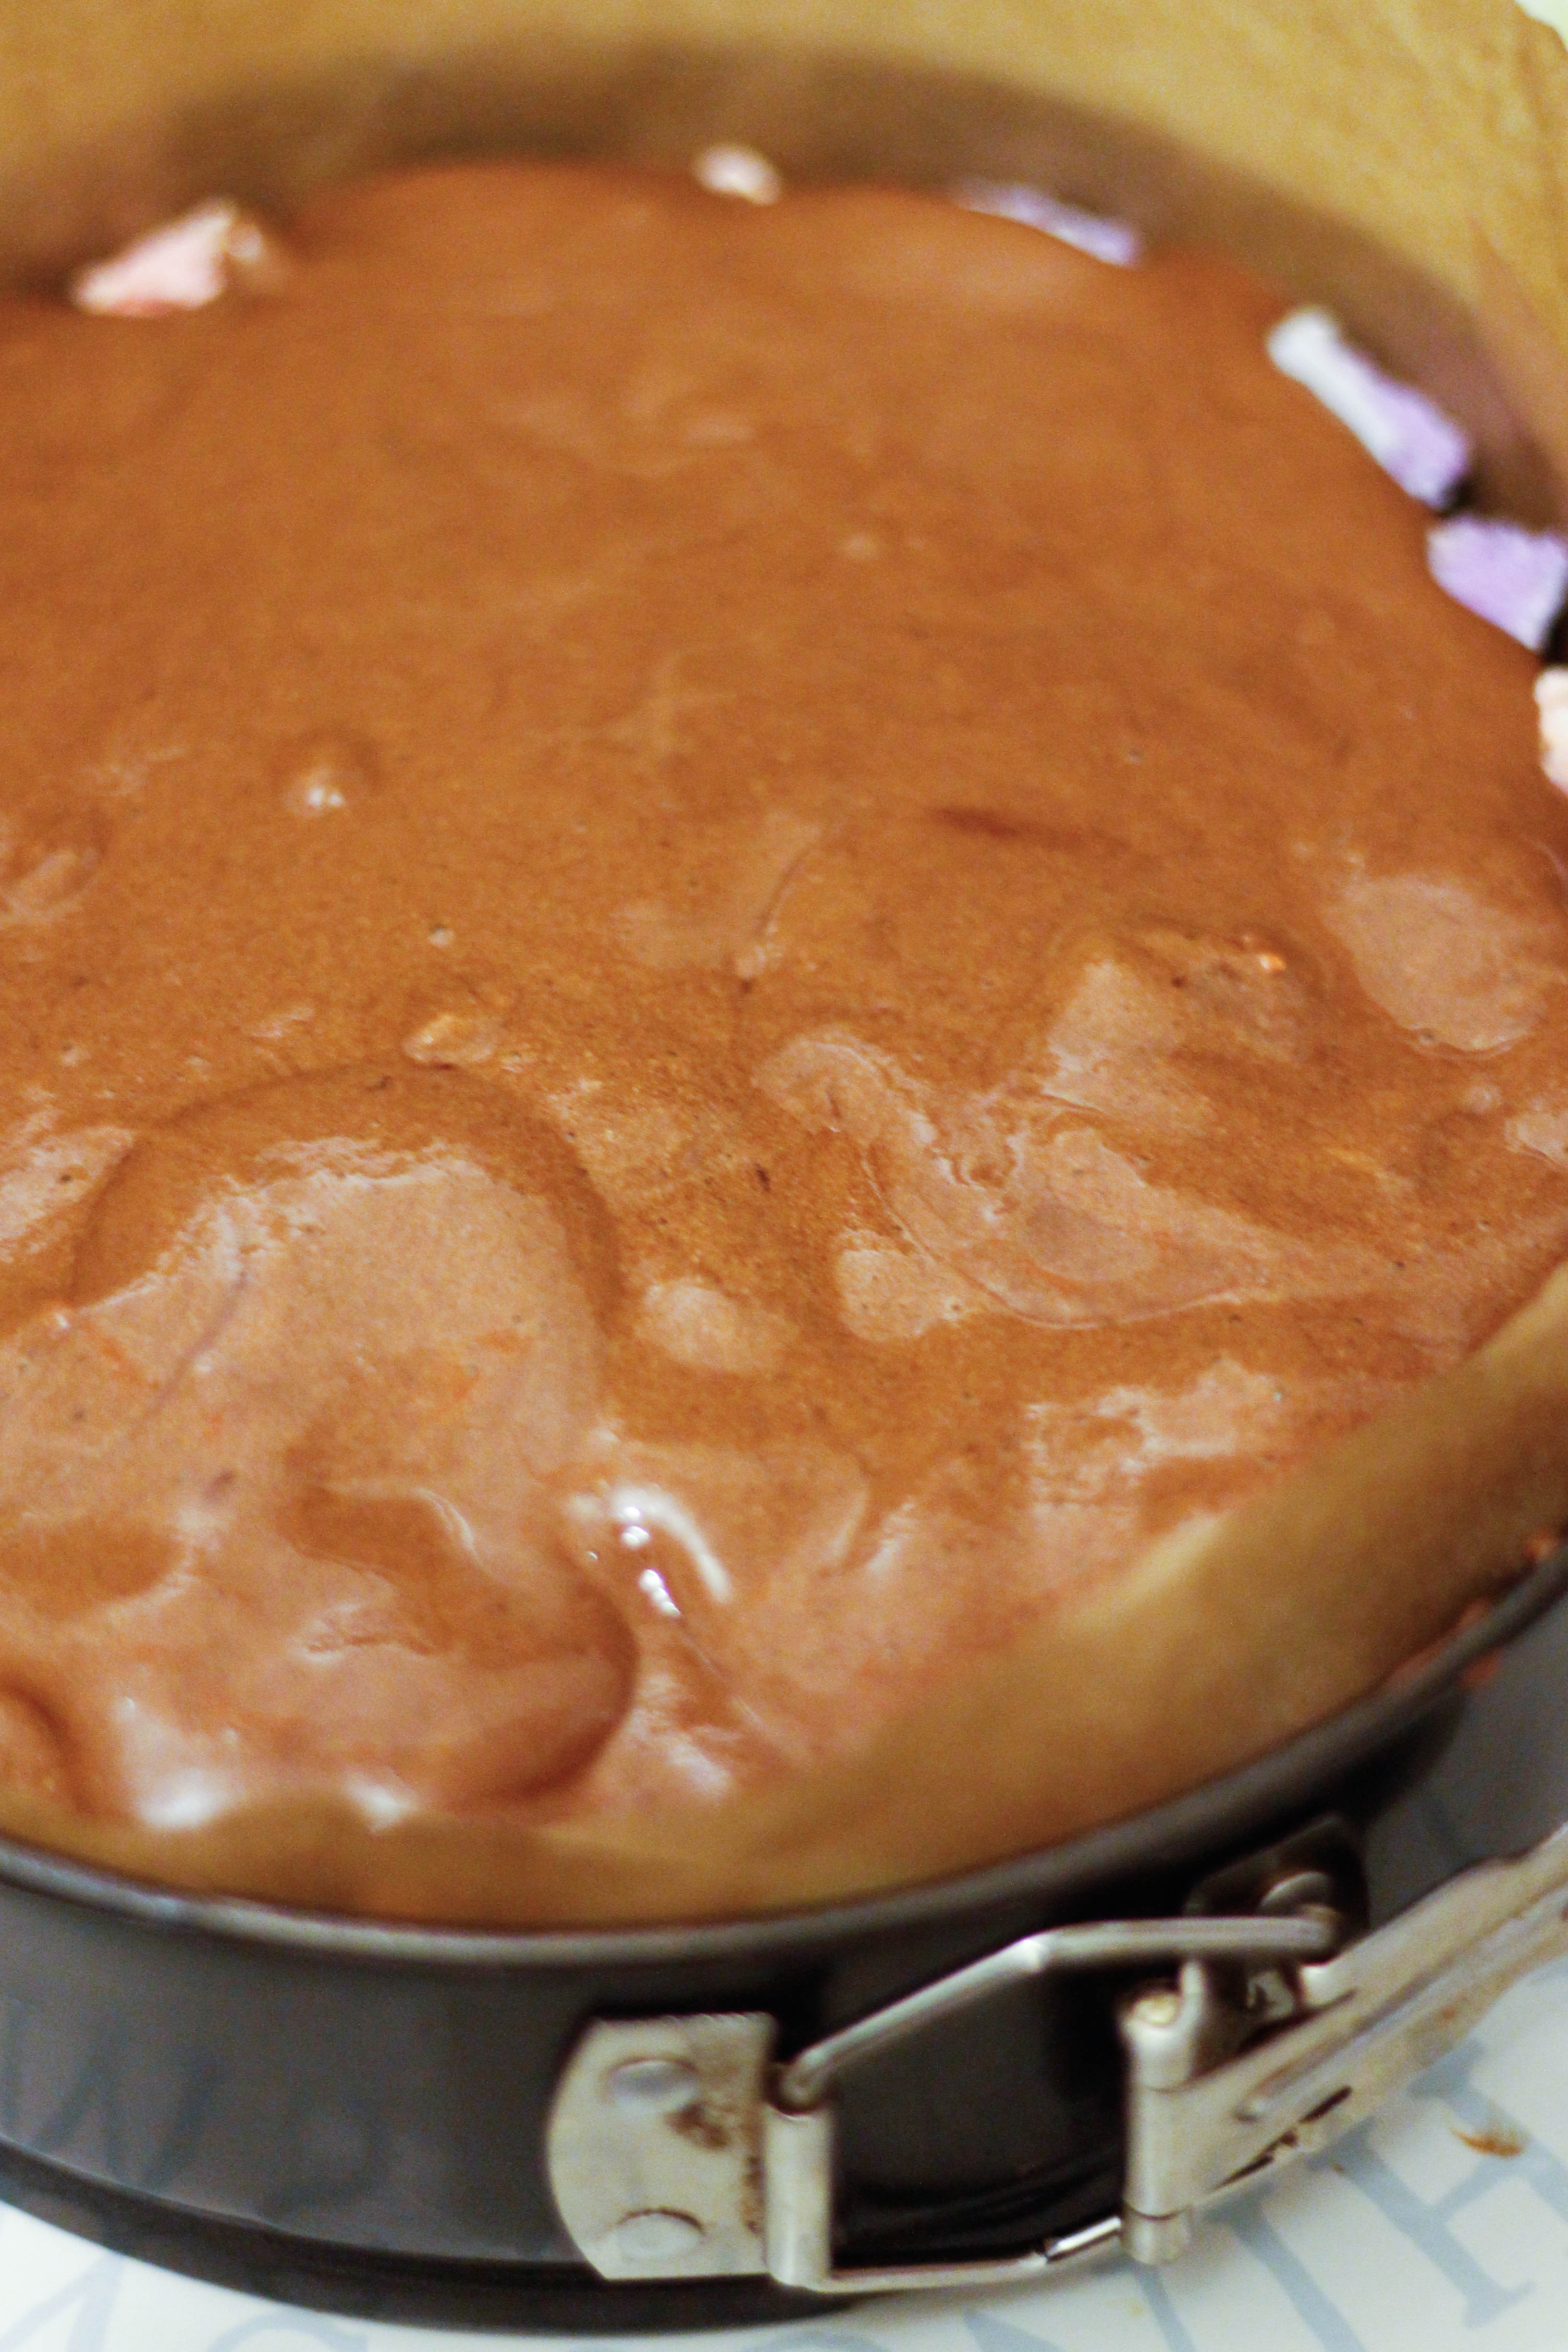
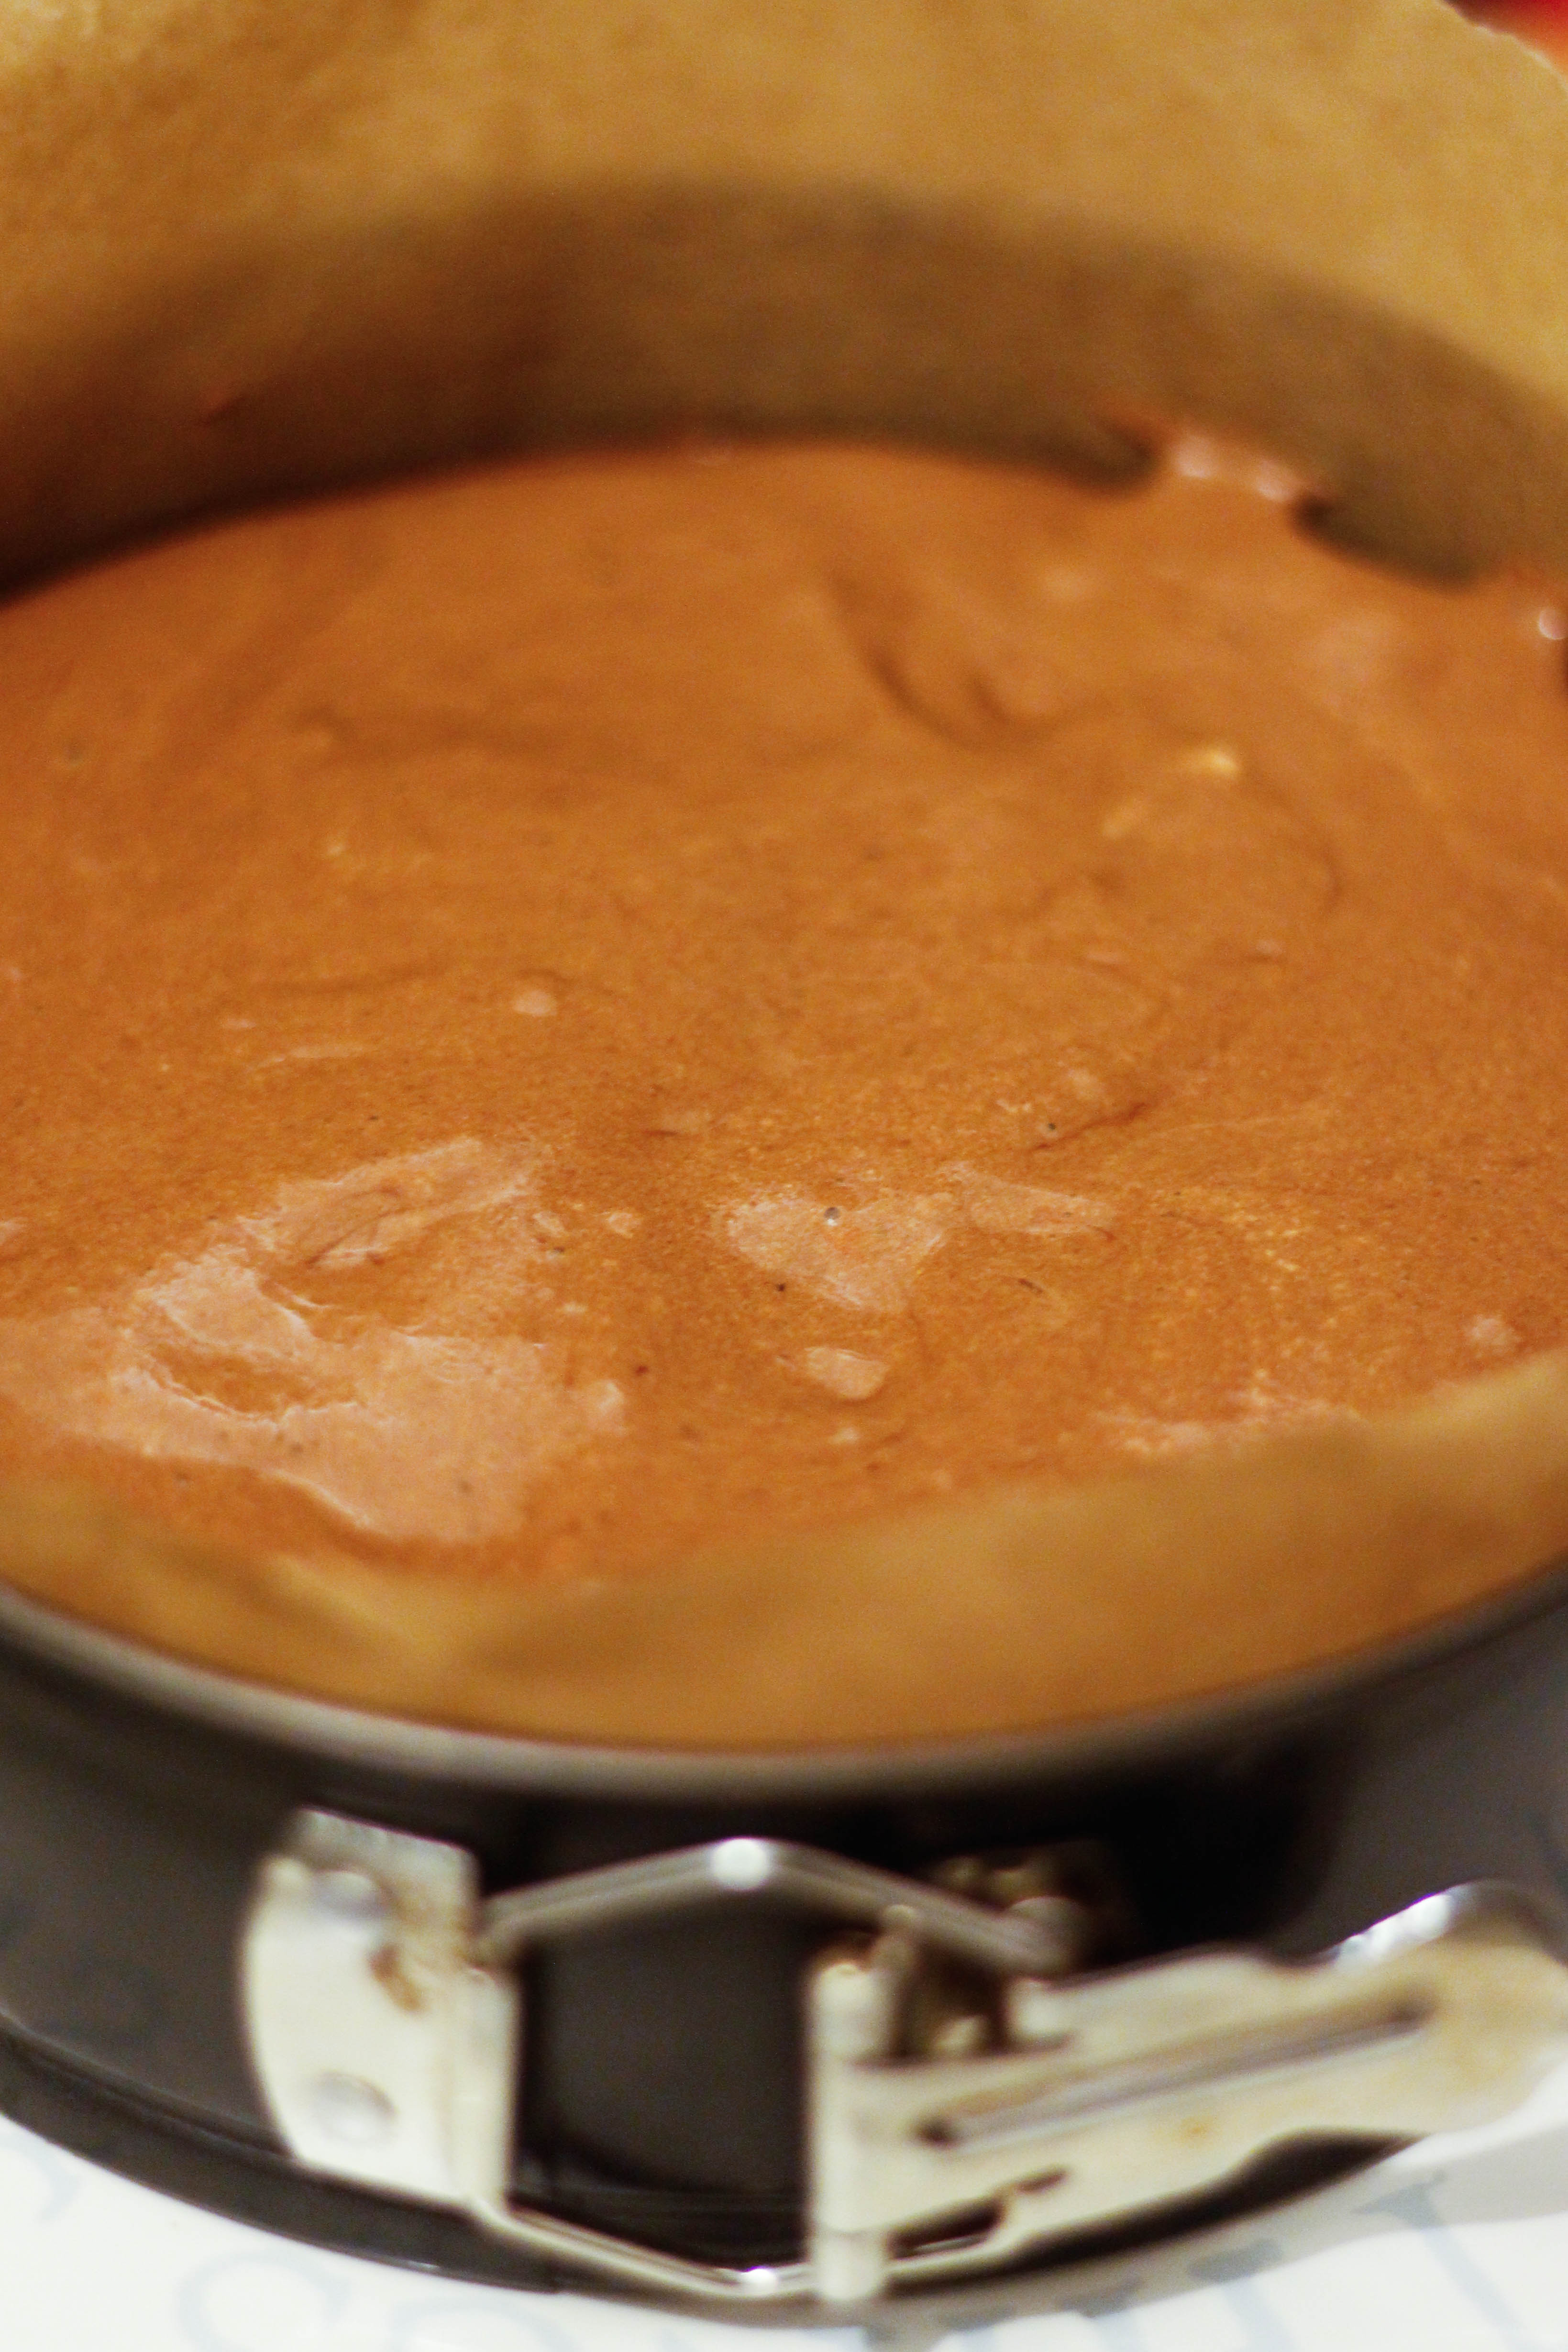
Touch the top of the mousse and if it appears to be set place the second layer of cheesecake (without the biscuit base) on top. Return to the fridge while you prepare the white chocolate mousse.
At this stage, the cake should look like the image below once set. You will need the baking paper sleeve for the next steps so don’t remove it yet if you can avoid it.

For the white chocolate mousse
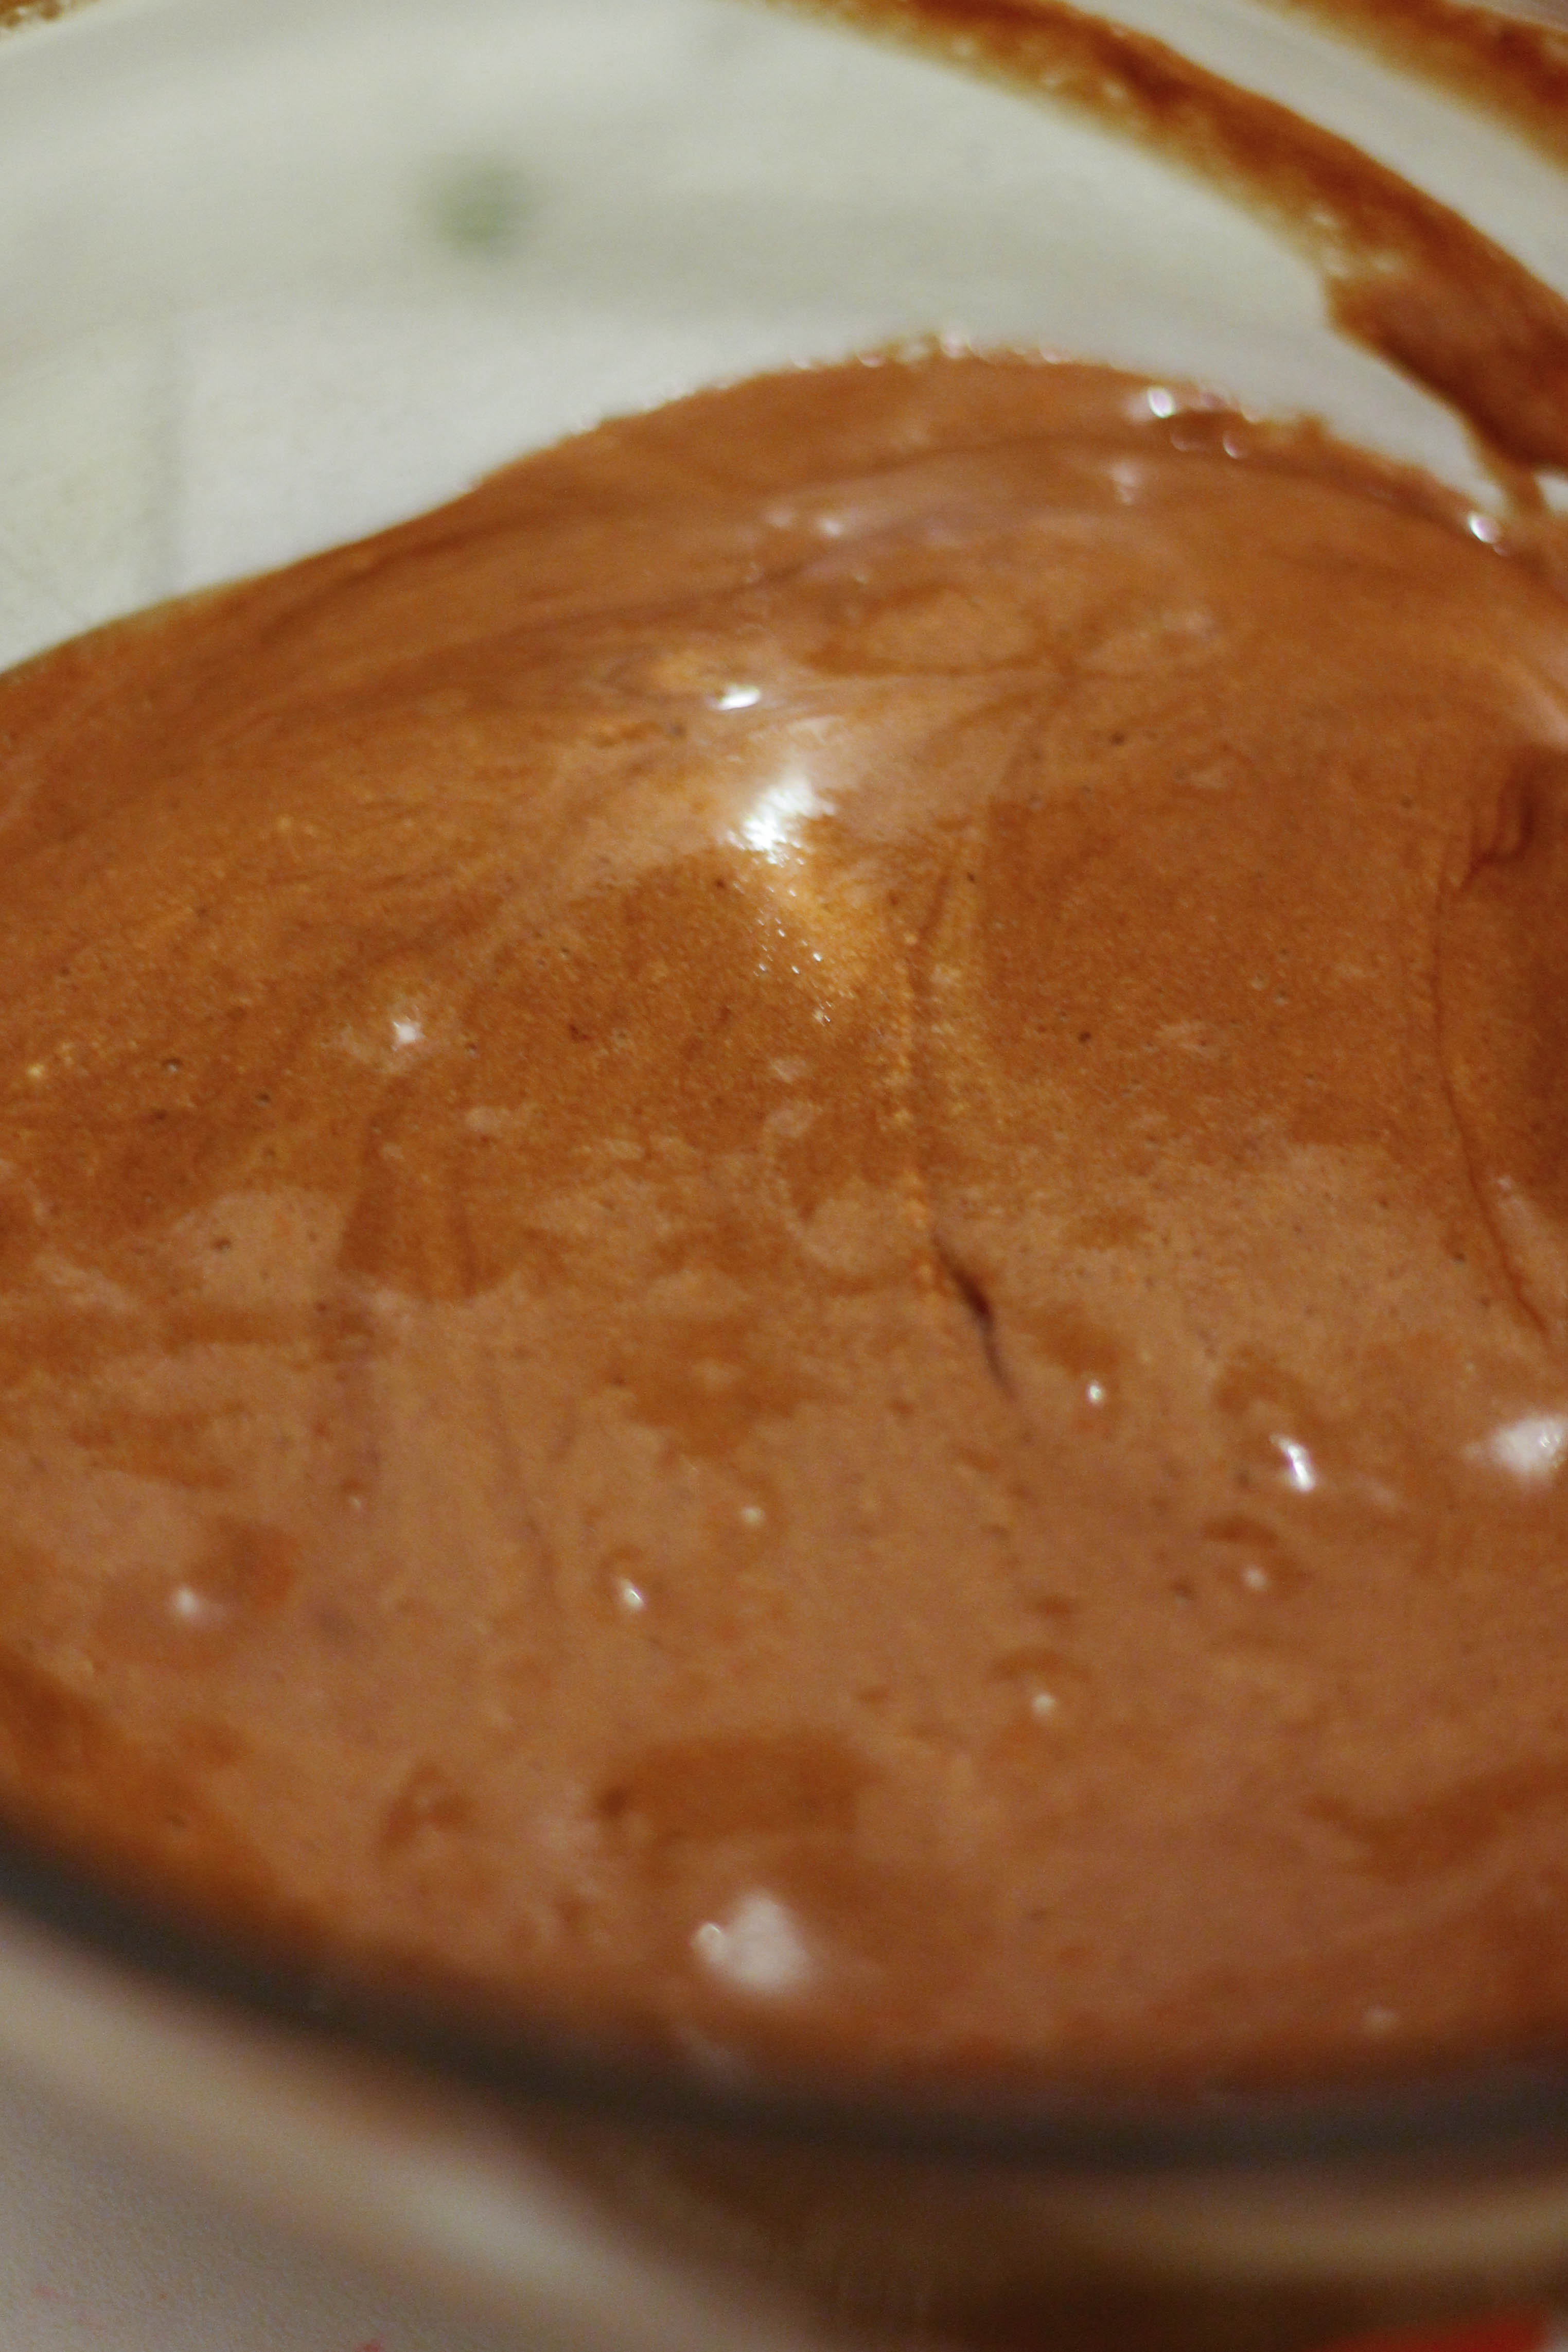
Melt the white chocolate mousse over a double boiler and set aside to cool.

Beat the cream to soft peaks, then whisk 2 Tbsp into the chocolate mixture to loosen it. Fold in the remaining cream and set the mixture aside.


Whisk the egg whites to soft peaks, then add the caster sugar and continue to whisk until peaks begin to stiffen. Gently fold the egg whites into the cream and chocolate mixture.

Assembling the cake (part 2)
Take the cake from the fridge and raise the springform pan side attachment as I have done in the image below (shot glasses worked for me!).

Pour the white chocolate mousse on top and return to the fridge to set for at least 4 hours.

Take the cheesecake out of the fridge about an hour before serving (I like my cheesecakes to be closer to room temperature when I serve/eat them) and remove the cake pan and paper.
Top the cake with meringue kisses in a pattern to your liking, then serve immediately.


Enjoy… x
