
Red Velvet for Halloween… seems kinda logical, right?
Red > blood > creepy > Halloween… makes sense.

But then what comes next? You know, on the outside? A Red Velvet cake is far from creepy on its own…
Witches? Ghosts? Zombies?
Maybe if I was baking for children, but I’m thinking something a little more sinister for this cake… a little darker…
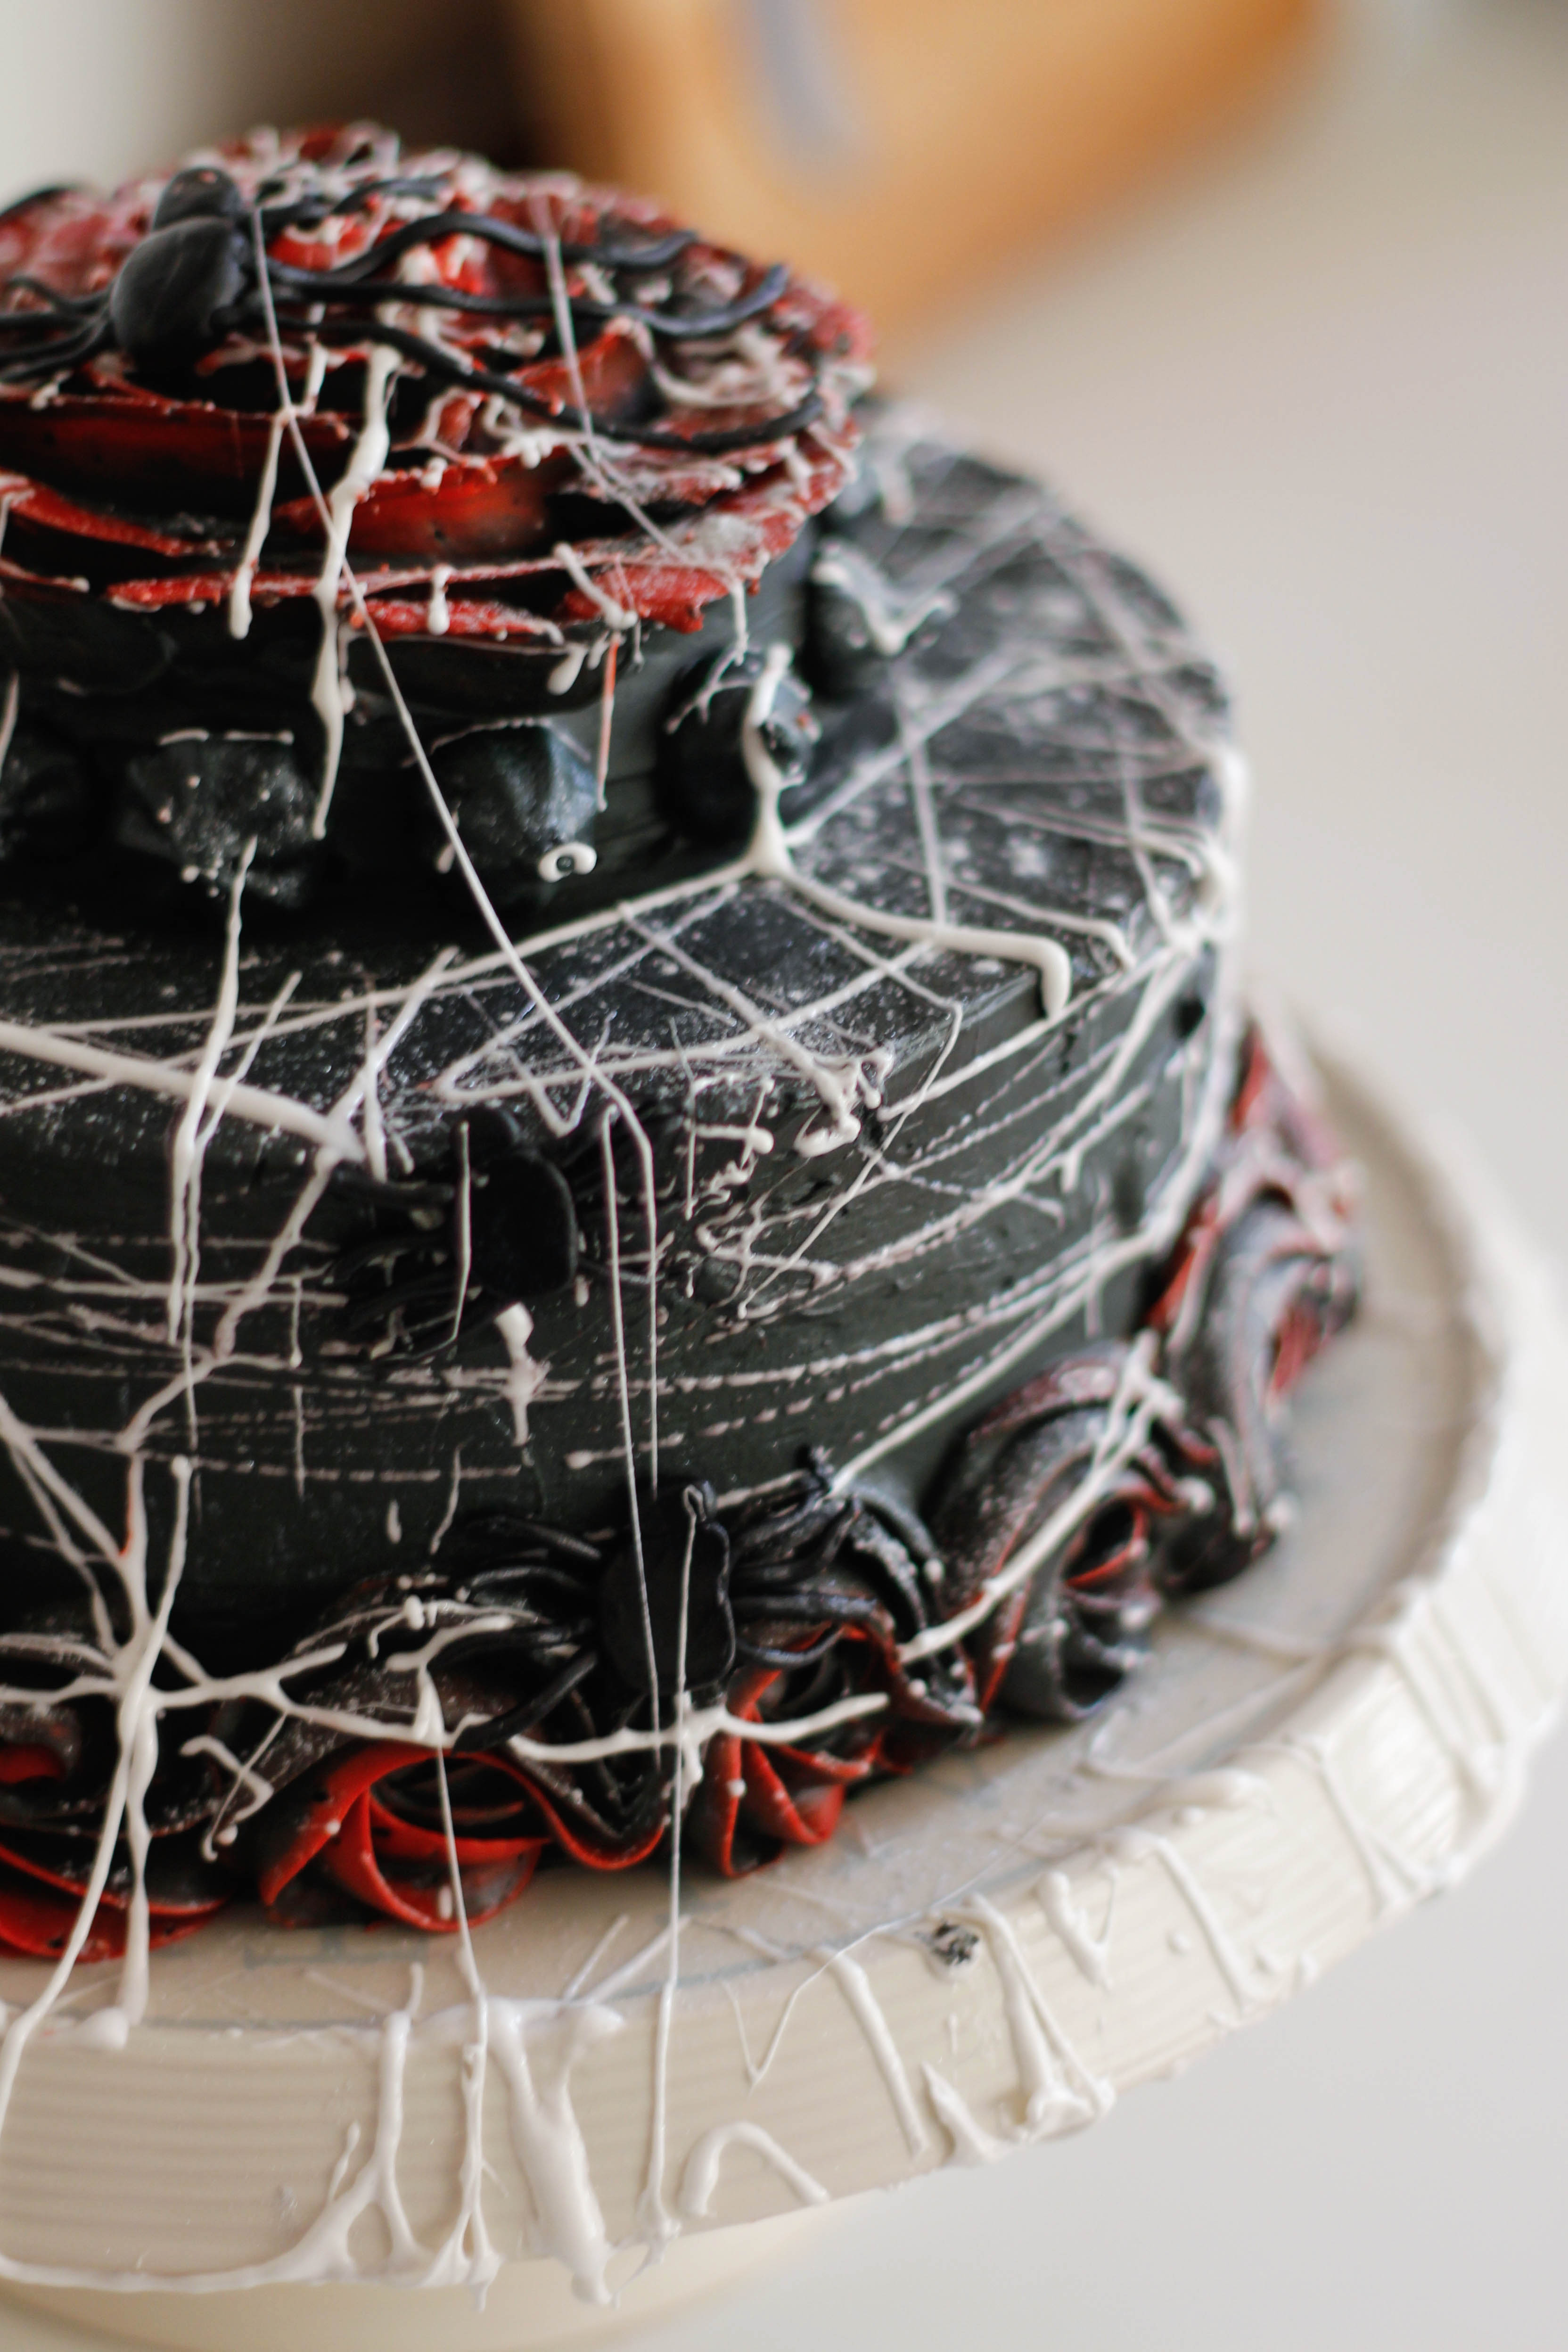
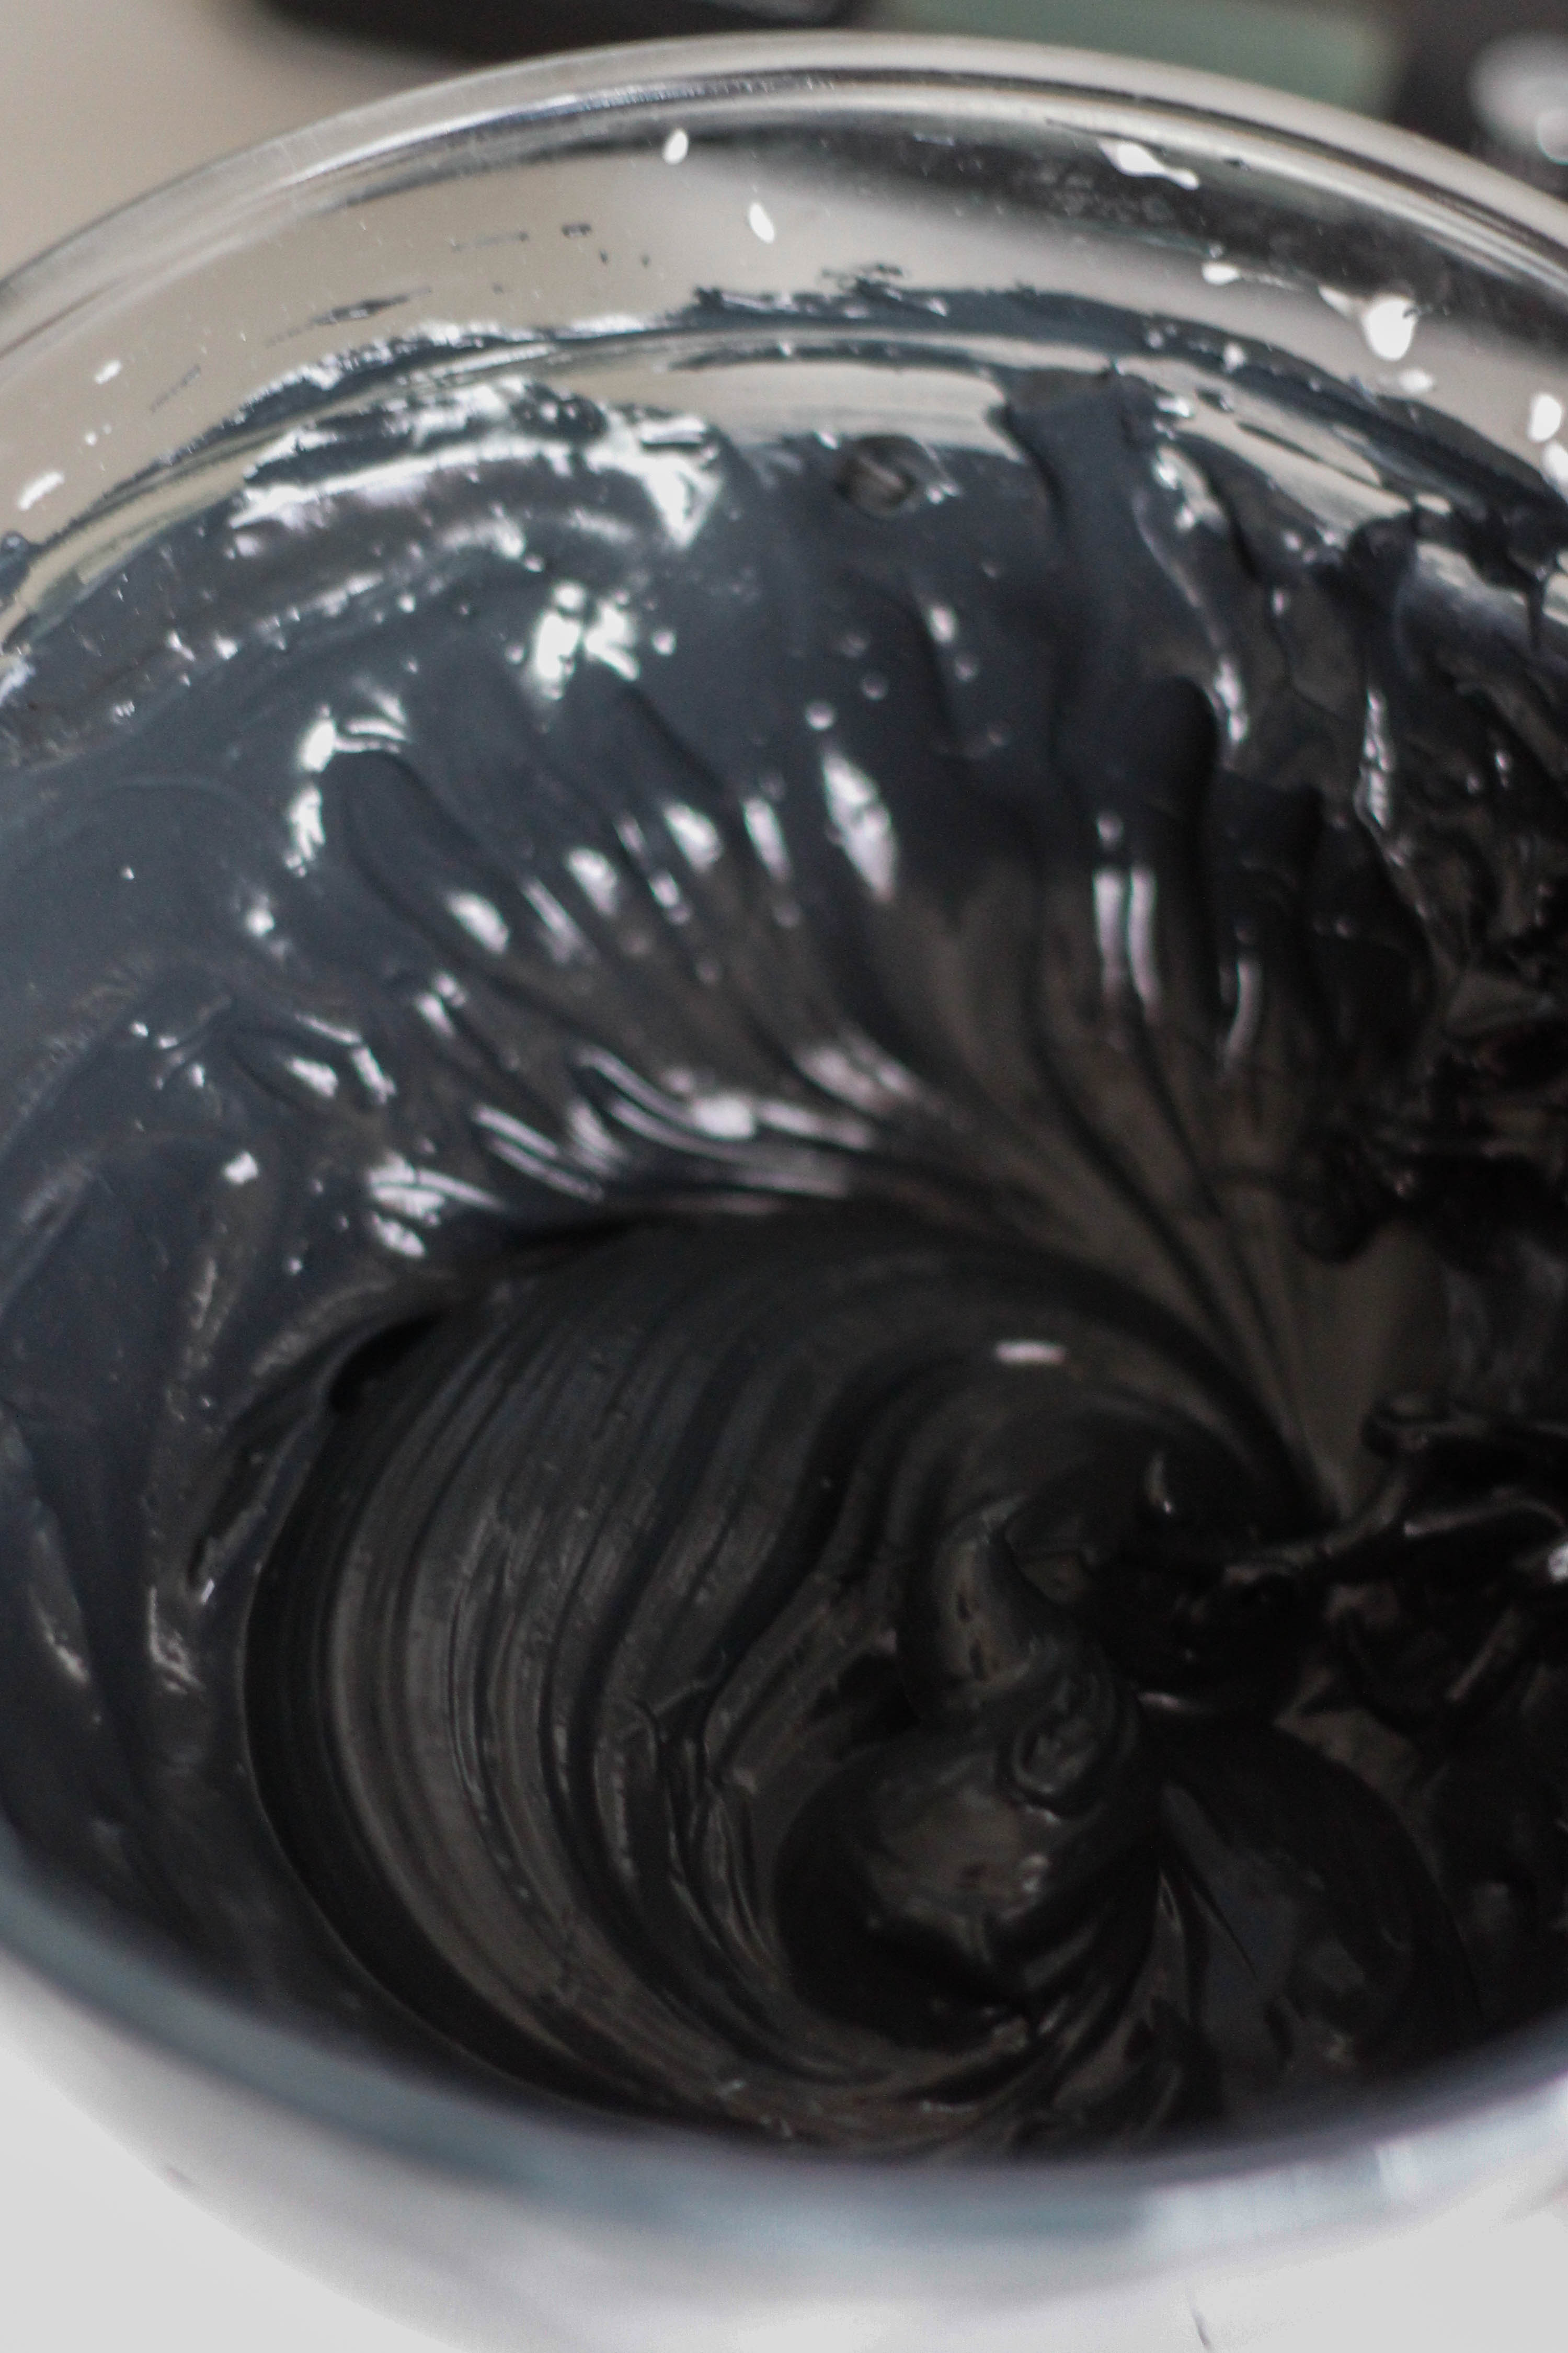
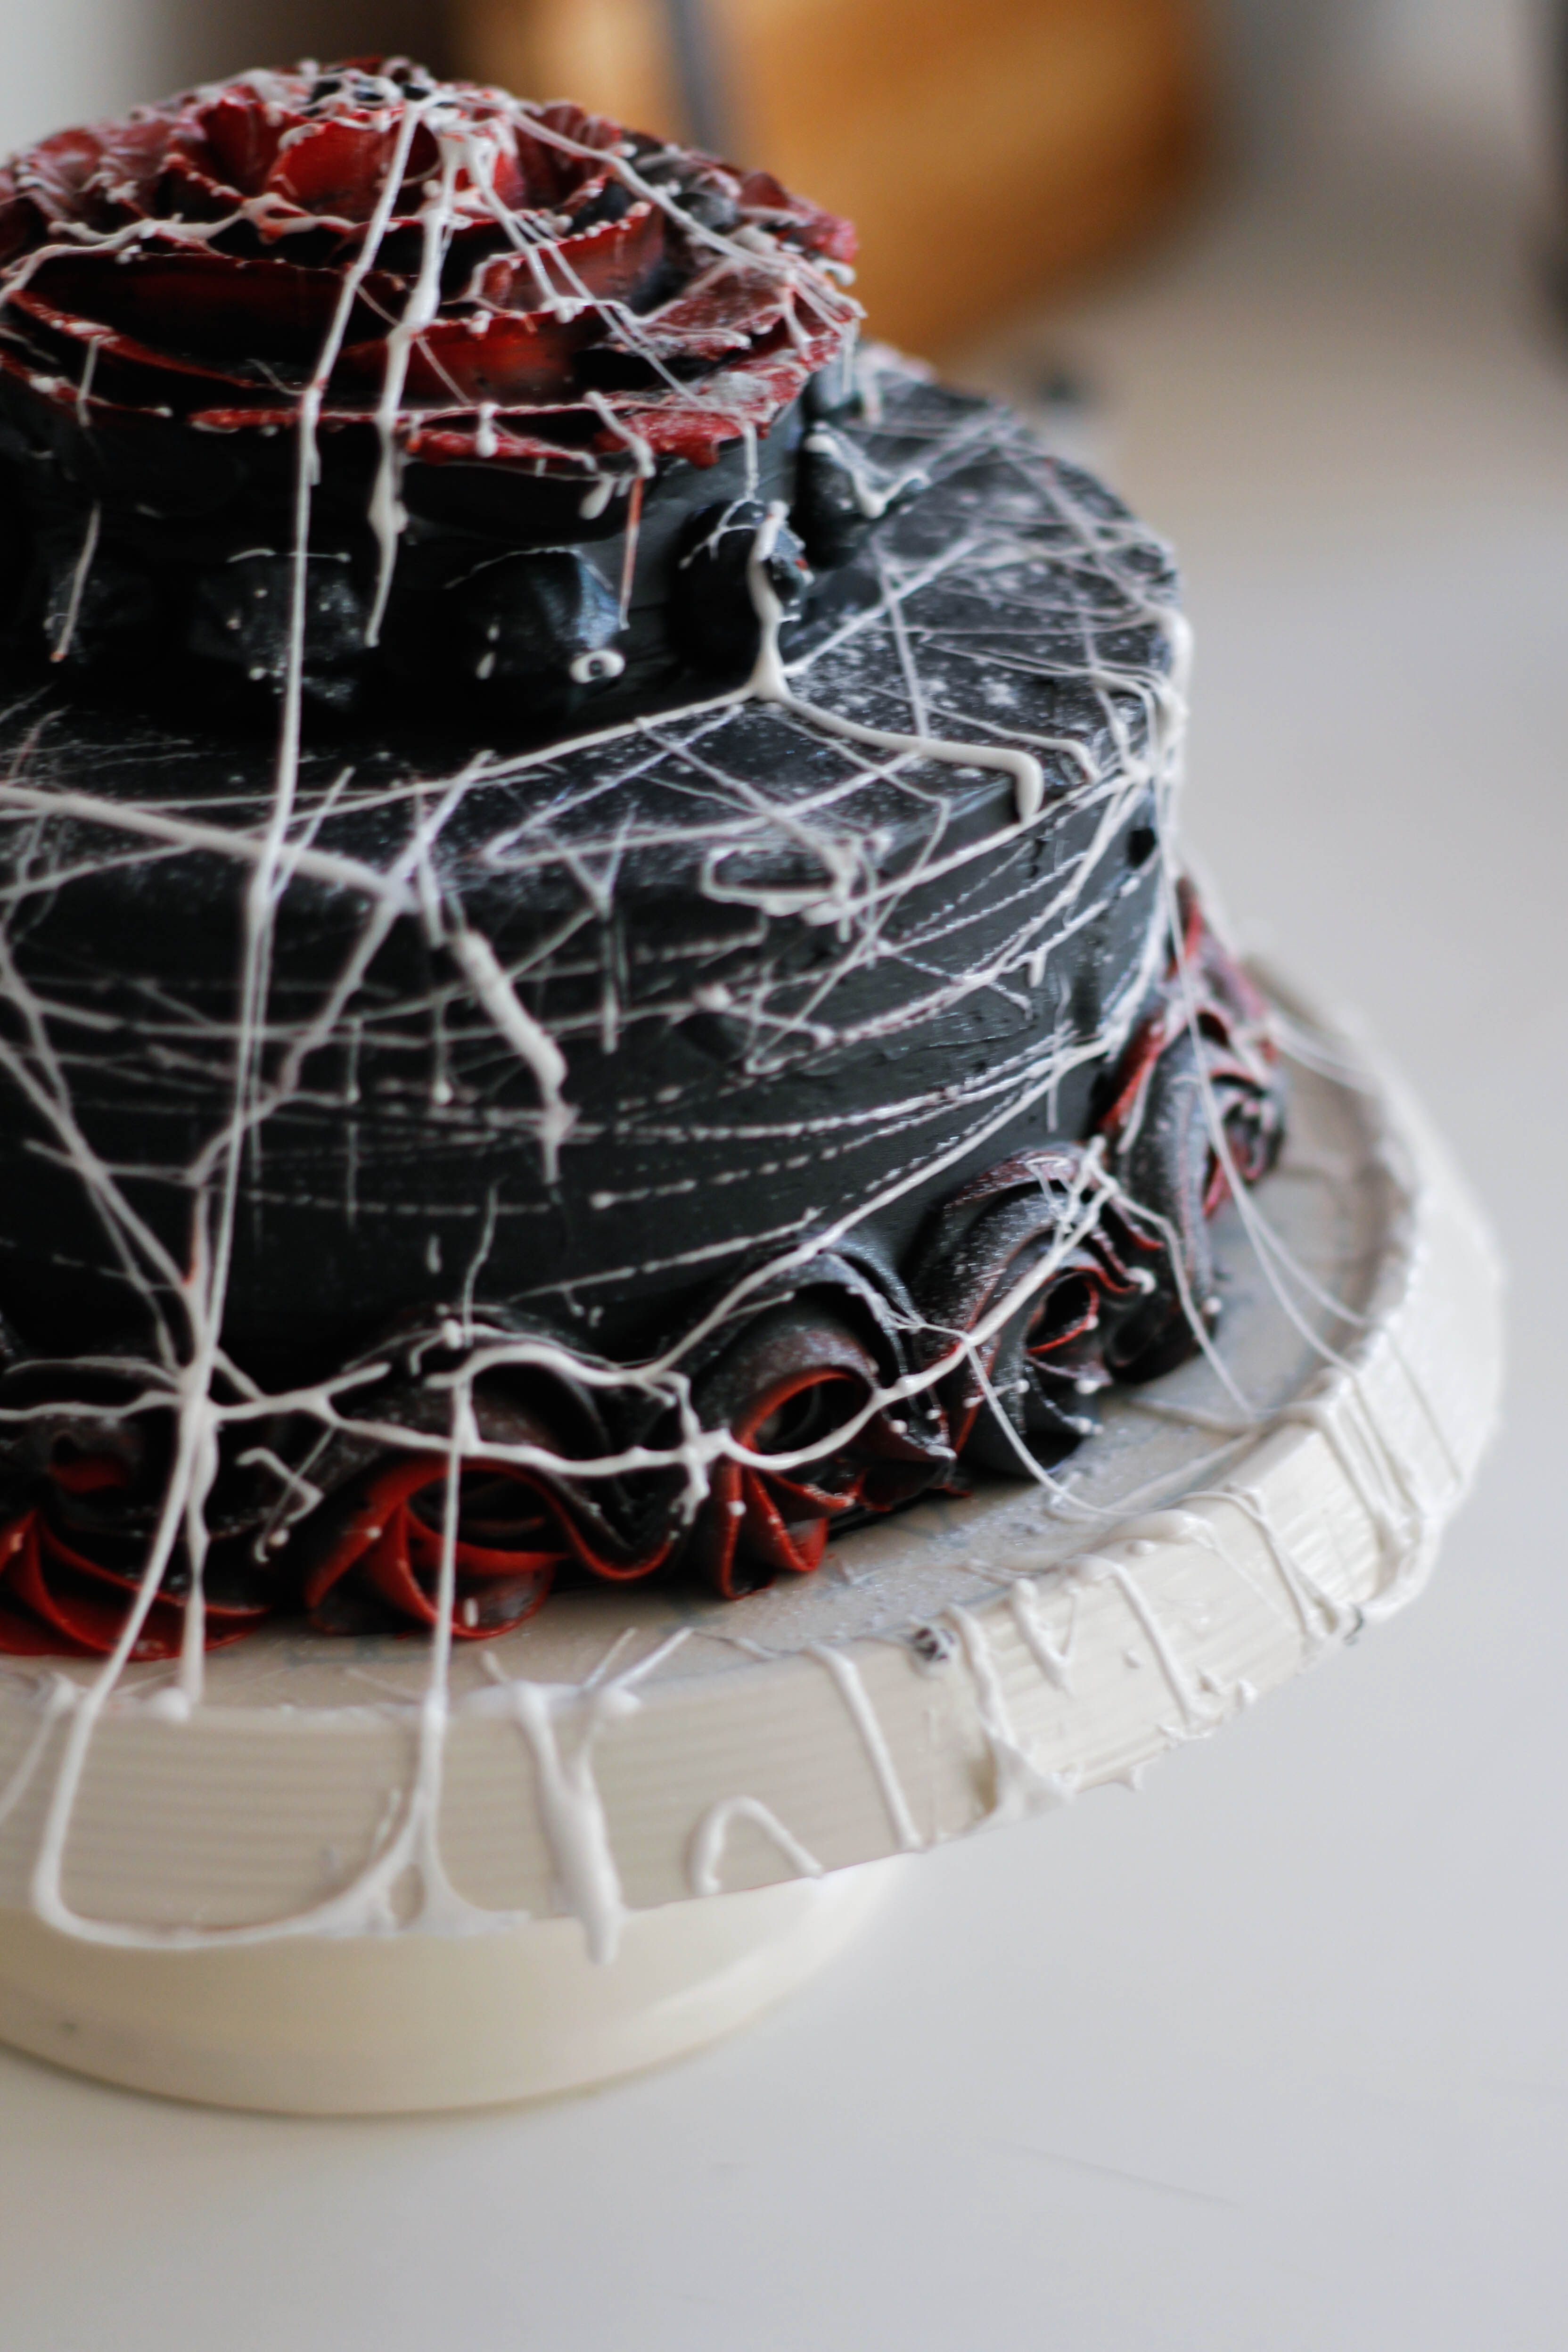
So I started with black food colouring and ended with this…

And then I covered it with cobwebs.


Made with creamed coconut, this red velvet cake has a delicious, mild coconut flavour. I don’t use any extracts in the recipe below but you could add a couple of teaspoons of coconut extract if you wanted to enhance the flavour.
My favourites for this bake…


Click the image to shop the product.
Red Velvet Halloween Cake
Yield: one 2 layer 8″ cake

Ingredients
For the Red Velvet cake
420g (3 cups) plain flour
10g (1 1/2 tsp) baking soda
14g (2 tsp) baking powder
4g (1/2 tsp) salt
8g (2 Tbsp) cocoa powder
535g (2 1/2 cups) caster sugar
240ml (1 cup) rice bran oil
3 eggs
60g (4 Tbsp) coconut oil
140g creamed coconut
360ml boiling water
10ml (2 tsp) white vinegar
Red food colouring
For the black meringue kisses
1 egg white (34g)
60g sugar
black food colouring
For the Swiss meringue buttercream
320g sugar
7 egg whites (225g)
500g butter
250g dark chocolate
45ml cream
Black and red food colouring (AmeriColor is my preferred)
For the cobwebs
75g white marshmallows
Edible silver glitter
Method
For the Red Velvet Cake
Yield: two 8″ cakes and one 4″ cake
Preheat oven to 165°C/325° F/Gas Mark 3, then grease your 8″ (20 cm) and 4″ (10 cm)
cake tins and line the base with baking paper.
Place the creamed coconut and coconut oil in a bowl, cover with the boiling water and set aside to melt, stirring occasionally to help it dissolve. In a separate, large bowl sift the flour, baking powder, baking soda, cocoa powder and salt, then stir to combine and set aside.
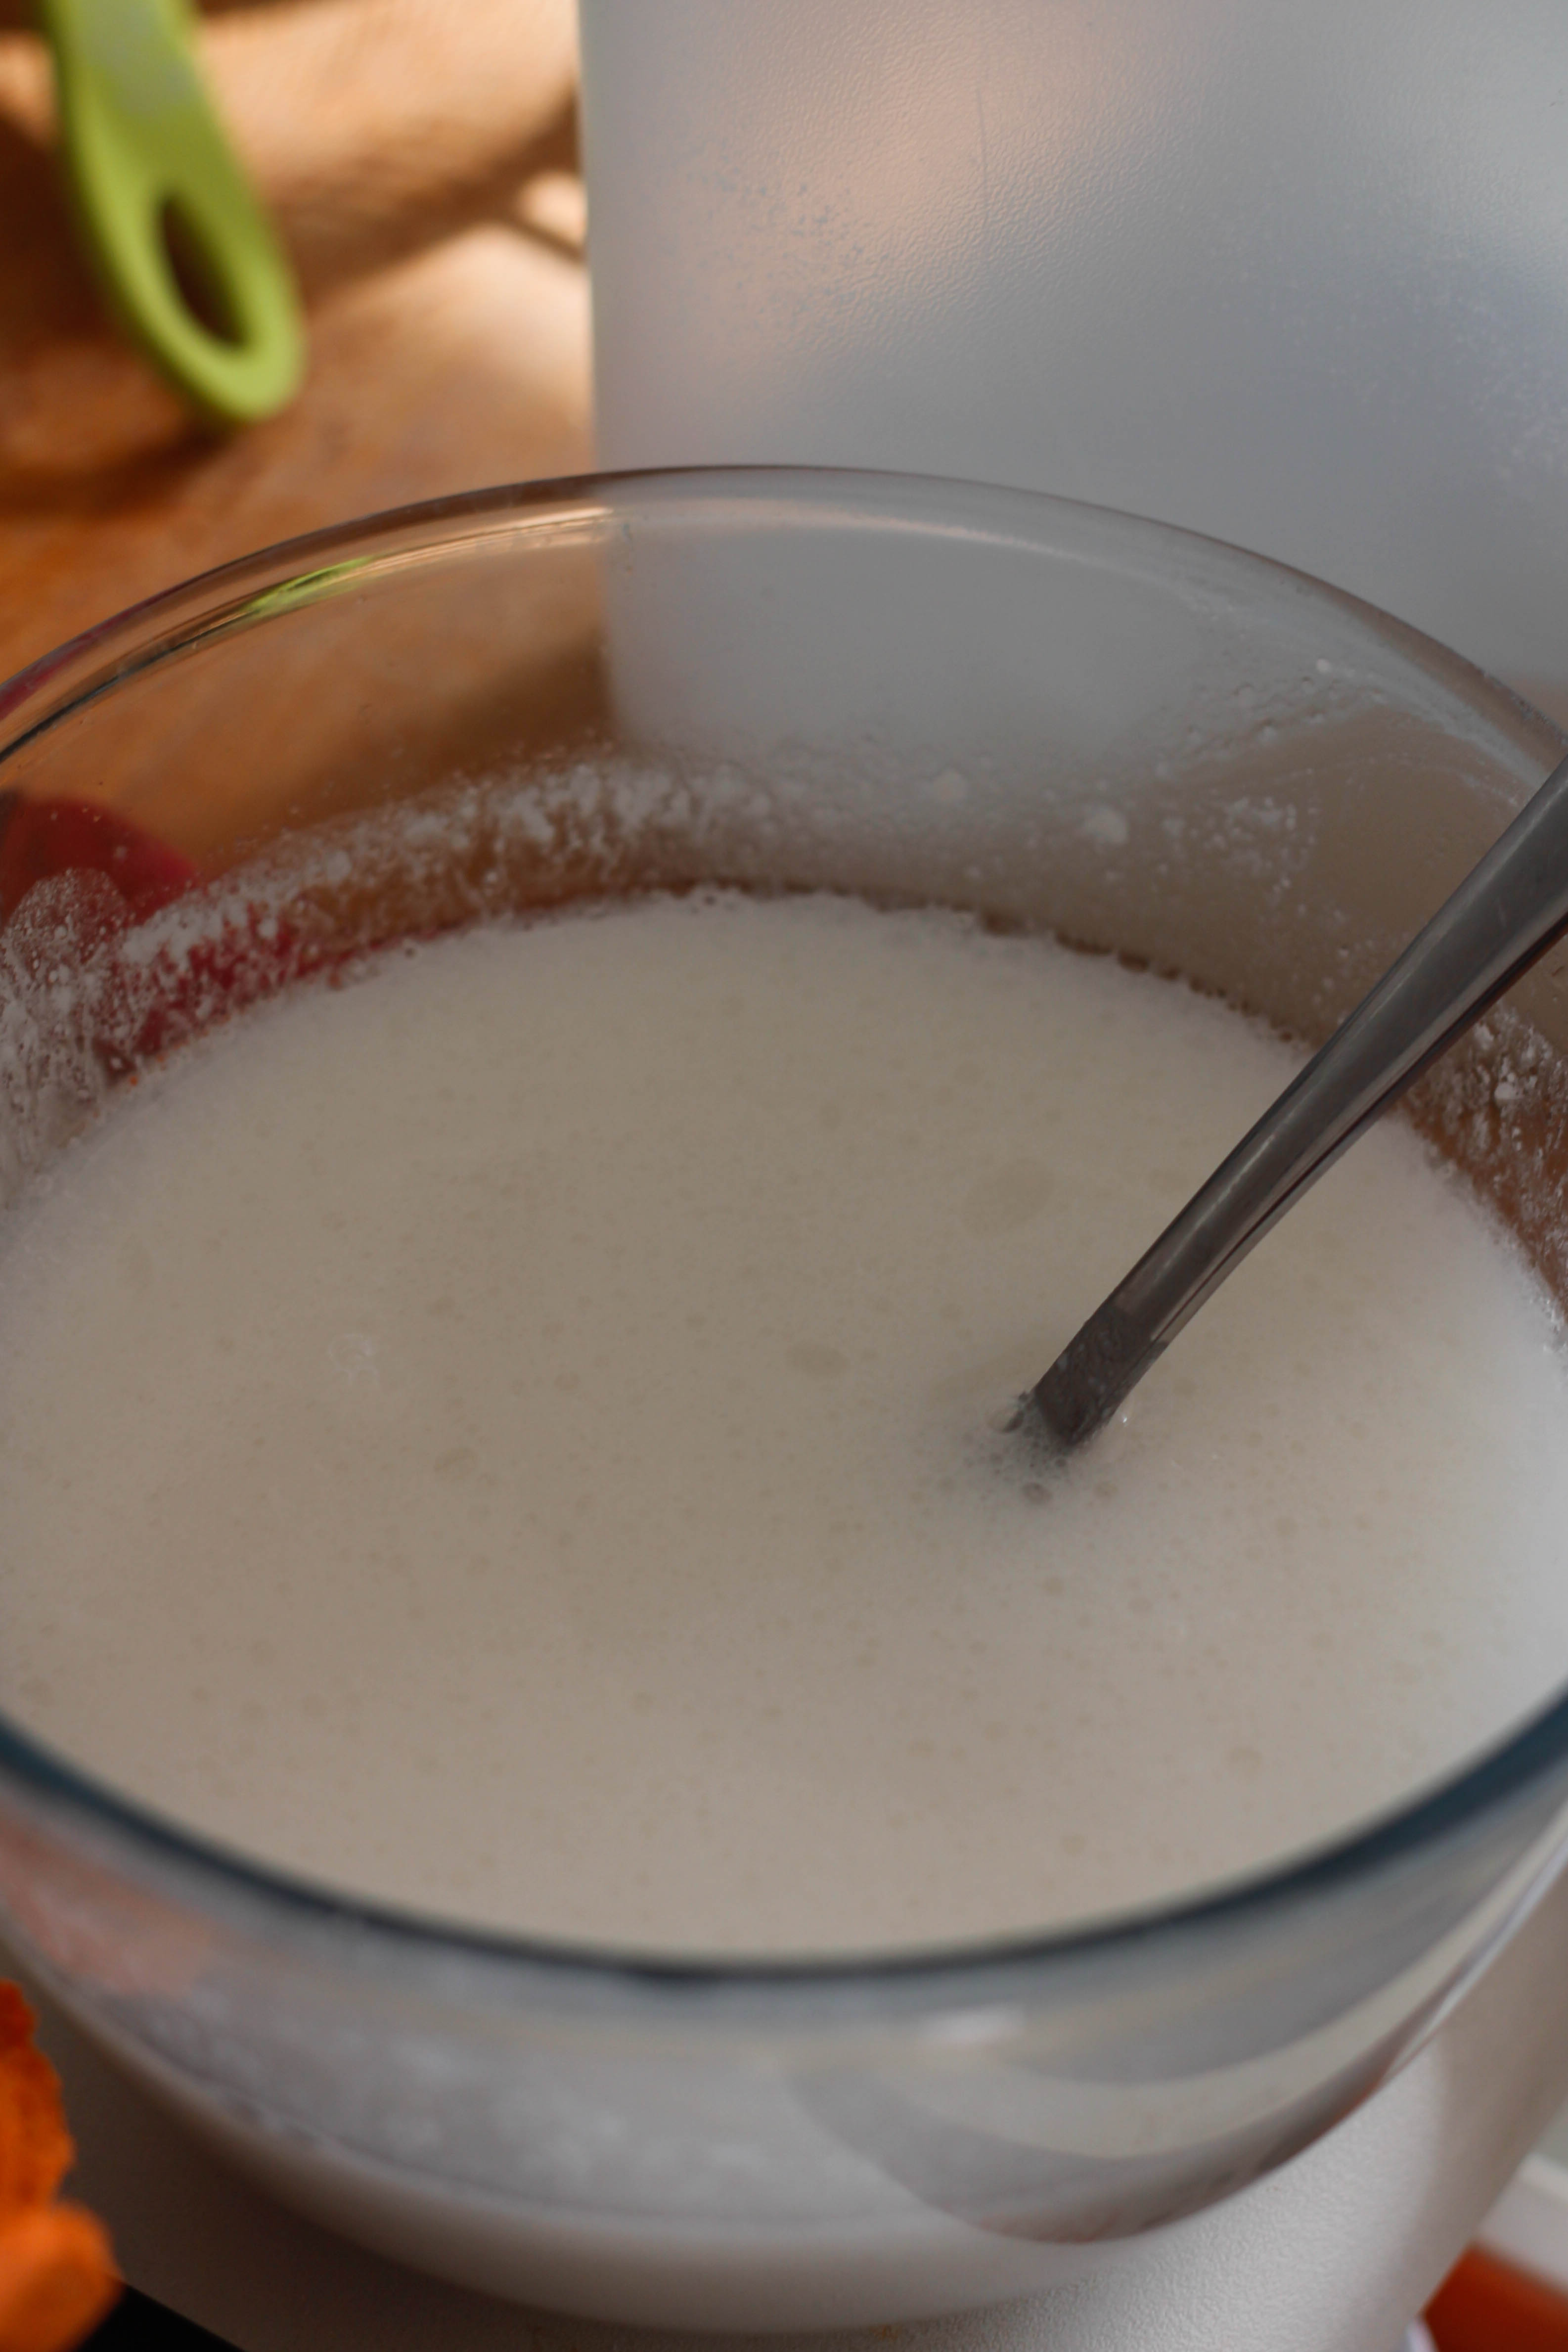
In a new bowl whisk together the eggs and sugar.


Add the melted creamed coconut and the vinegar to the egg and sugar mixture, then stir in enough red food colouring to make the mixture a lovely bright red.

Pour the wet ingredients into the bowl with the dry ingredients and mix until just combined, scraping the sides and bottom as you go to ensure everything is mixed.

Pour the cake batter into your prepared cake tins – I had about 800g of batter for each 8″ cake and 264g of batter for my 4″ cake. Bake your 4″ cake in the preheated oven for 30 – 35 minutes, and your 8″ cakes for 40 – 45 minutes, or until cake skewer comes out clean (crumbs are OK, sticky batter is not!).
Once done, turn your cakes out onto a cooling rack and leave to cool completely before assembling the cake layers.
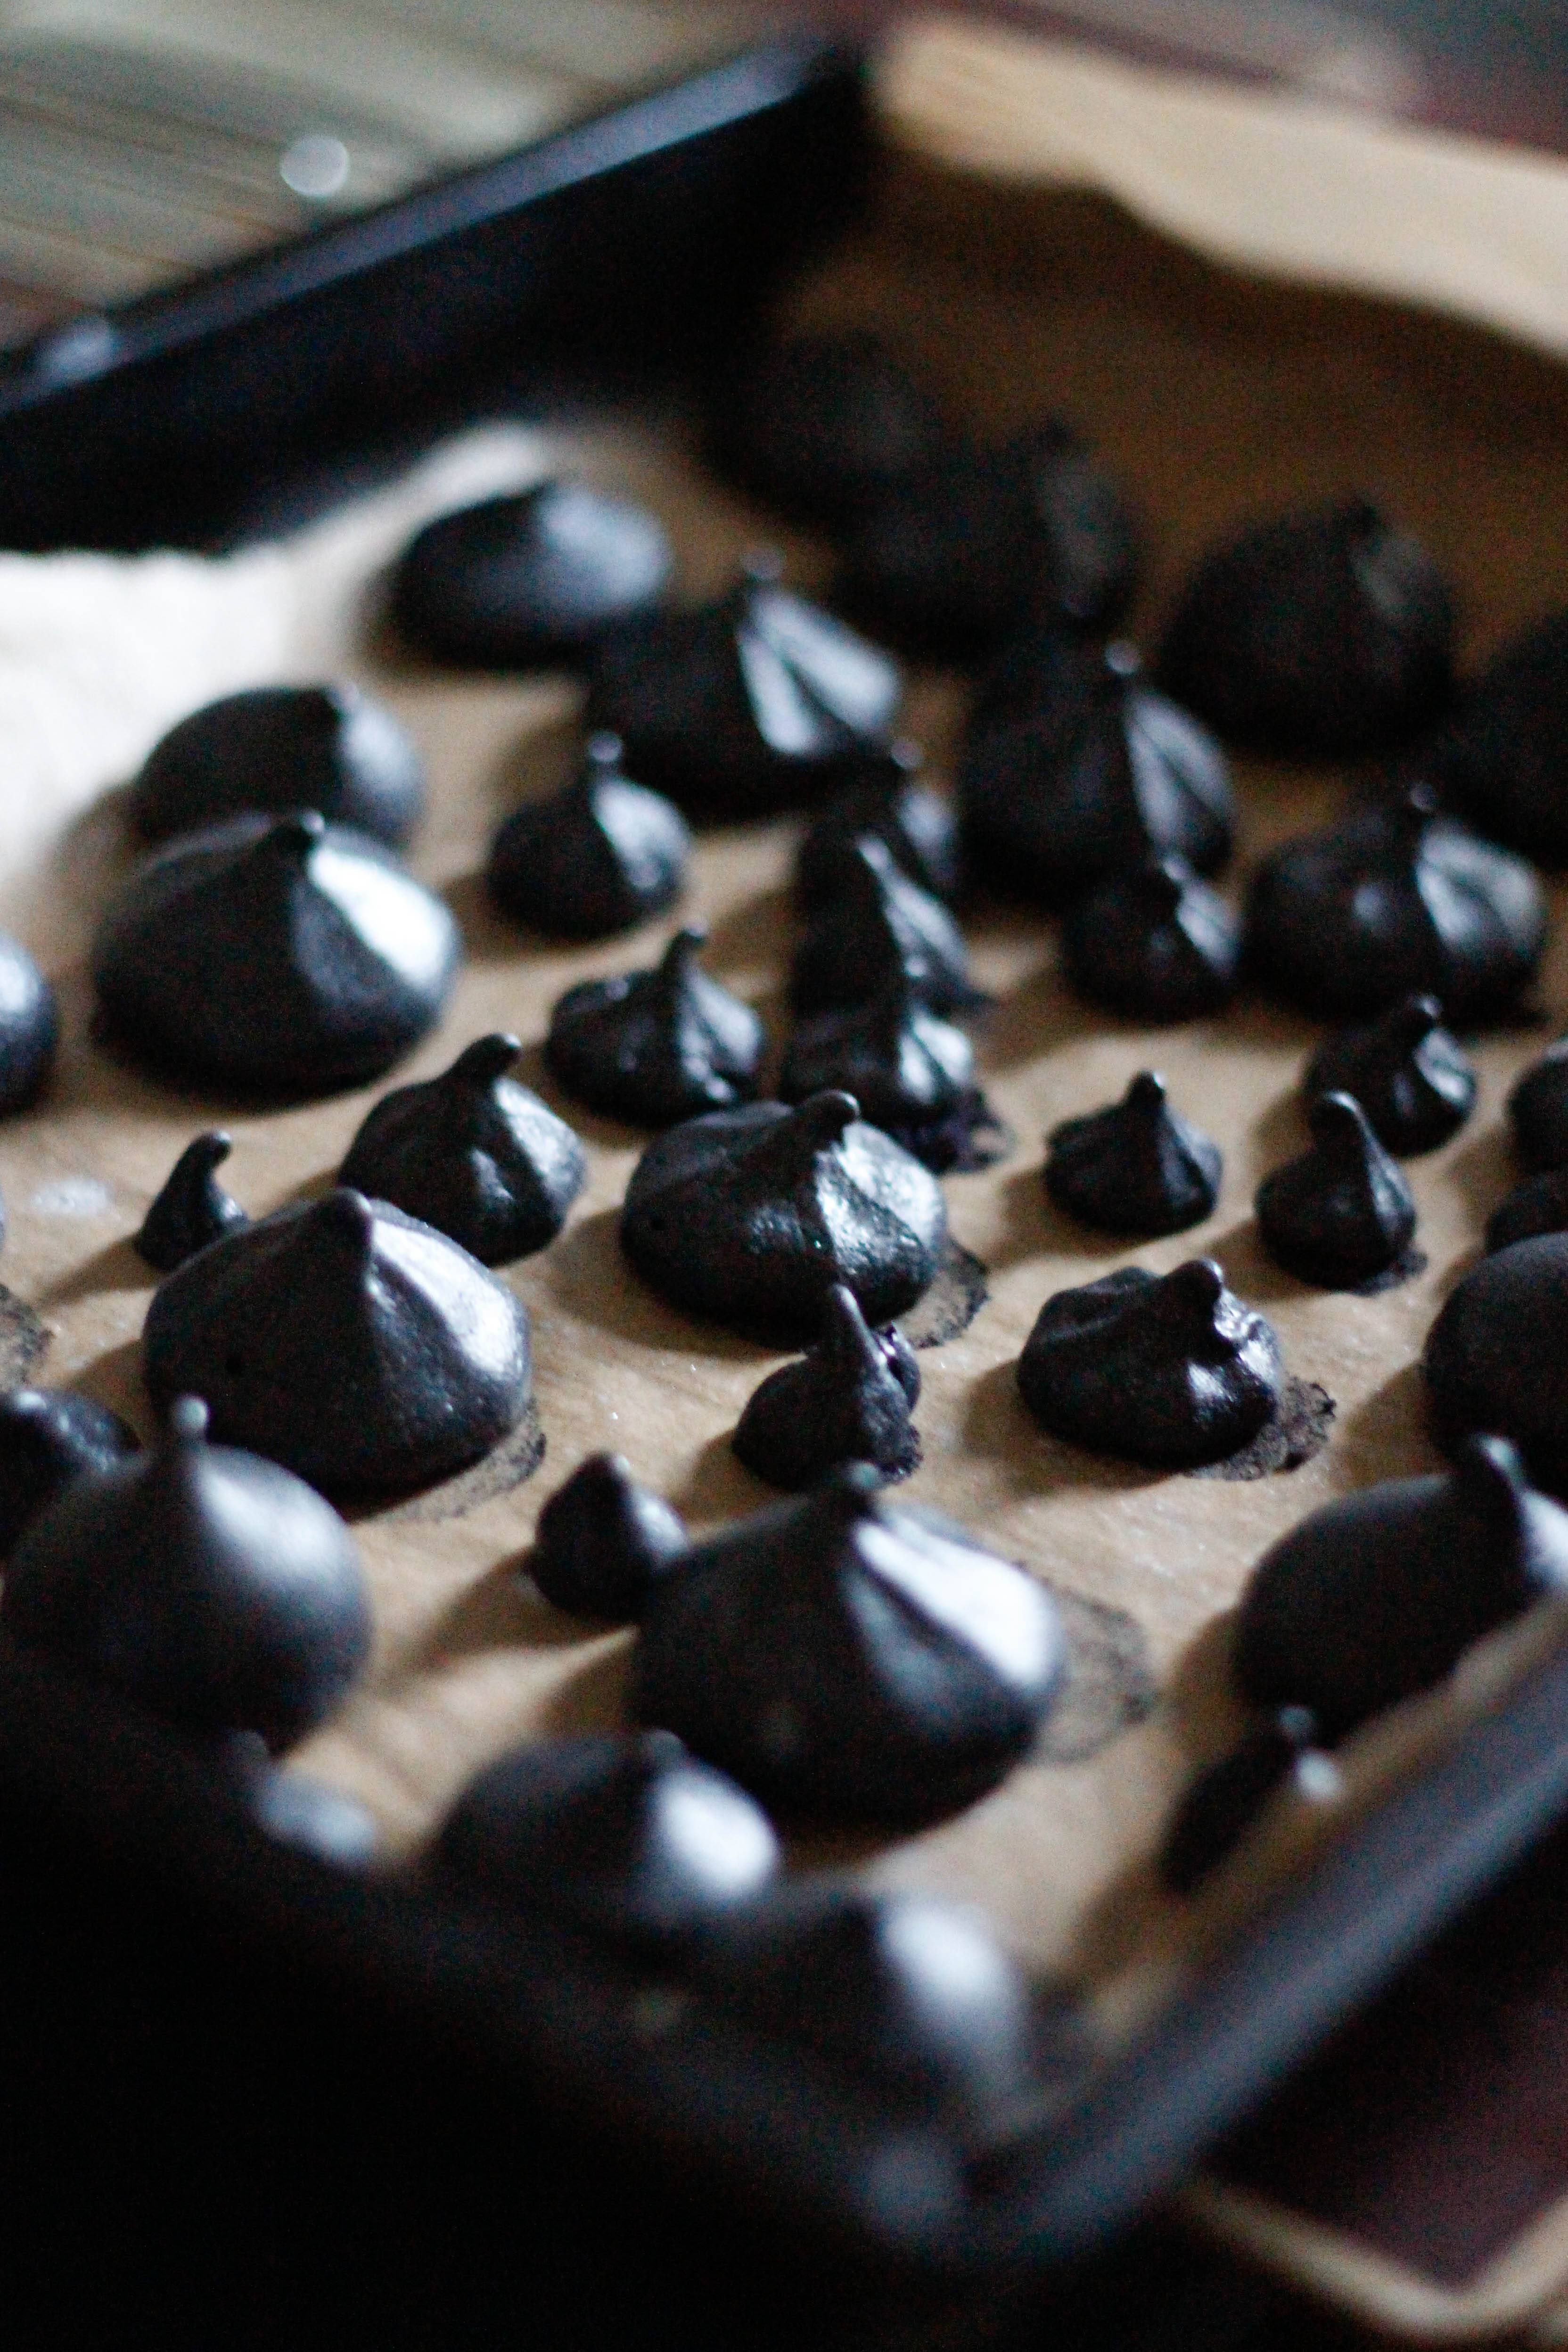
For the black meringue kisses
Preheat oven to 110°C/230° F/Gas Mark 1/4 and line a tray with baking paper.
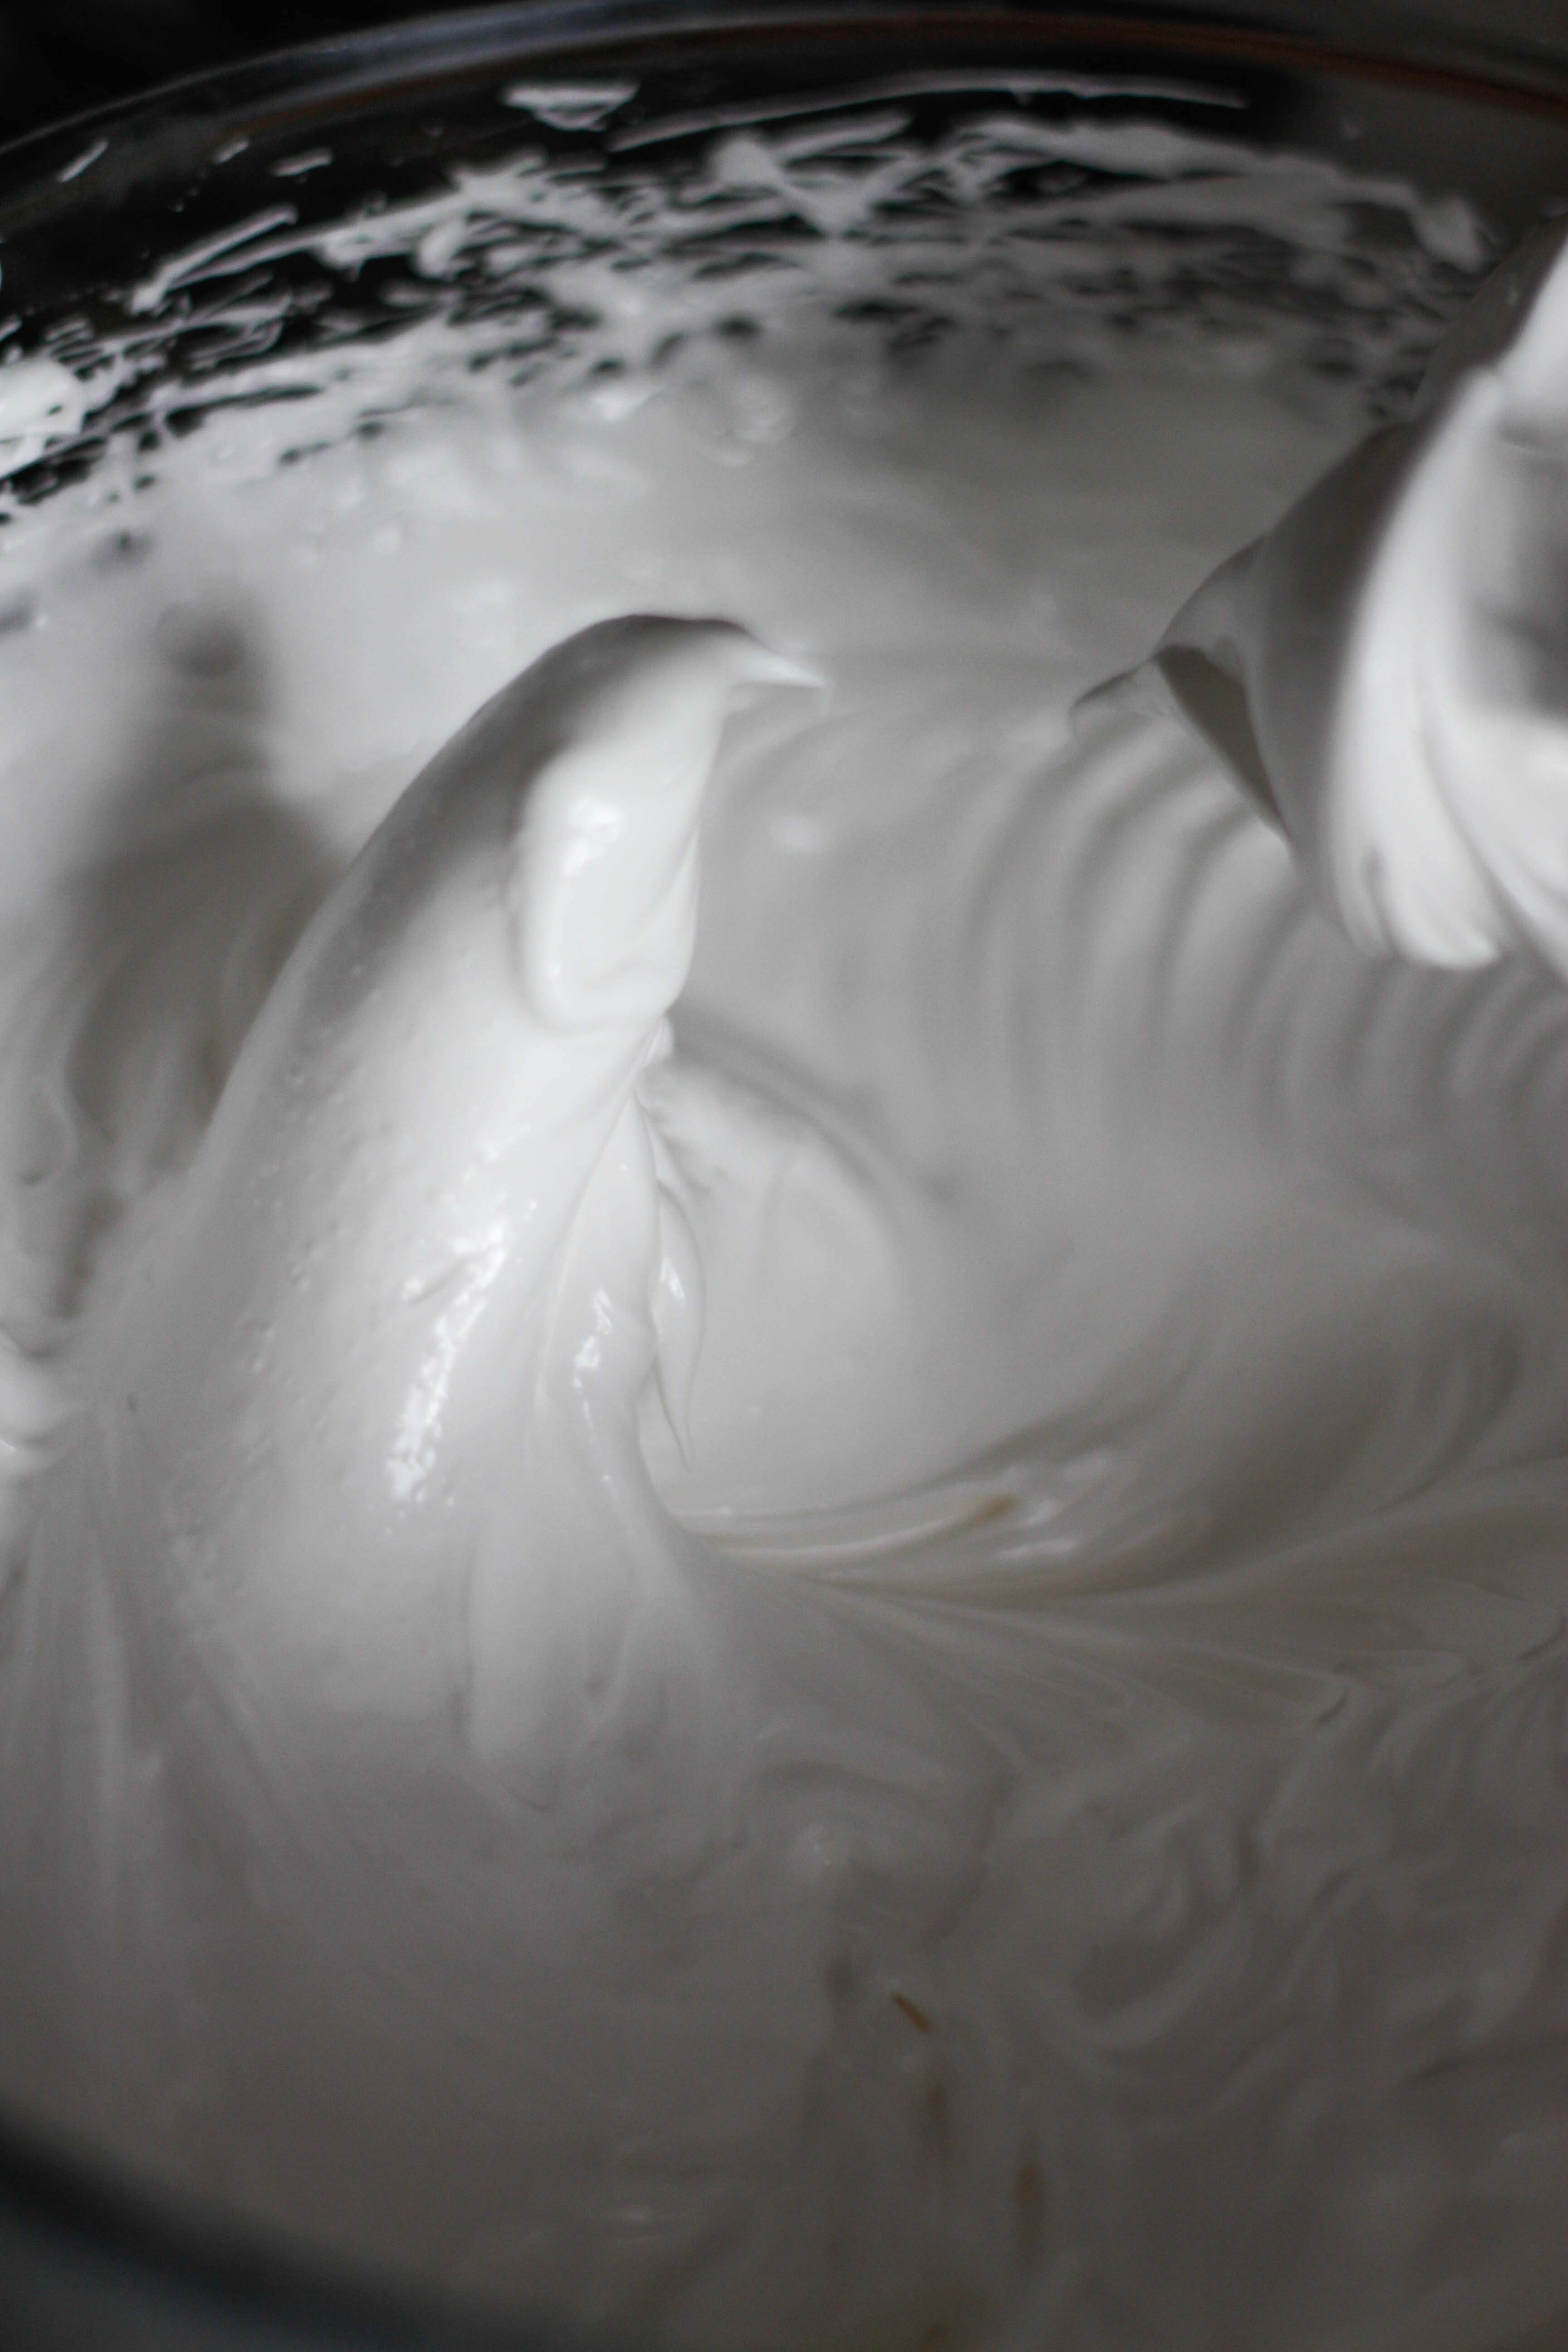
Beat the egg whites to soft peaks then add the sugar a little at a time, continuing to beat until the egg whites are stiff. Add the black food colouring and whisk to combine, then pipe the meringue mixture onto the prepared tray using different piping nozzles, or just spoon on in dollops if you don’t have a piping bag.
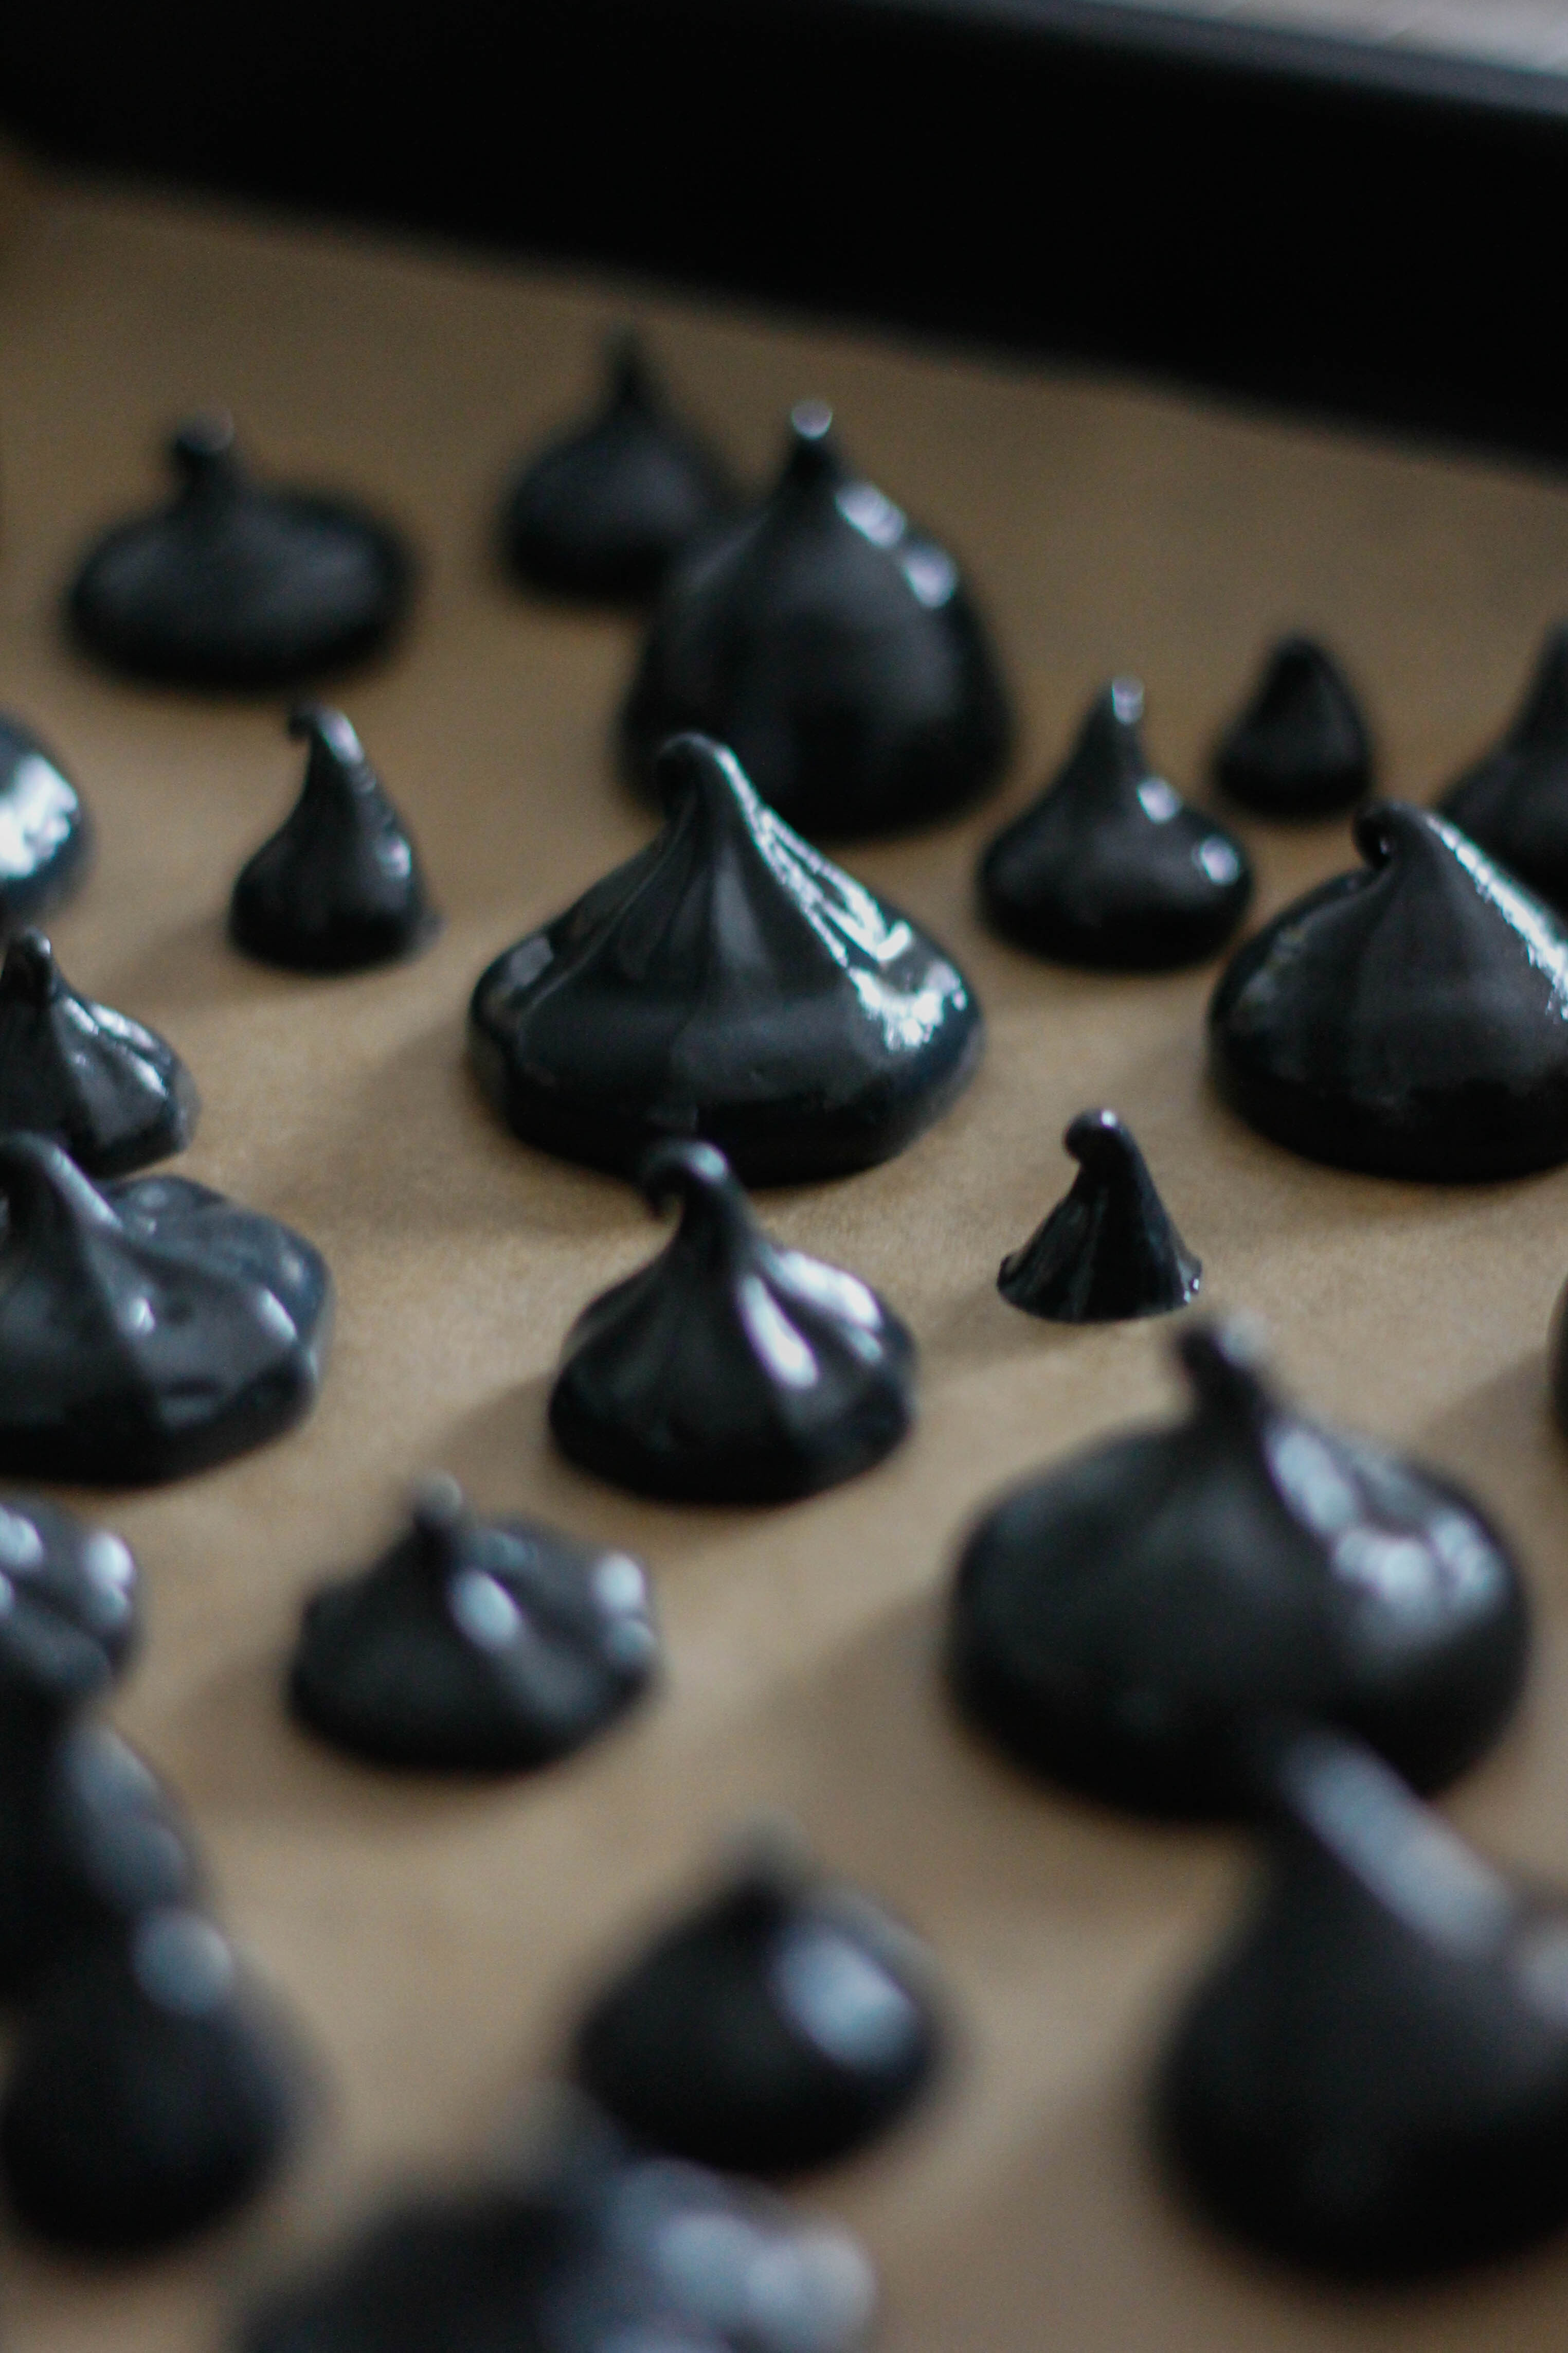
Drop teaspoons of the meringue onto the prepared tray and bake for around 1 hour and 15 minutes, or until crisp.
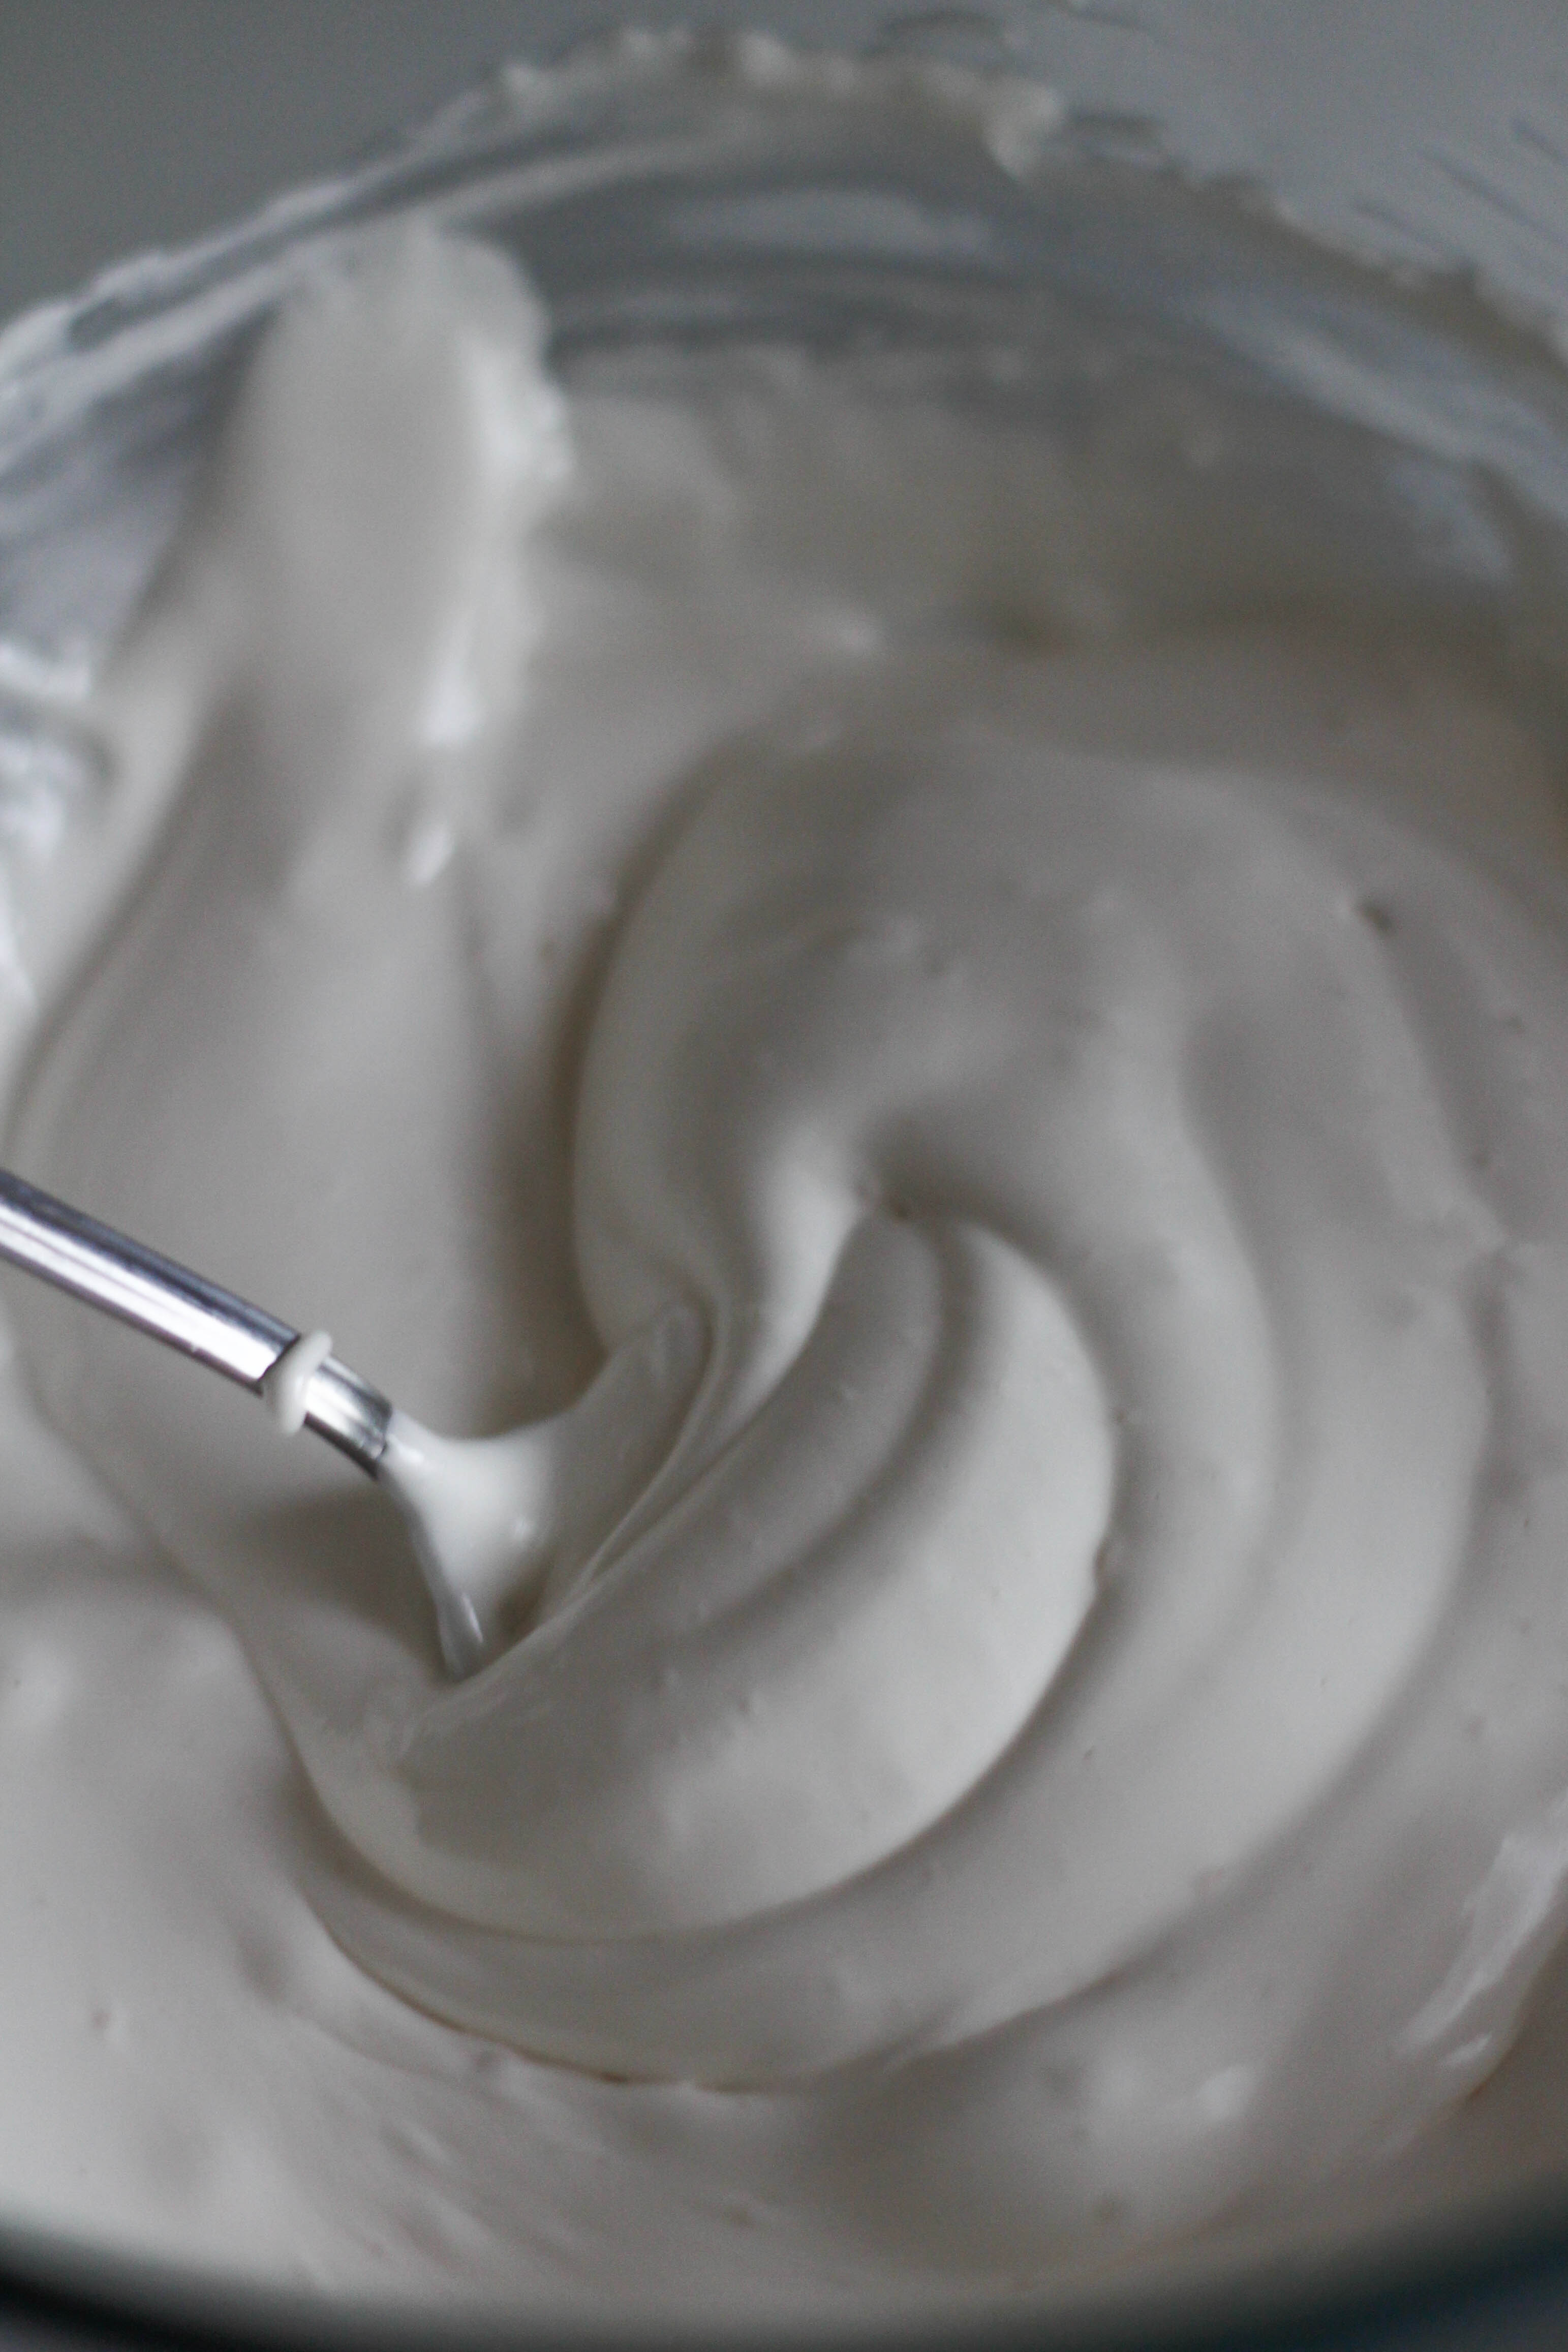
For the Swiss meringue buttercream
Place the egg whites and sugar in a heat proof bowl and heat gently over a double boiler. Heat the egg whites until they reach 160 °F/71 °C, using a candy thermometer to test the temperature. Stir the egg whites whilst they are on the heat.


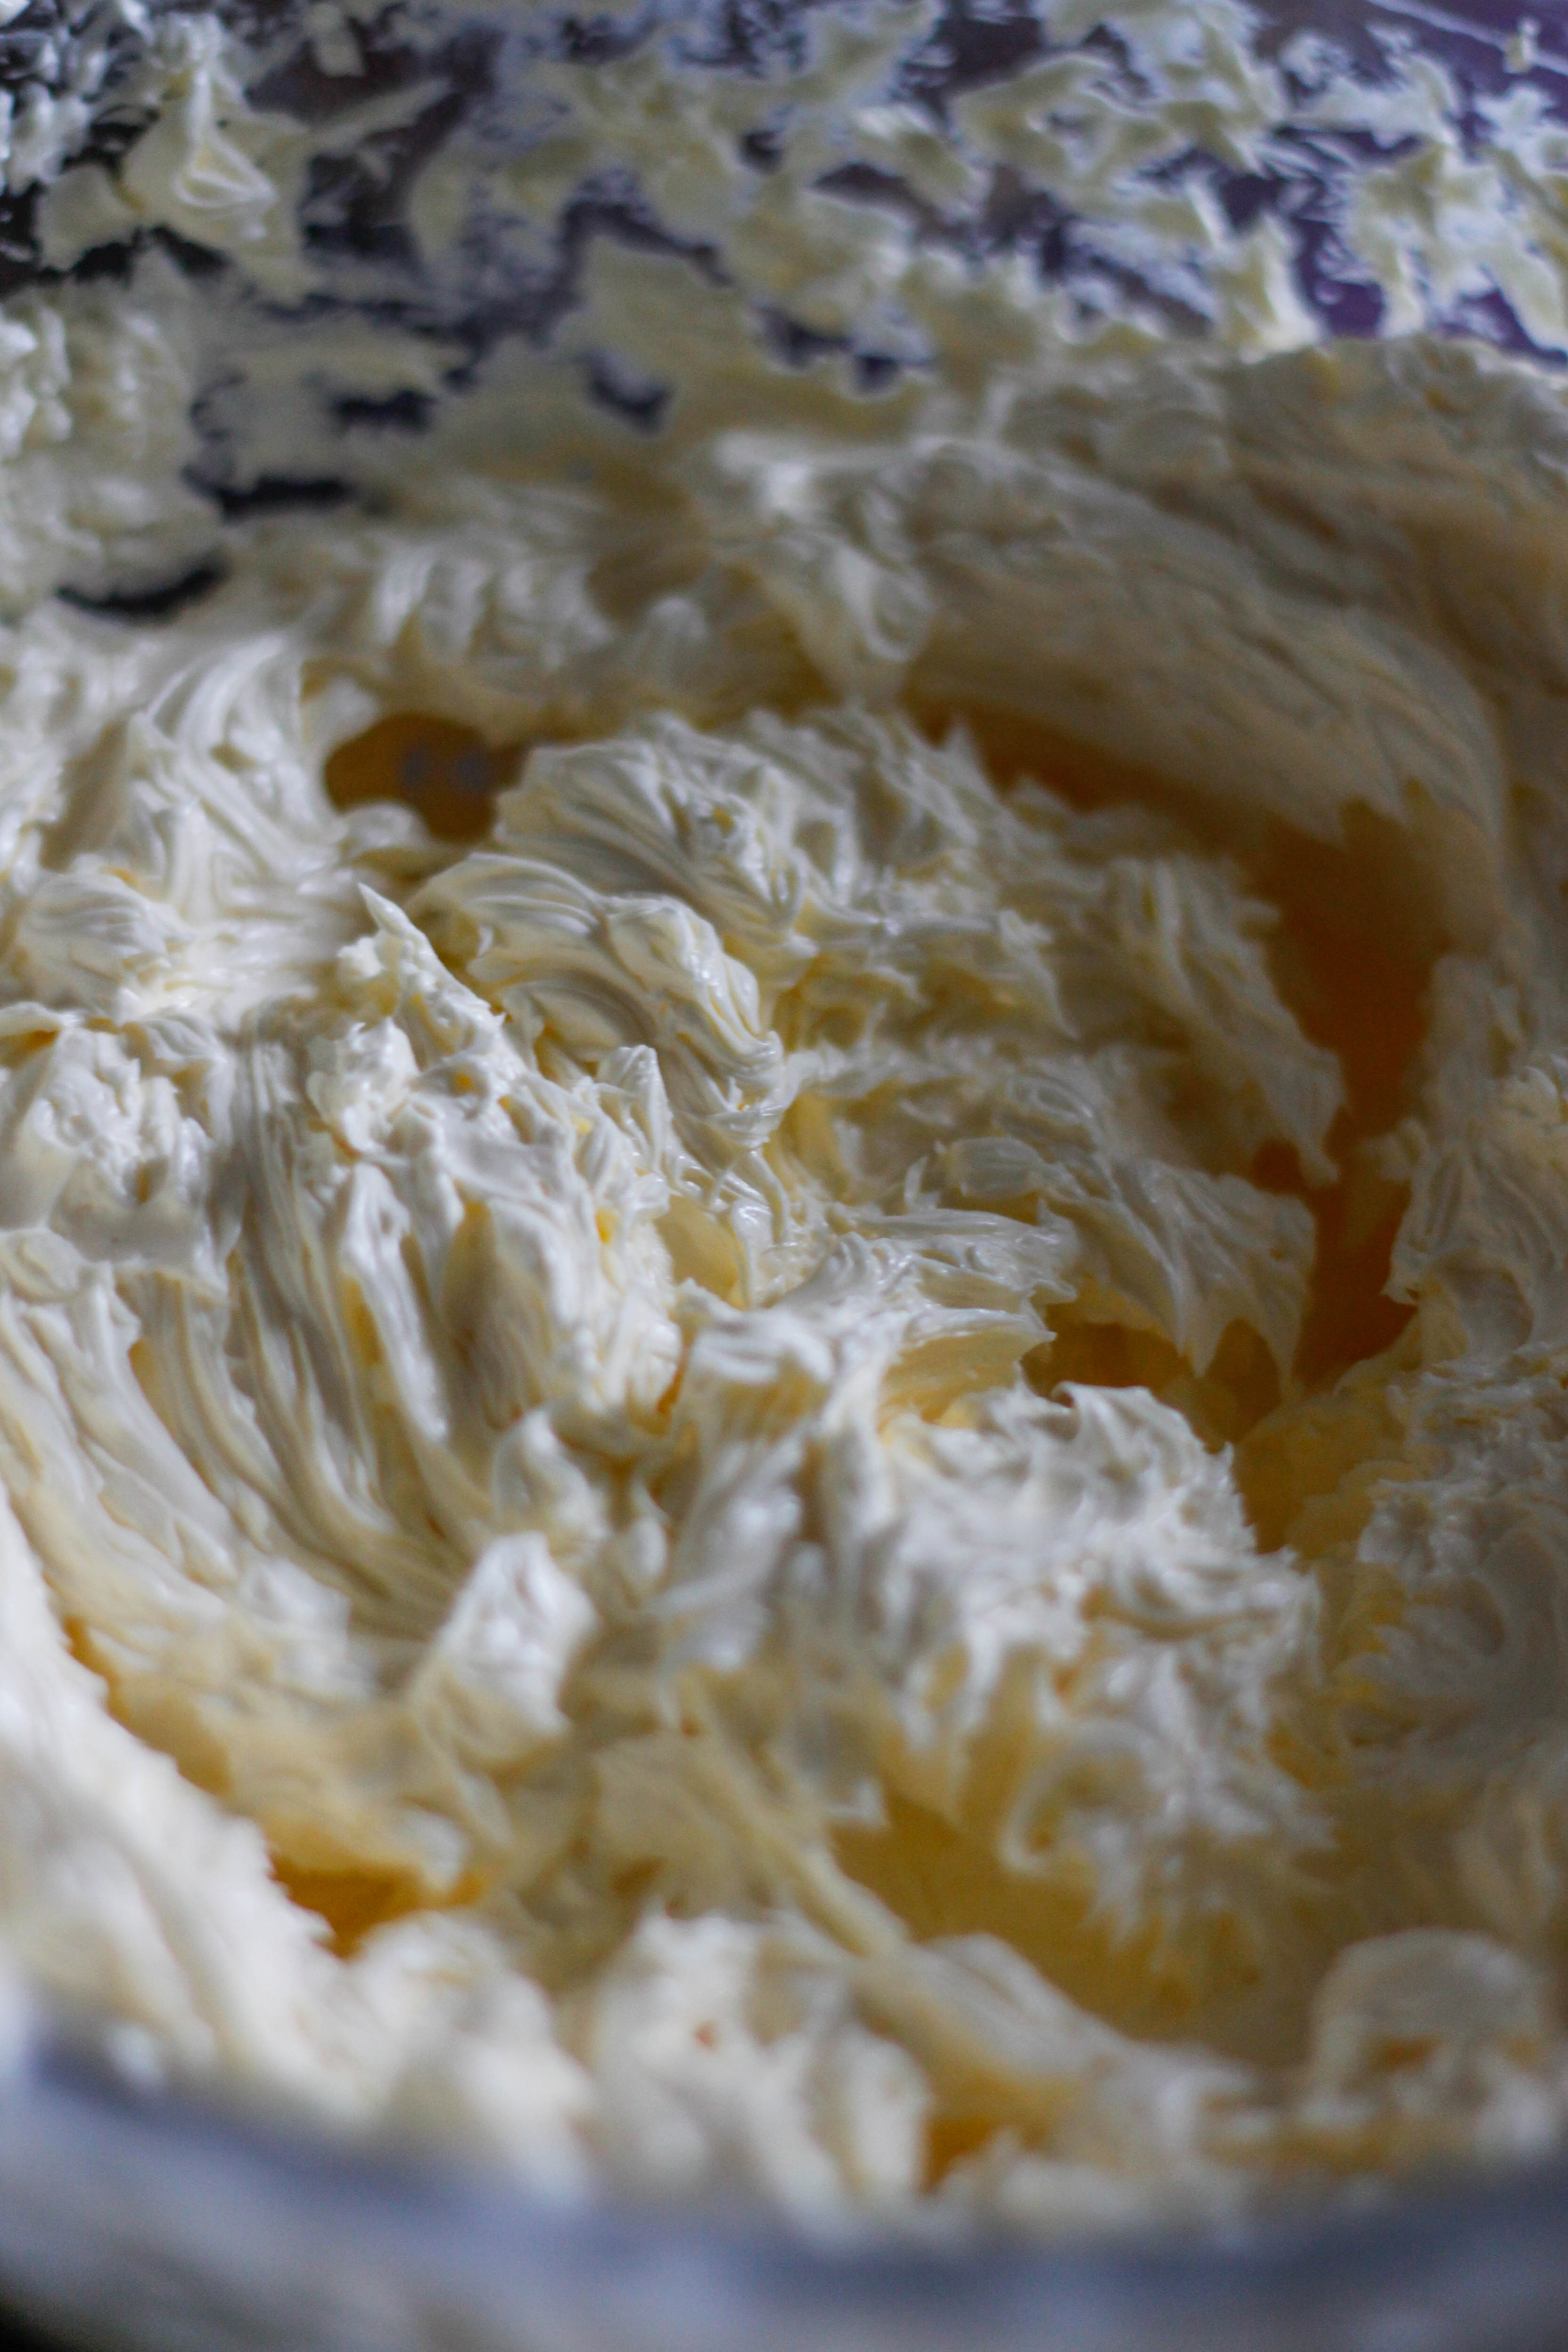
Remove the egg whites from the heat and start beating them with an electric beater or whisk. Continue to beat until egg whites are stiff and the bowl is cold to the touch, then beat in a third of the butter.

Once incorporated, add the next third of butter and beat again, then add the final third and continue to beat until icing is pale and smooth.

Melt the chocolate and set aside.
Assembling the cake
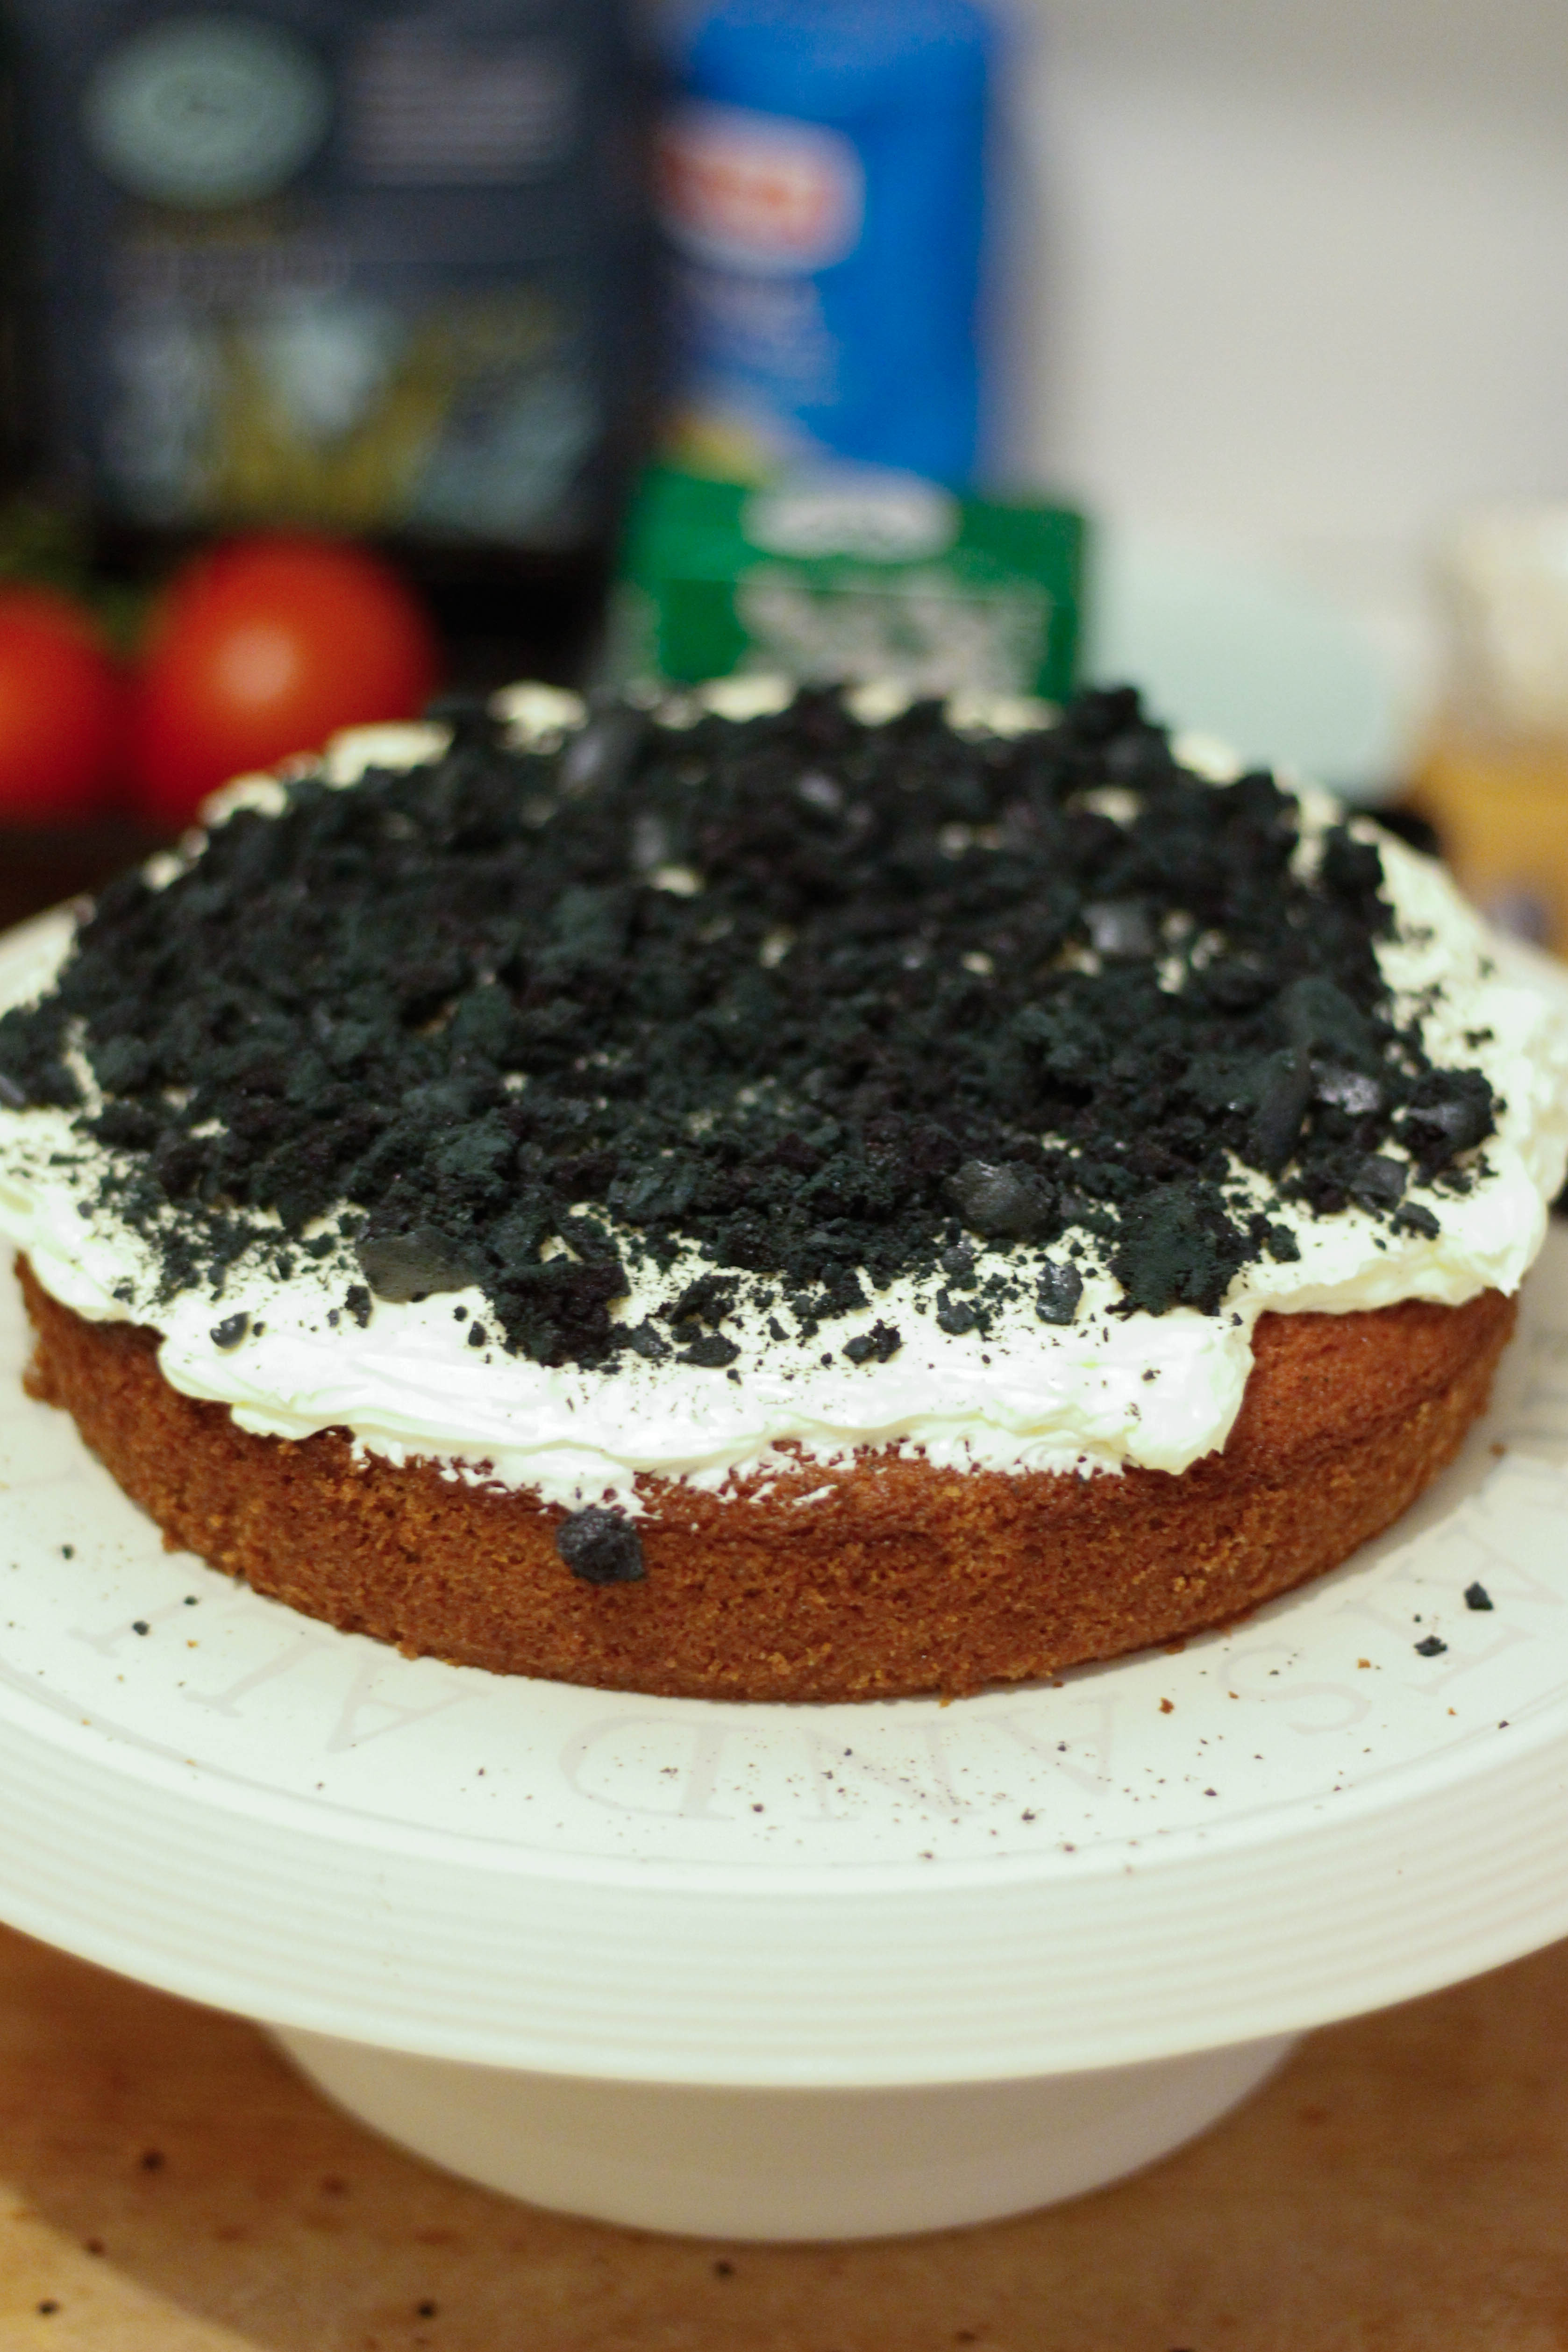
Level your cake layers using a cake cutting wire, then place the first cake layer onto your cake board or stand and cover with a layer of buttercream. Take a handful of the black meringues and crush them, spreading them over the top of the buttercream layer.
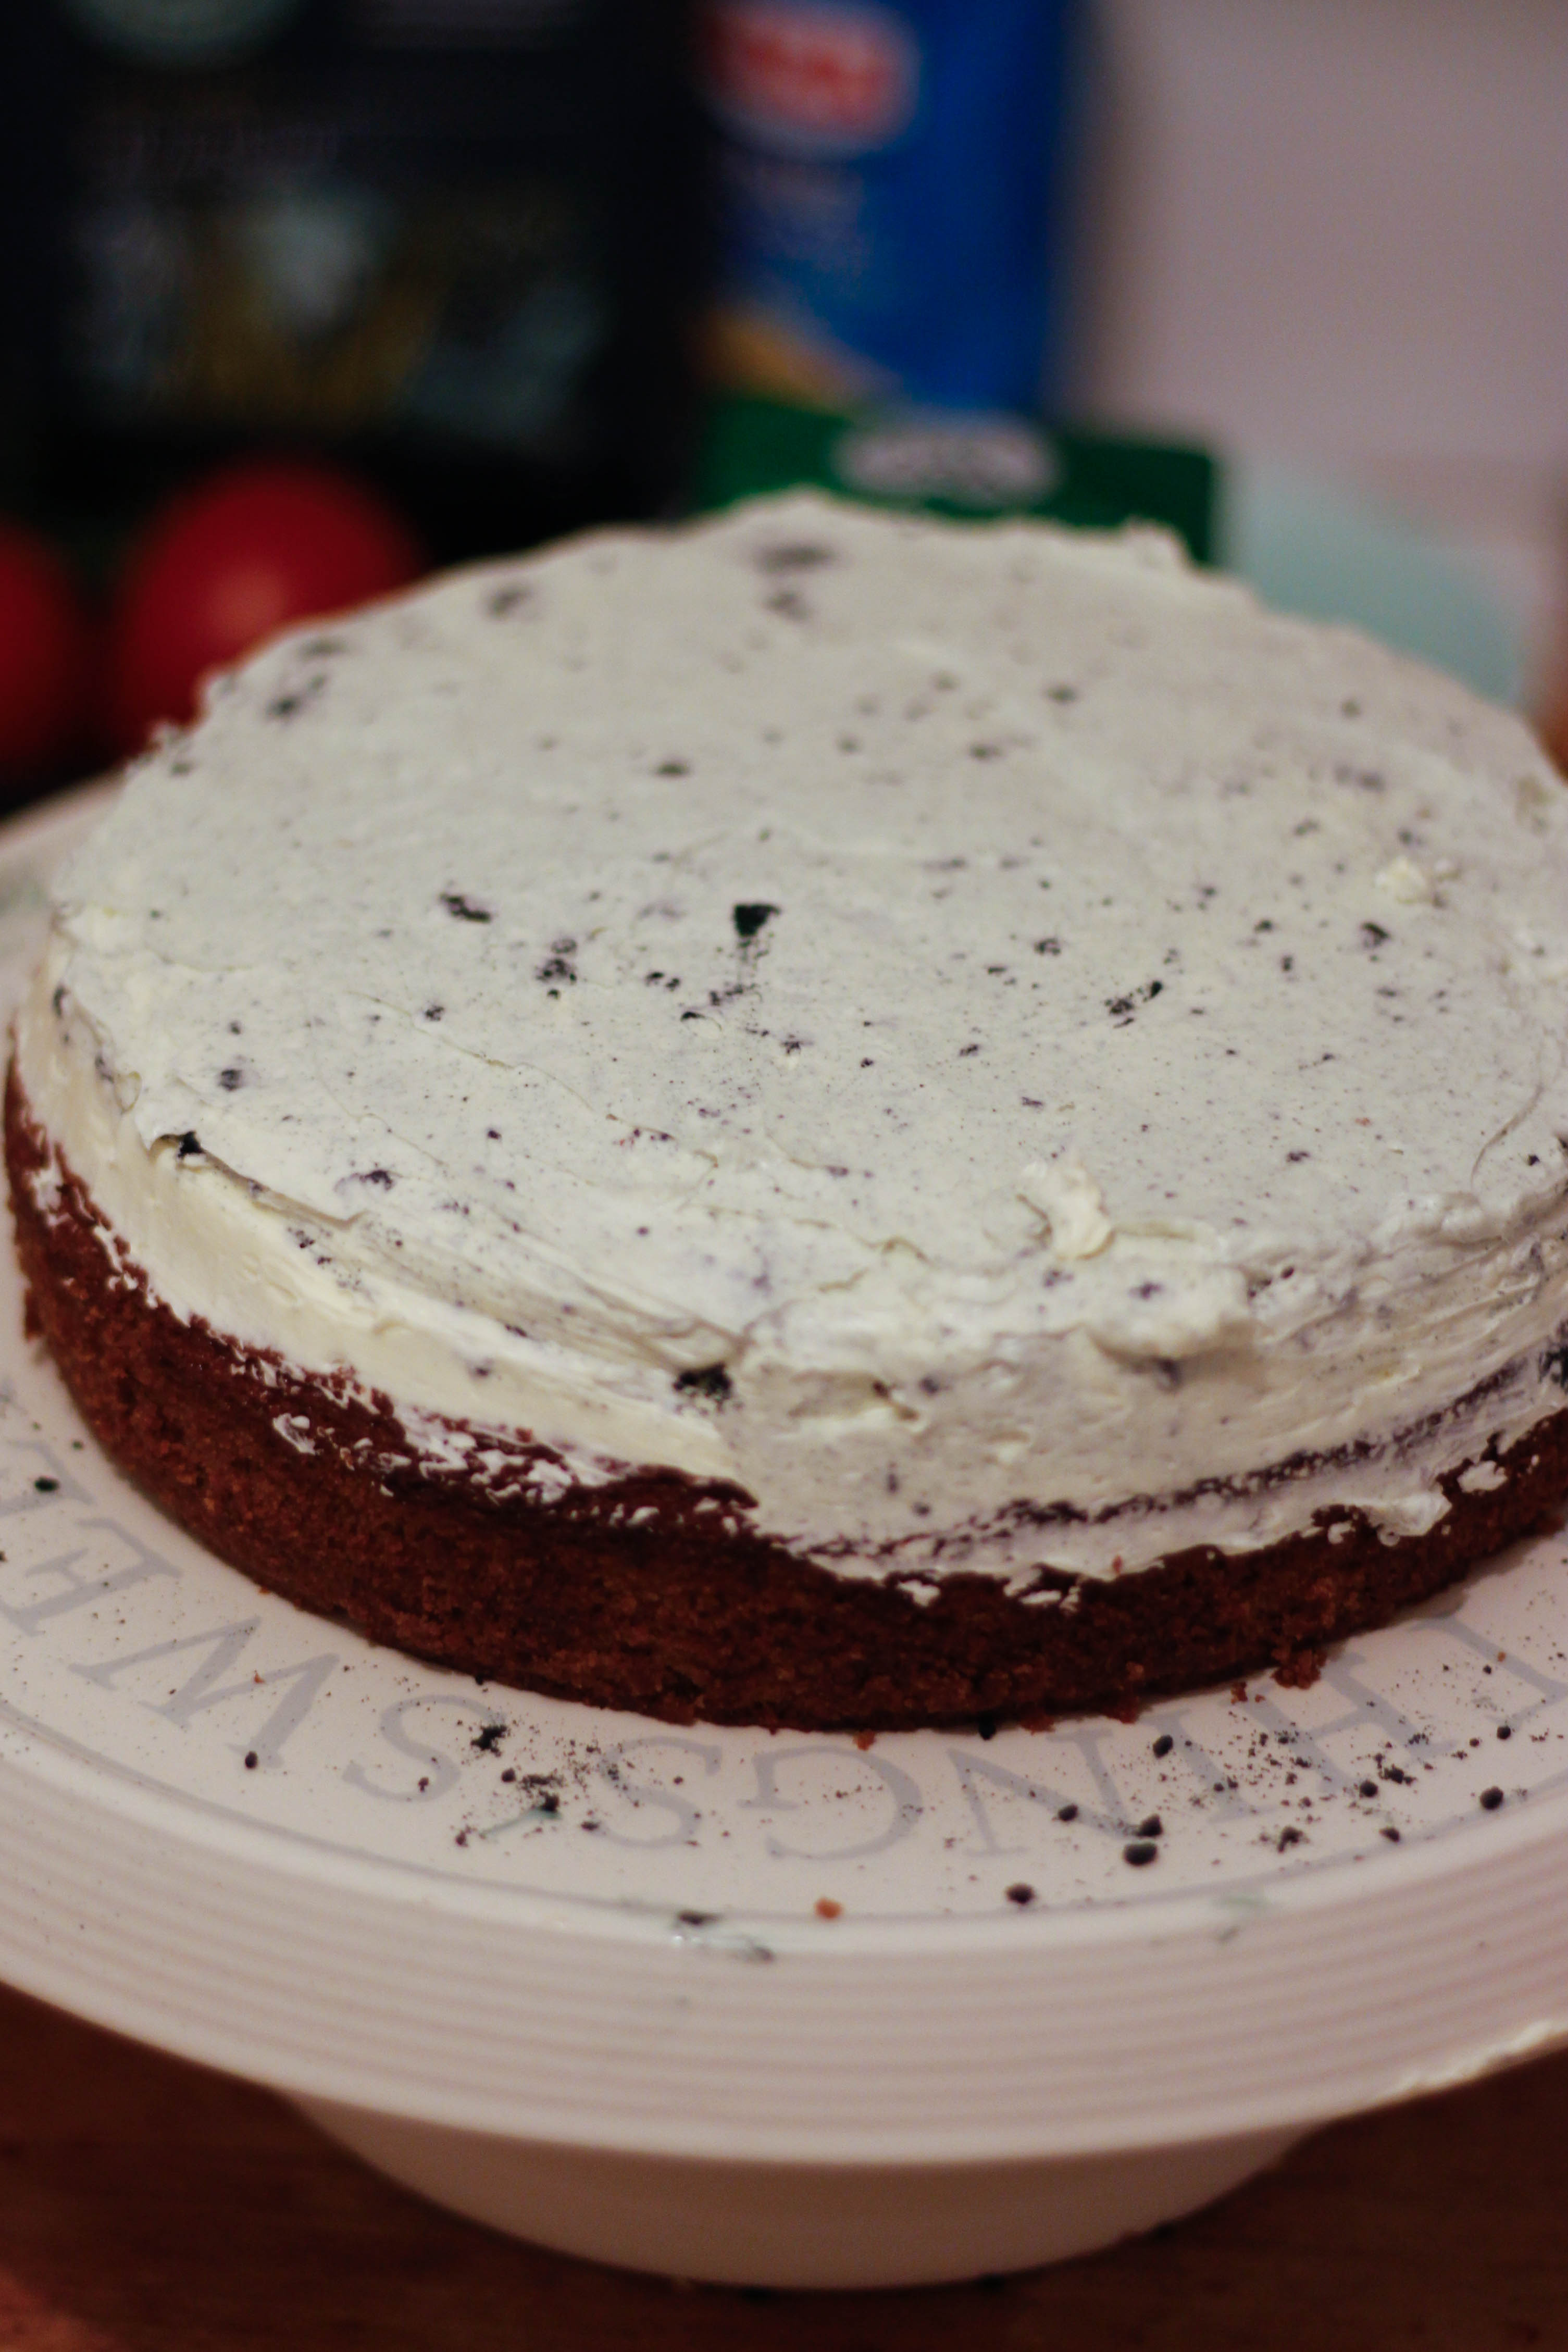
Cover with another layer of buttercream, then place the next cake layer on top.

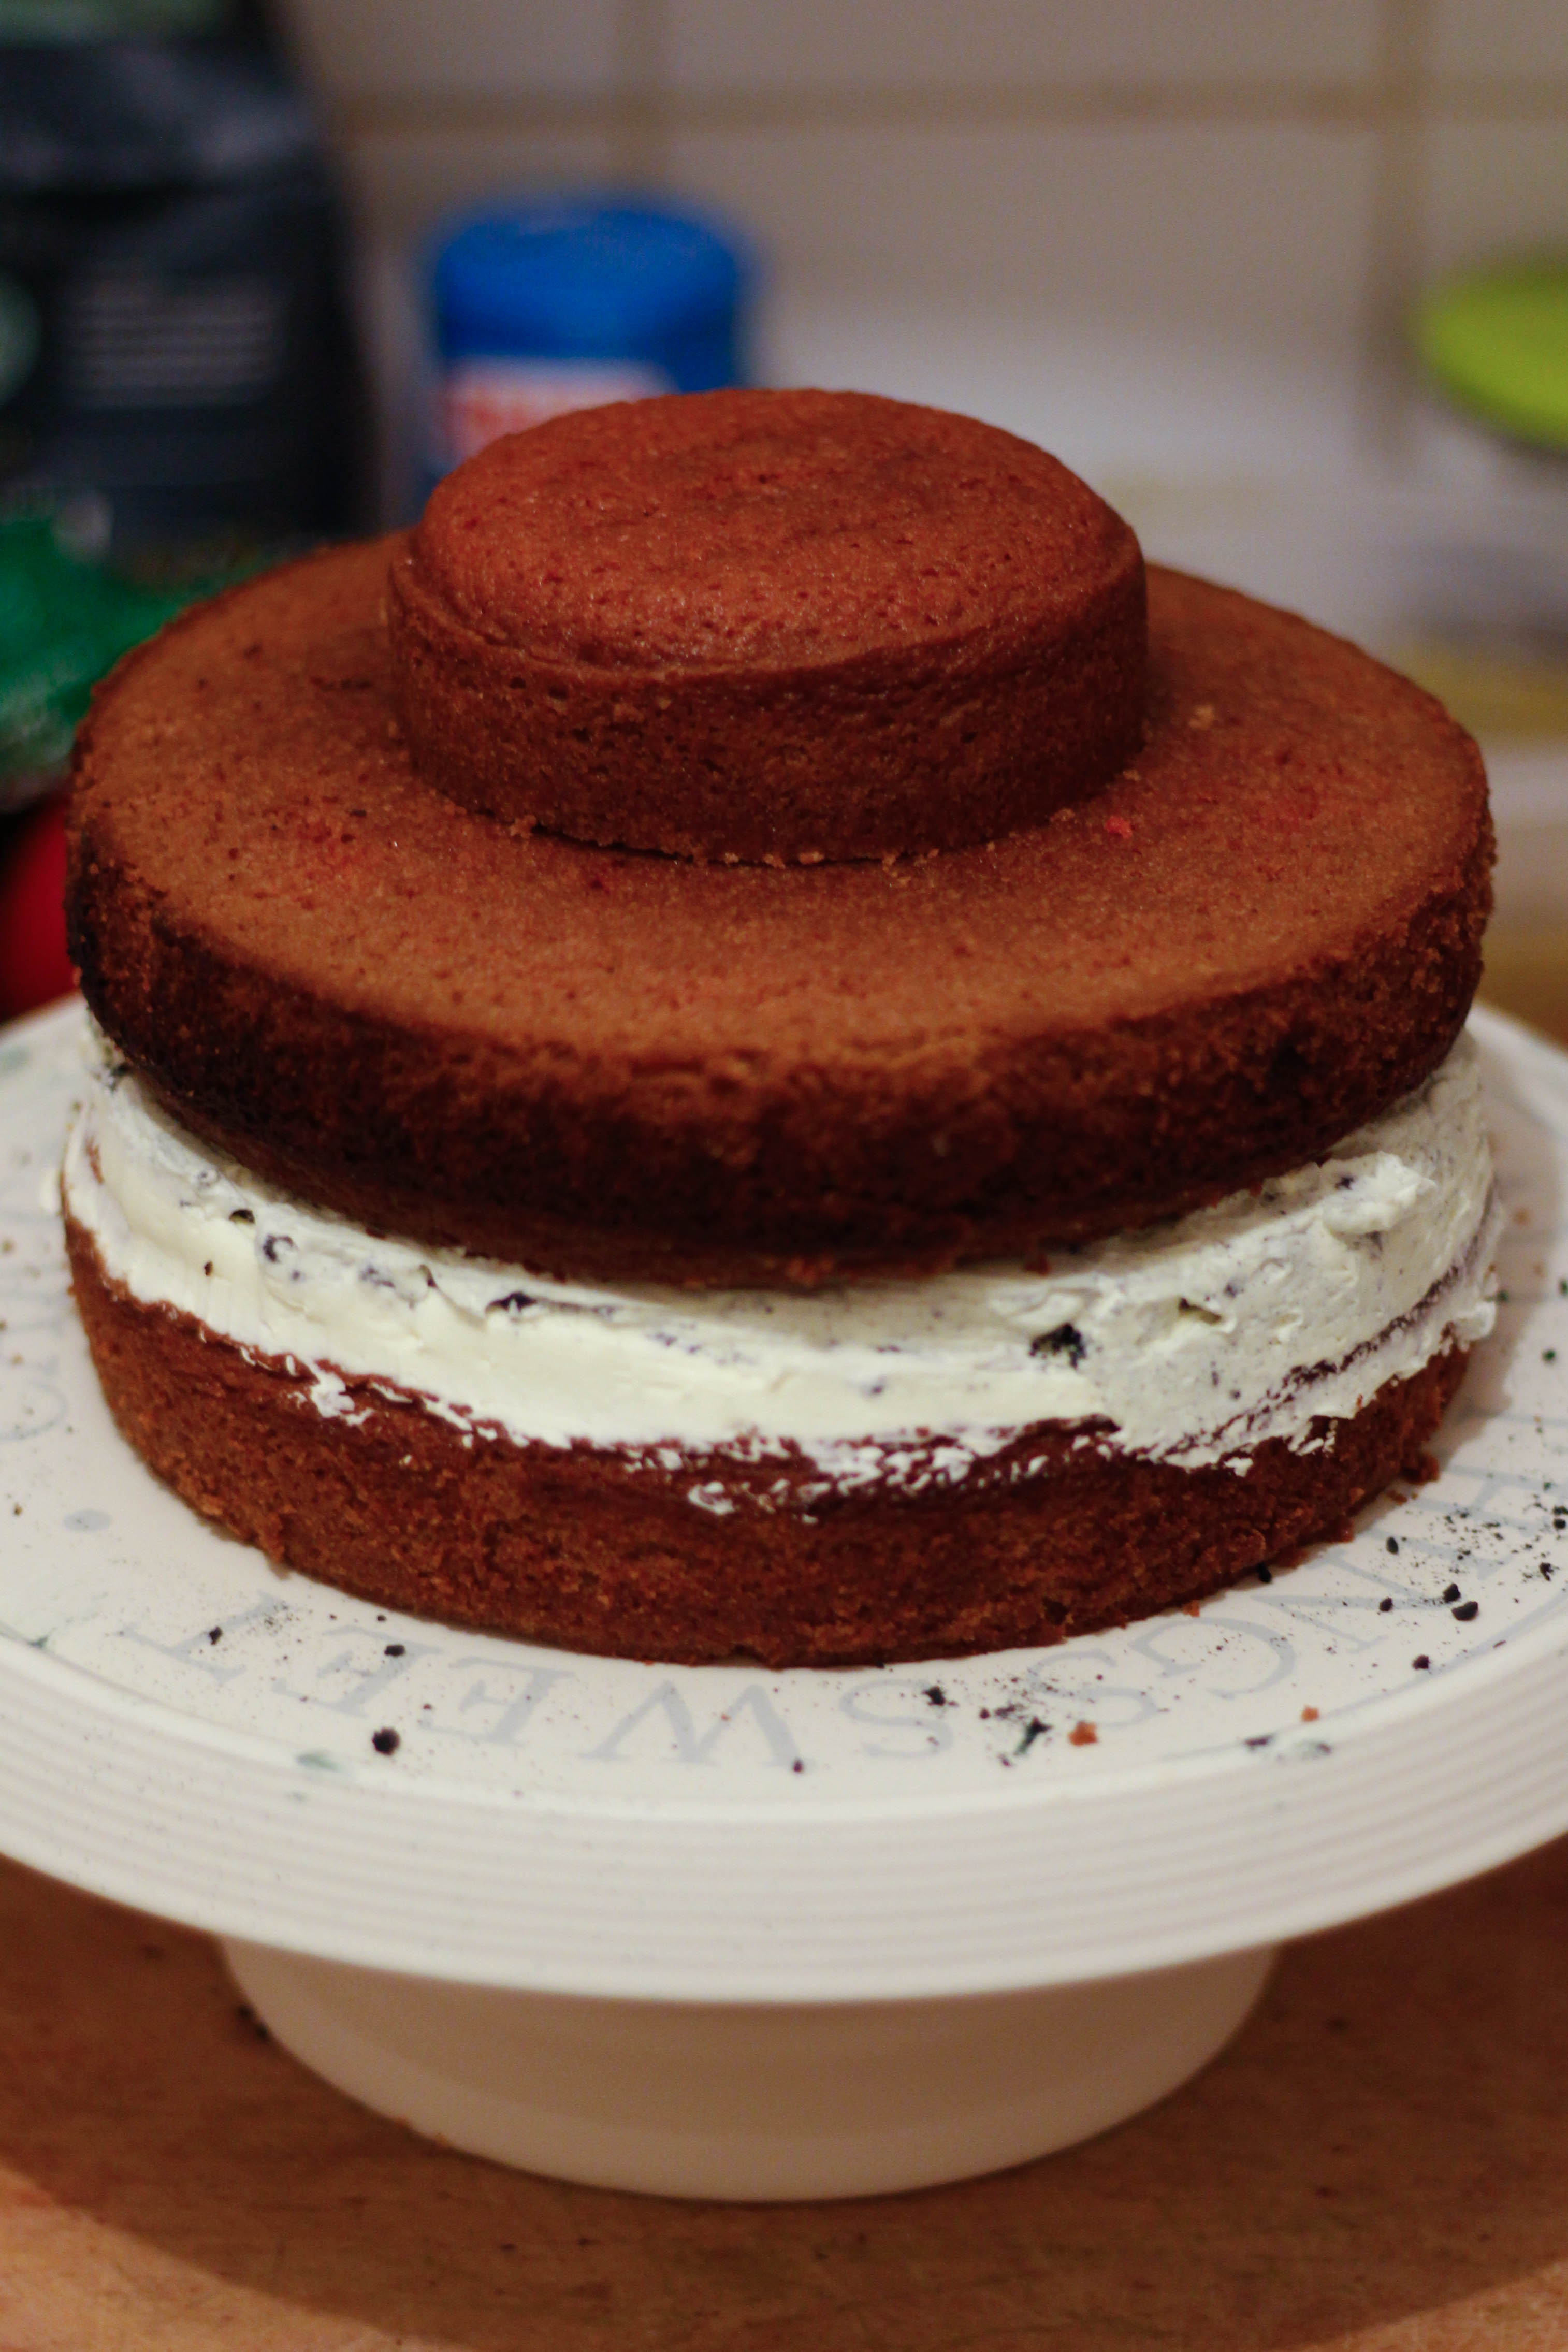
Take out 1/2 cup of the buttercream and colour it with red food colouring, then set aside. Take the remaining buttercream and beat in the melted chocolate, then colour with black food colouring. Place the 4″ cake layer on top of your cake, then coat with the chocolate buttercream.

For the decoration below I used an open star piping nozzle to make the rosettes at the bottom, and a petal tip for the top. For the colour effects, coat the sides of your piping bag with red buttercream, then fill with the chocolate buttercream.
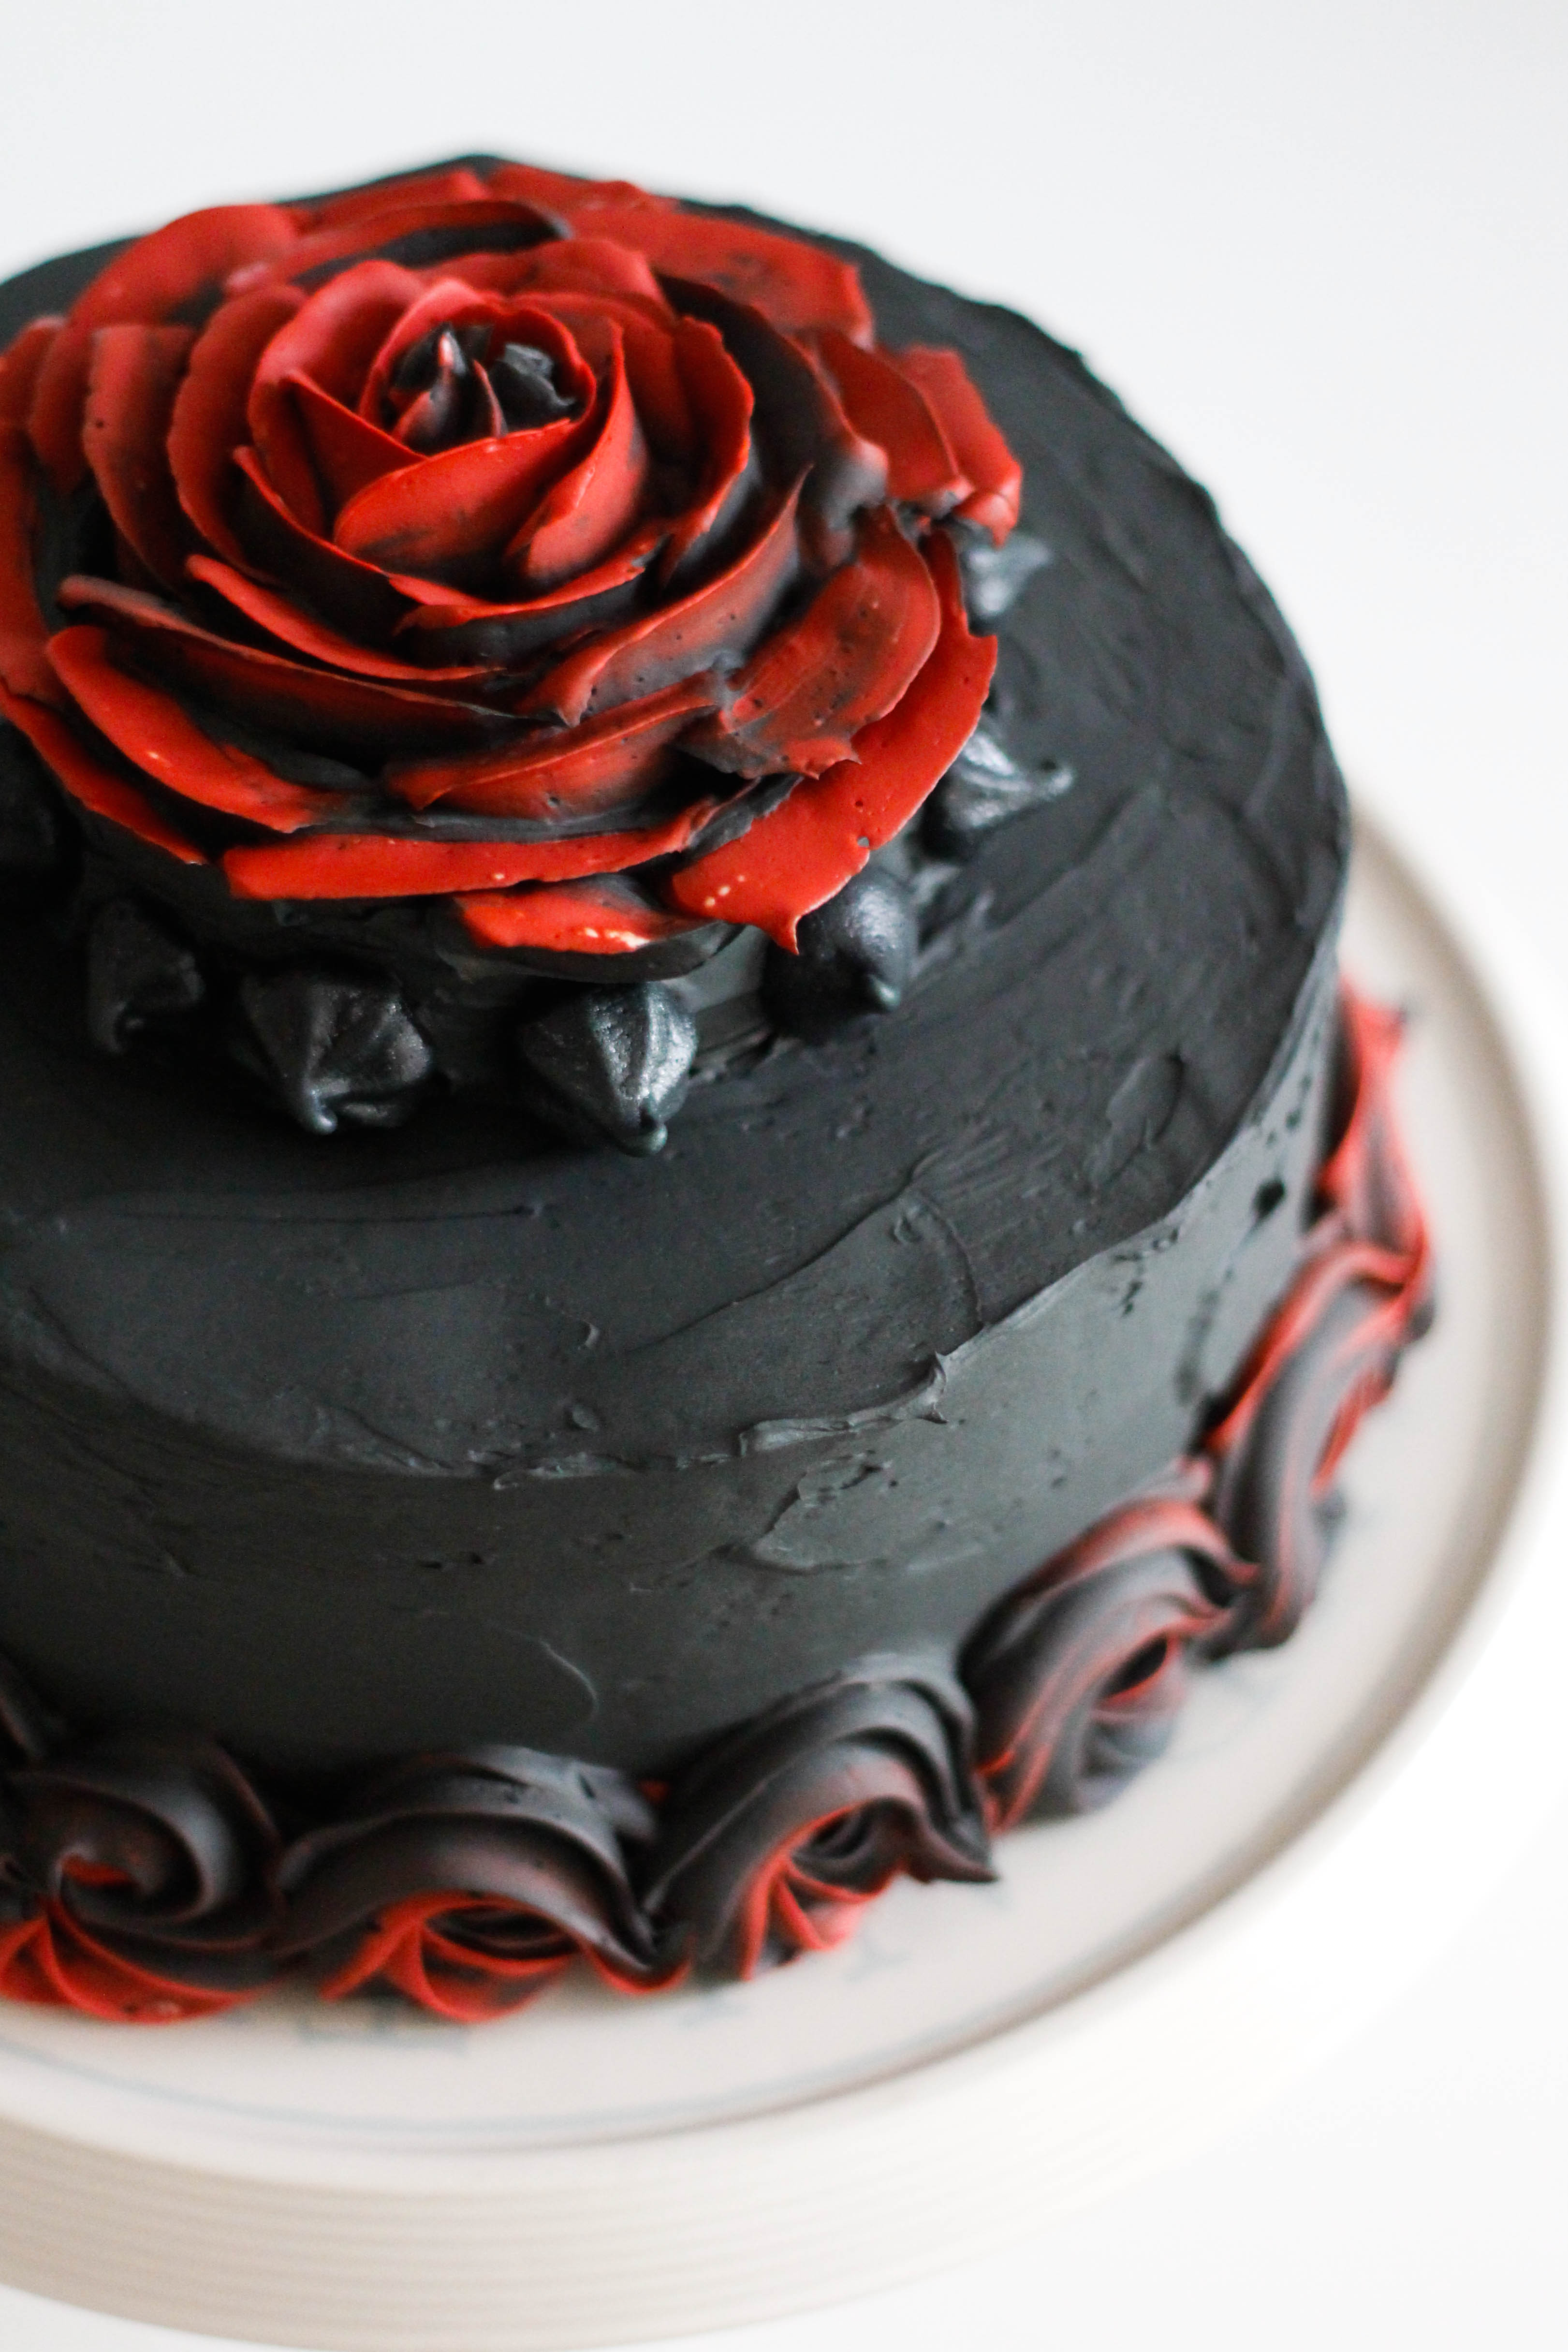
Melt the marshmallows in the microwave for about 30 seconds to 1 minute, they don’t need long, then stir the mixture until smooth. Leave to cool for a few minutes, or until marshmallows are cool enough to work with, then use two spoons to pull strings of the marshmallow over the cake.

Enjoy… x

One thought on “Halloween Red Velvet Cake”